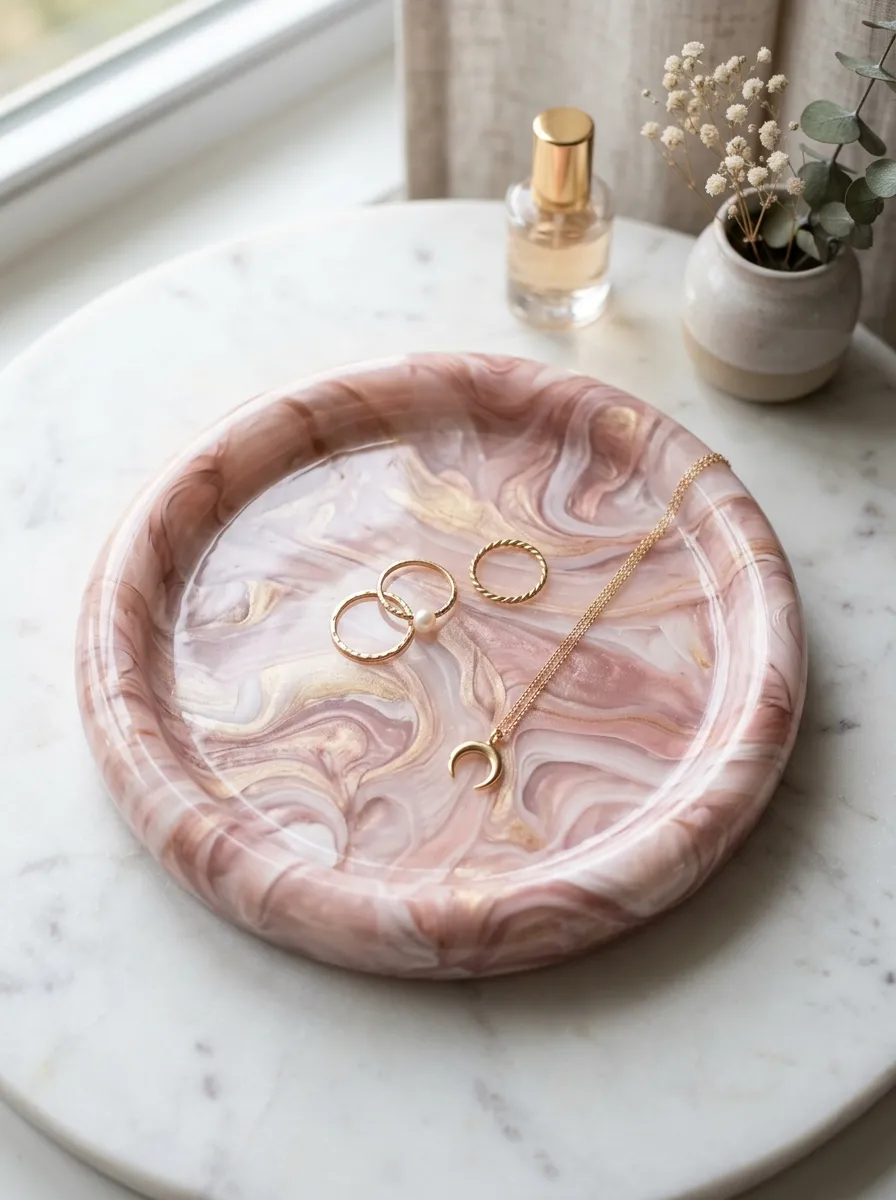
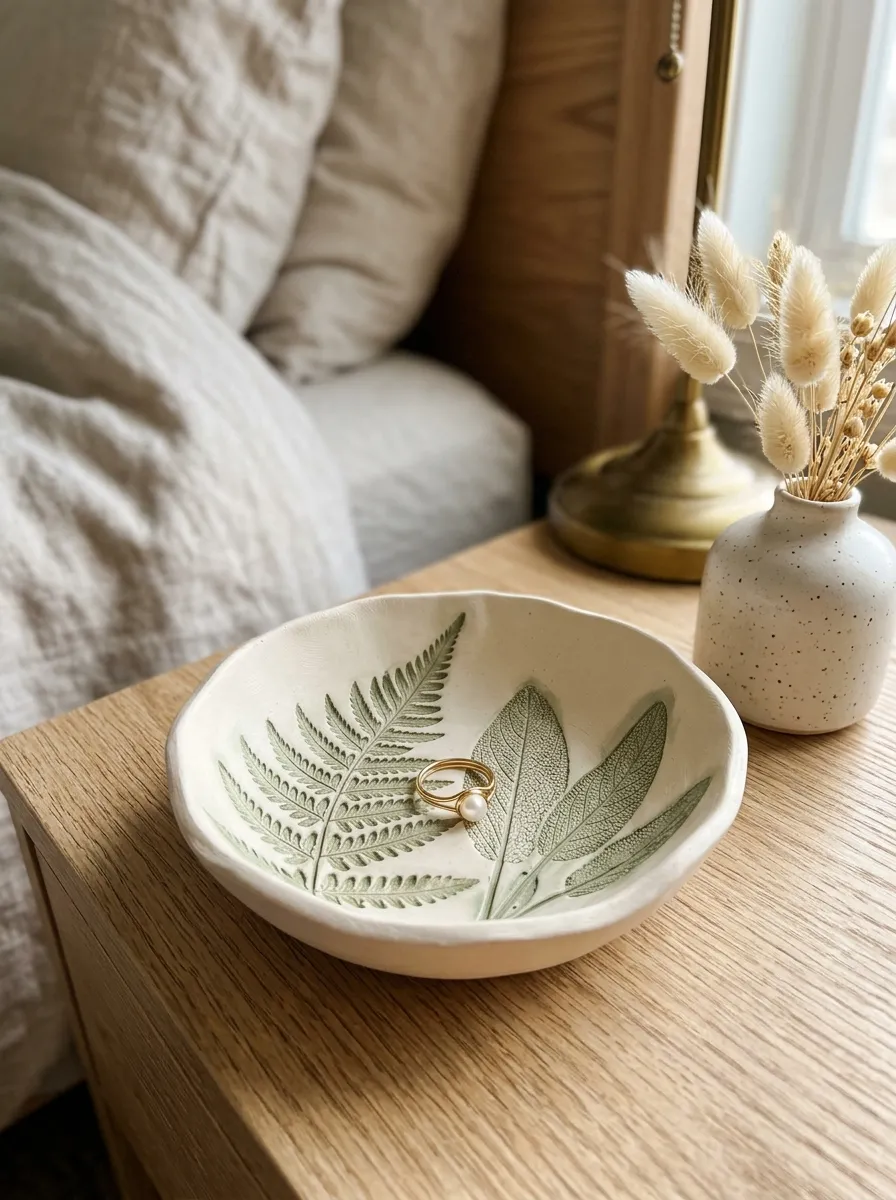
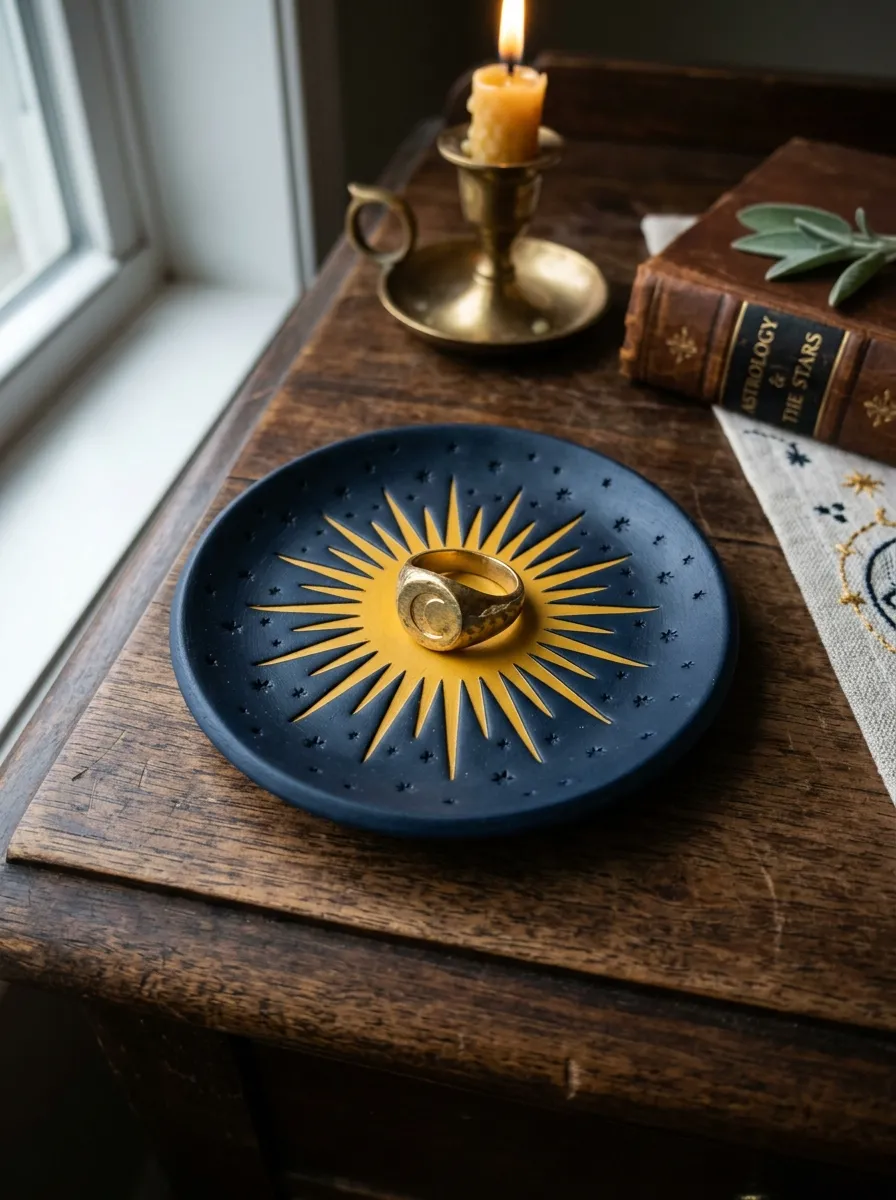
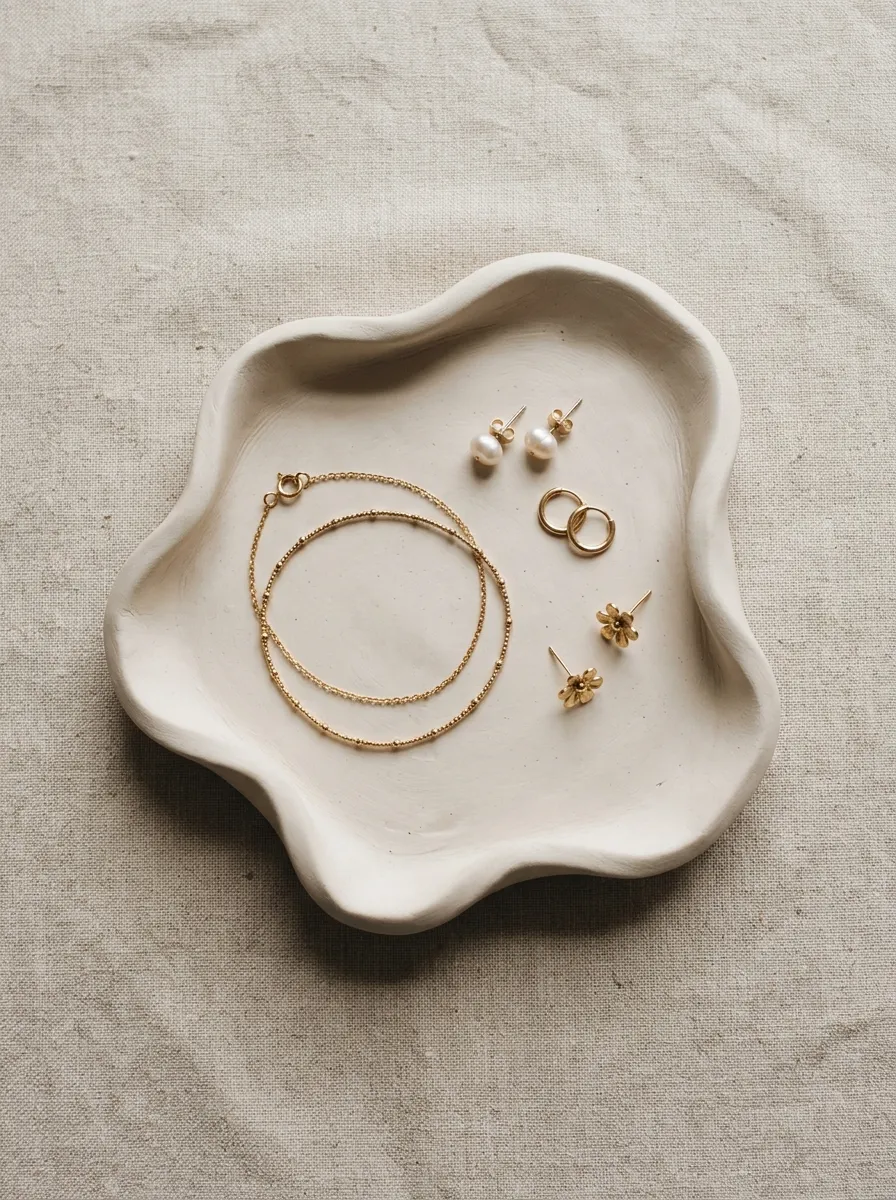
Handmade reading accessories provide an exceptional creative outlet for stationery lovers, book collectors, and modern craft enthusiasts seeking personalized literary tools. Exploring 10 polymer clay bookmark ideas allows crafters to transform versatile modeling compounds into functional, durable markers that elevate daily reading routines. Throughout this comprehensive tutorial, readers will examine core conditioning practices, thin slab engineering, structural paperclip integration, and flexible ribbon anchoring techniques. Polymer clay is an ideal medium for bookmark construction because it cures into a lightweight, resilient material that withstands repeated handling without adding excessive bulk between delicate book pages. This project enables makers to produce bespoke gifts, coordinated study markers, and collectible stationery sets using standard kitchen ovens and simple shaping tools. The following sections outline the precise physical modeling sequences, curing temperatures, and finishing methods needed to deliver professional results with smooth surfaces and balanced dimensions. Whether your visual preference leans toward clean Scandinavian geometric shapes, realistic botanical textures, or playful miniature food charms, these concepts provide adaptable inspiration for every skill tier. By establishing firm foundational skills in polymer manipulation, hobbyists acquire the technical confidence required to craft flat book tabs, spine pendants, and page weights.
Why Polymer Clay Bookmarks Are Trending and Useful
Polymer clay bookmarks maintain strong momentum across creative sharing platforms because they merge functional stationery organization with contemporary aesthetic design. Traditional cardstock markers frequently tear, bend, or slide out of heavy volumes, failing to provide the lasting durability modern readers demand. Conversely, oven-bake polymer clay delivers permanent structural integrity, forming custom shapes that grip paper margins securely without damaging page fibers or spine bindings. This medium supports infinite color mixing possibilities, allowing makers to match seasonal journal themes, desktop palettes, and trending book aesthetic movements. The lightweight nature of cured polymer makes it exceptionally practical for corner sleeves, spine-hanging ribbons, and flat paperclip toppers that preserve book condition. Beginners appreciate this craft because it demands minimal material investment, as small clay scraps can be repurposed into functional tabs and tiny decorative charms. Furthermore, handcrafted bookmarks represent thoughtful, low-waste gifts that express artistic care while remaining thoroughly practical for students, teachers, and avid readers. As digital enthusiasts continue to embrace physical books and tactile study habits, handcrafted clay bookmarks remain functionally relevant, commercially viable, and endlessly engaging for modern makers.
Essential Craft Materials, Tools, and Preparation
Achieving durable, crack-free polymer clay bookmarks demands deliberate material sourcing, proper tool selection, and careful prep work before clay conditioning begins. Quality polymer clay blocks in varied shades form the primary foundation; choose firm artist-grade brands that cure with high flexibility to prevent snaps during page insertion. Essential tools include an acrylic rolling rod, high-carbon steel tissue blades, ceramic crafting tiles, metal needle tools, and fine-gauge jewelry pliers. For structural assembly, gather vinyl-coated or brass paperclips, flexible satin ribbons, jump rings, heat-resistant liquid clay, and industrial strength adhesive. Preparation begins with deep cleaning your working surface with isopropyl alcohol to remove dust and stray fibers that easily embed into light-colored clay. Condition the raw clay thoroughly by hand-kneading or passing it repeatedly through a dedicated manual clay conditioning machine until the sheet becomes warm, flexible, and free of edge fissures. Measure typical page margins and spine heights carefully, ensuring that tab bases remain under two millimeters in thickness to prevent book spine distortion. Dedicate a flat, glazed ceramic tile as both your work surface and baking palette to prevent handling distortions during oven transport.
1. Botanical Pressed Fern Page Tab
Step-by-Step Guide
Paragraph 1
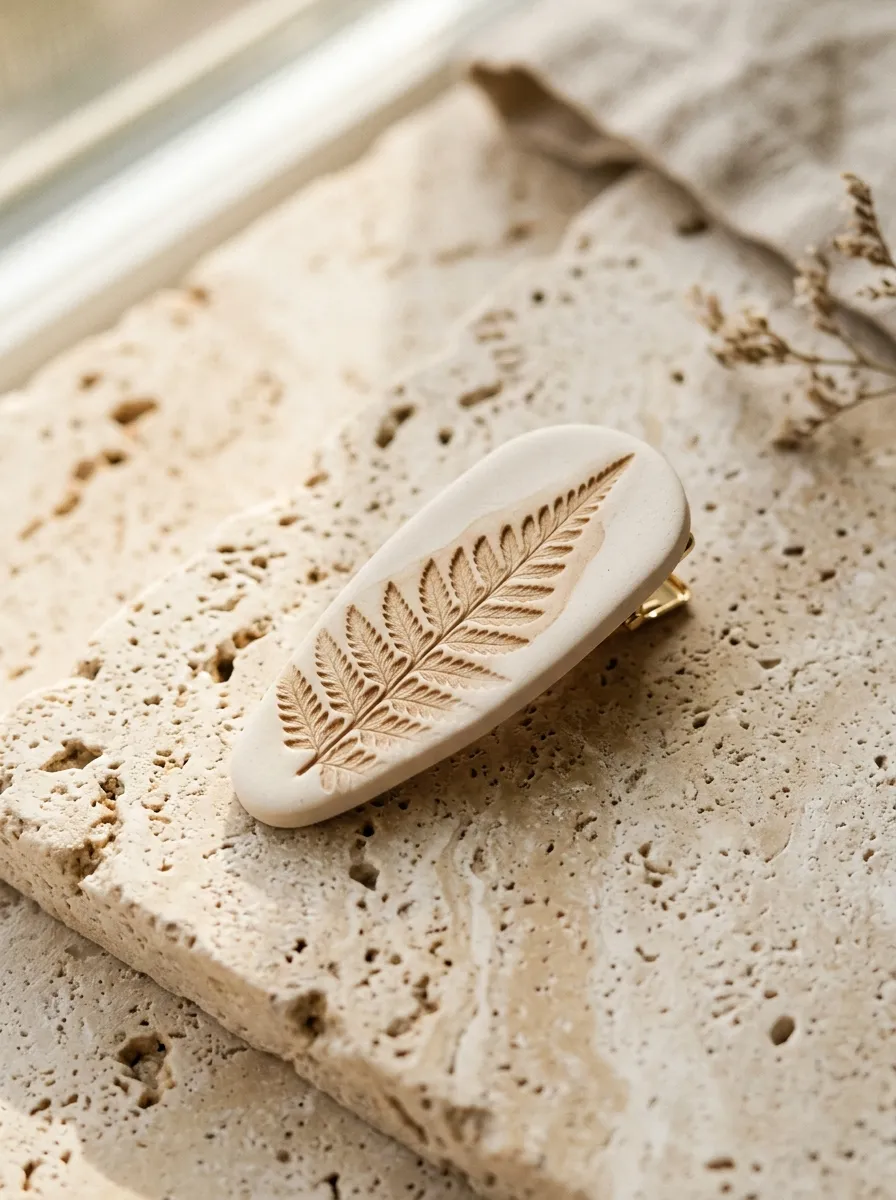
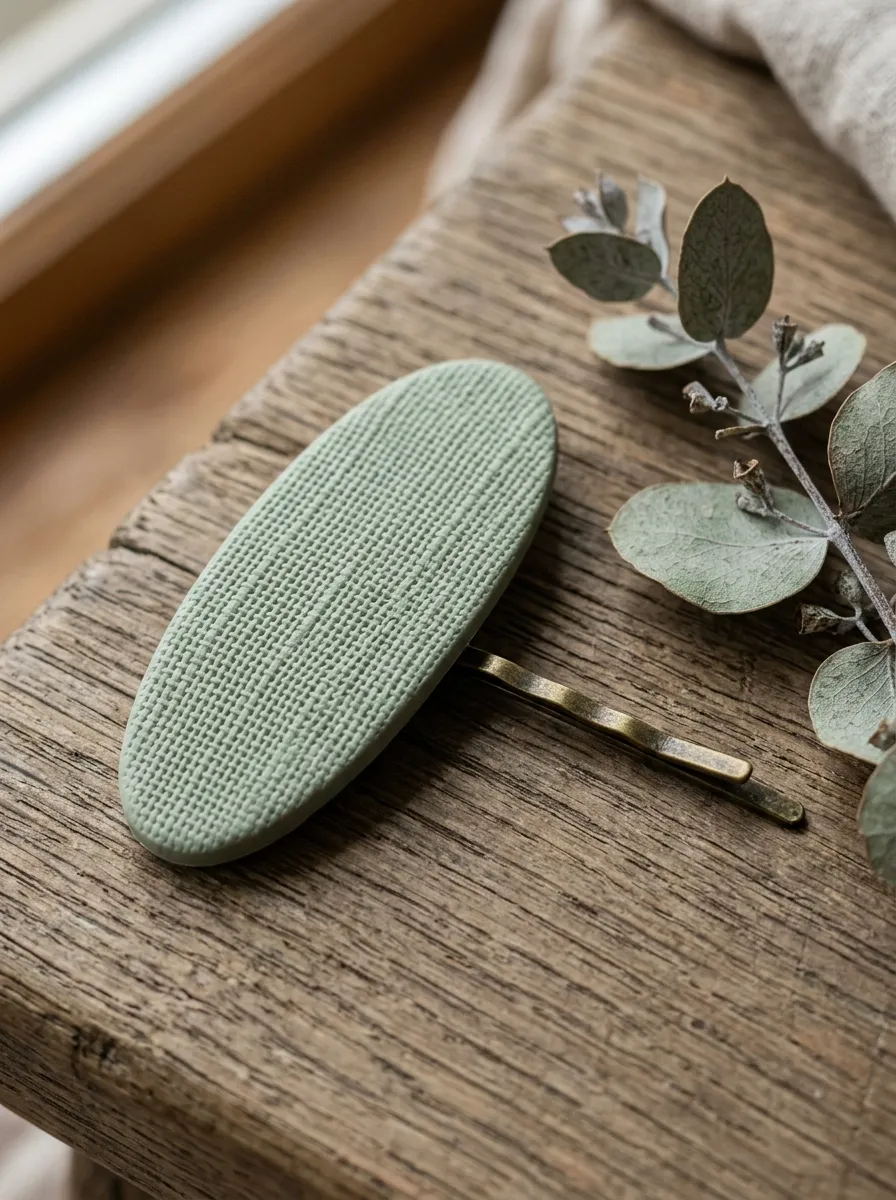
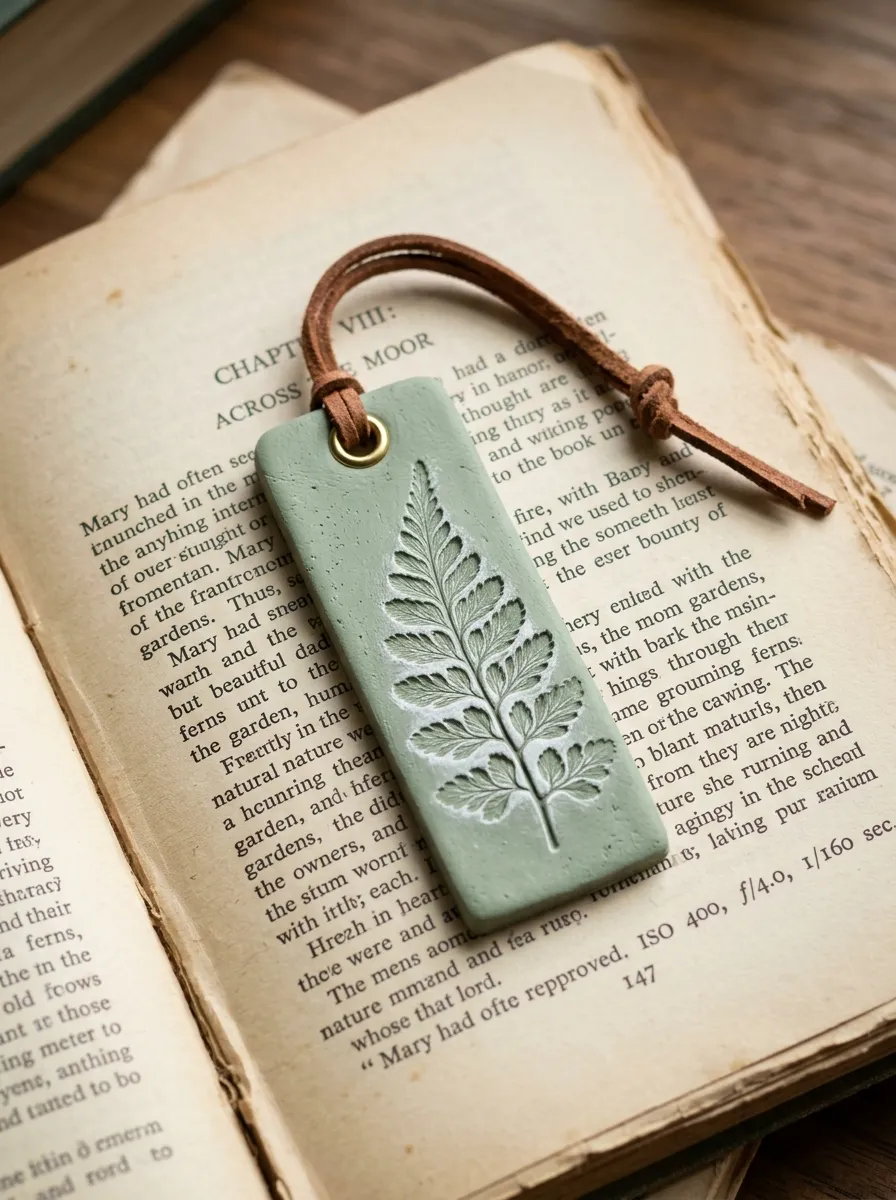
The botanical pressed fern page tab adapts natural woodland textures into a functional, low-profile paper marker that sits flush against book margins. This design utilizes a clean, neutral background base—such as raw linen, translucent frost, or pale sage—imprinted with delicate, genuine fern fronds. The aesthetic relies on organic relief, capturing intricate vein structures, serrated leaf margins, and botanical silhouettes pressed directly into the clay surface. Rather than protruding outward, this style shapes the clay into a flat, elongated rectangular tab that slides smoothly between pages without creasing delicate paper. The matte, stone-like surface highlights the botanical impression, creating an intentional, modern design statement suitable for contemporary notebooks, nature journals, and classic literature. This project serves as an approachable introduction to botanical stamping, teaching crafters how to transfer organic textures into conditioned clay slabs without tearing fragile leaves or introducing trapped air bubbles beneath the surface.
Paragraph 2
Condition two ounces of sage green clay until pliable, flattening the mass into an even two-millimeter sheet using your acrylic roller on a glazed tile. Select a fresh, dry fern leaflet, placing it flat against the clay surface and pressing it into the slab with gentle roller passes. Peel the leaf away using tweezers to expose the crisp botanical impression, then cut a clean rectangle measuring four inches long by one inch wide. Smooth the outer edges with a finger dipped in water to eliminate rough burrs, then pierce a three-millimeter hole through the top edge using a needle tool. Bake the flat tab between two ceramic tiles lined with parchment paper for thirty-five minutes at 130°C to guarantee absolute flatness and structural resilience. After cooling completely, buff the raised botanical veins with a light touch of white acrylic wash to enhance depth, finishing by threading a thin raw leather cord through the top hole.
2. Minimalist Terrazzo Arch Paperclip Marker

How to Make
Paragraph 1
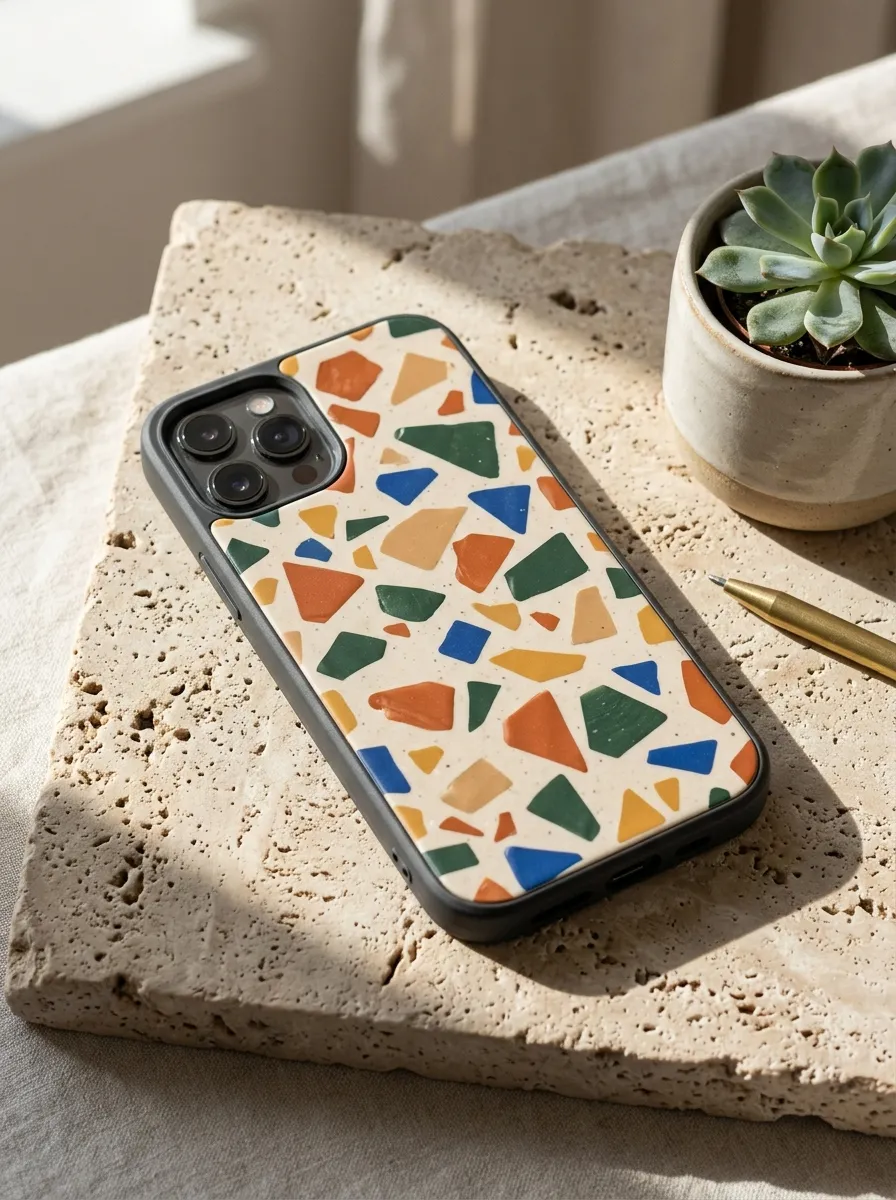
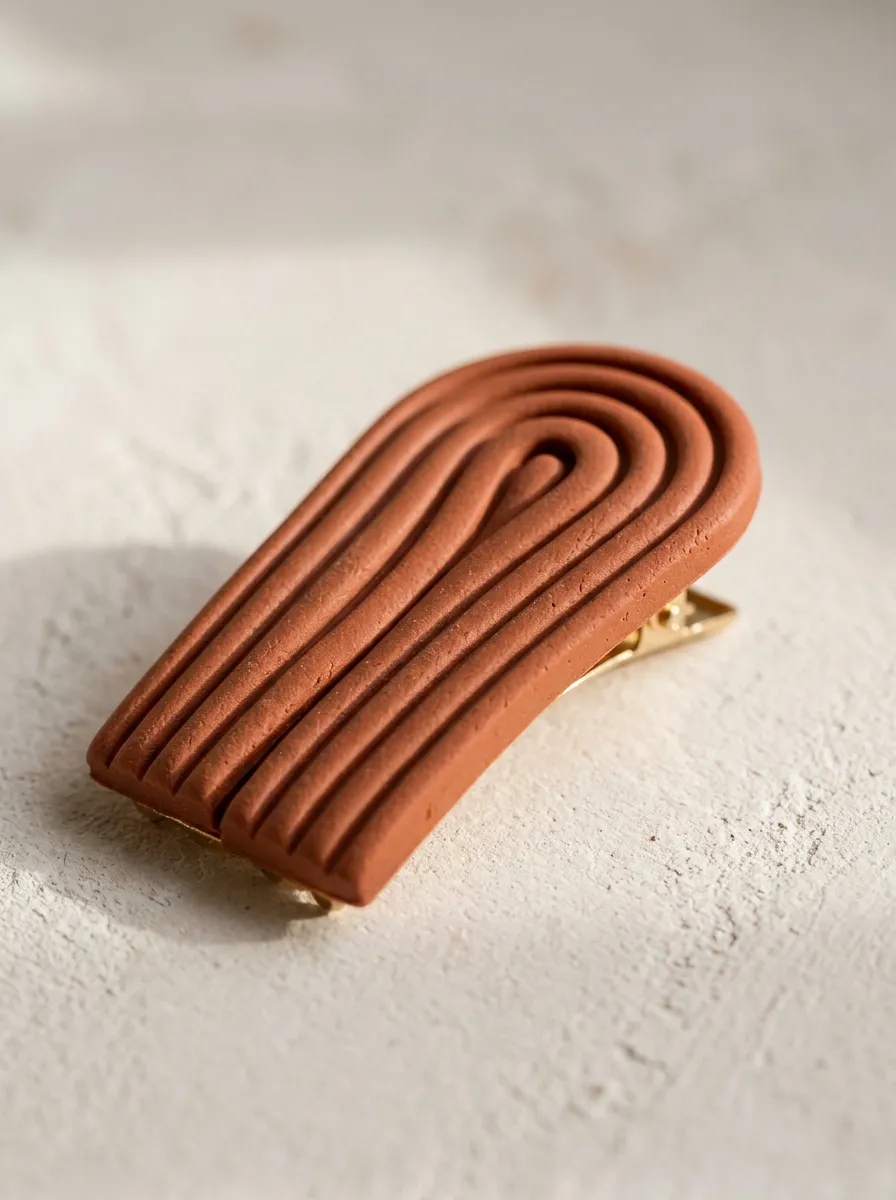
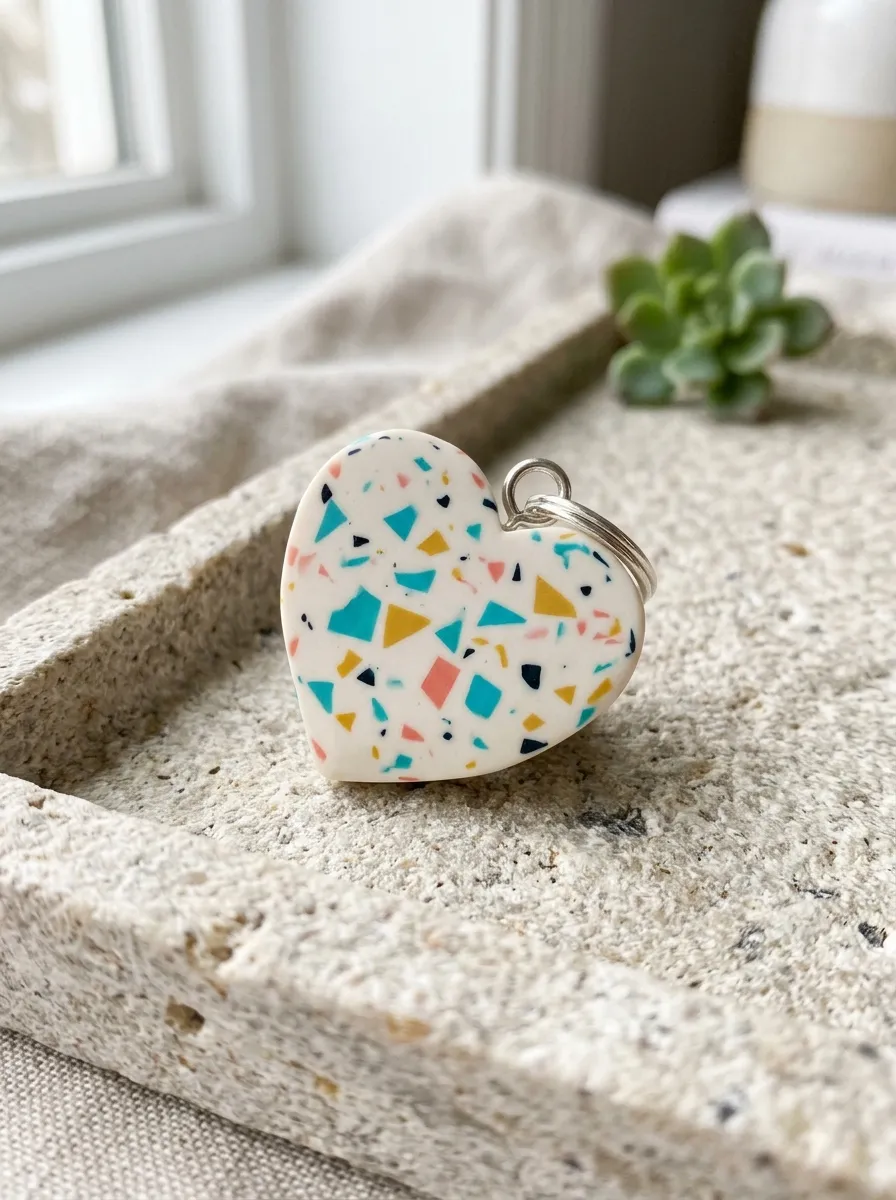
The minimalist terrazzo arch paperclip marker combines mid-century architectural geometry with the structural utility of a heavy-duty brass book clip. This design features a clean arch silhouette composed of an off-white or oatmeal clay base embedded with tiny, multi-colored geometric chips. The color palette contrasts warm terracotta, olive green, dusty mustard, and charcoal flakes against a smooth cream background to evoke vintage composite stone. The clay arch forms an elevated decorative topper permanently anchored to the loop of a metal paperclip, allowing the clip to hold pages while the arch rests neatly above the closed book block. This construction prevents the bulk of the clay from distorting book bindings, keeping the physical volume compact and easily portable. Crafters develop specialized skills in producing thin composite slabs, securing metal findings into raw polymer, and maintaining crisp geometric perimeters without distorting embedded fragments.
Paragraph 2
Condition two ounces of ecru clay, rolling it into a flat two-millimeter sheet on your ceramic work tile. Slice razor-thin shavings from baked or firm scraps of rust, olive, and black clay using a rigid tissue blade, scattering them evenly across the wet slab. Roll the acrylic rod over the surface with firm, even pressure to press the colored shavings flush into the background sheet. Cut out clean arch shapes measuring one inch wide by one and a half inches tall using a sharp metal arch cutter. Press the upper round curve of a two-inch brass paperclip into the reverse side of the clay arch, coating the metal contact point with a drop of liquid polymer clay. Apply a secondary thin backing sheet of ecru clay over the clip, smoothing the edges together to encase the metal hardware securely. Bake the assembly flat on a parchment-lined tray at 130°C for thirty minutes, allowing it to cool fully before clipping onto book leaves.
3. Sculpted Cottagecore Mushroom Spine Charm

How to Create
Paragraph 1
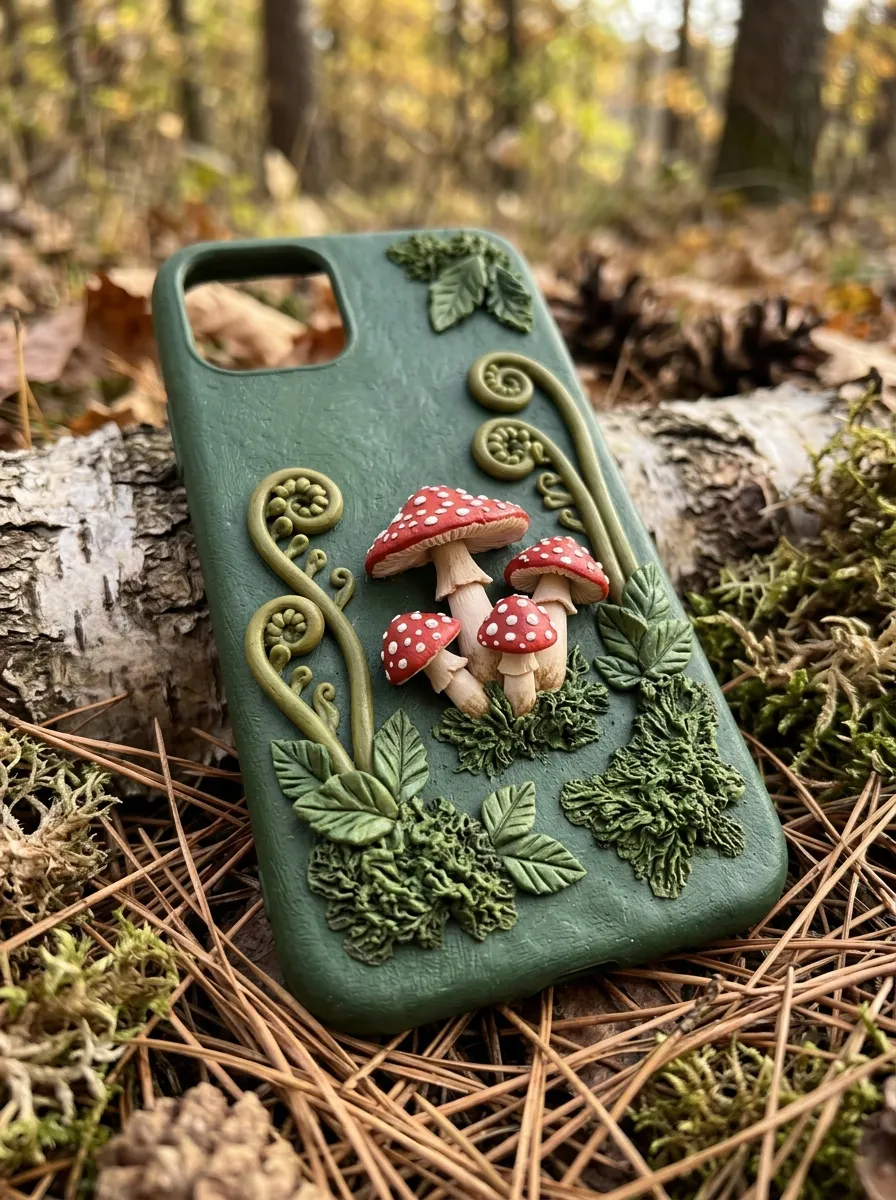
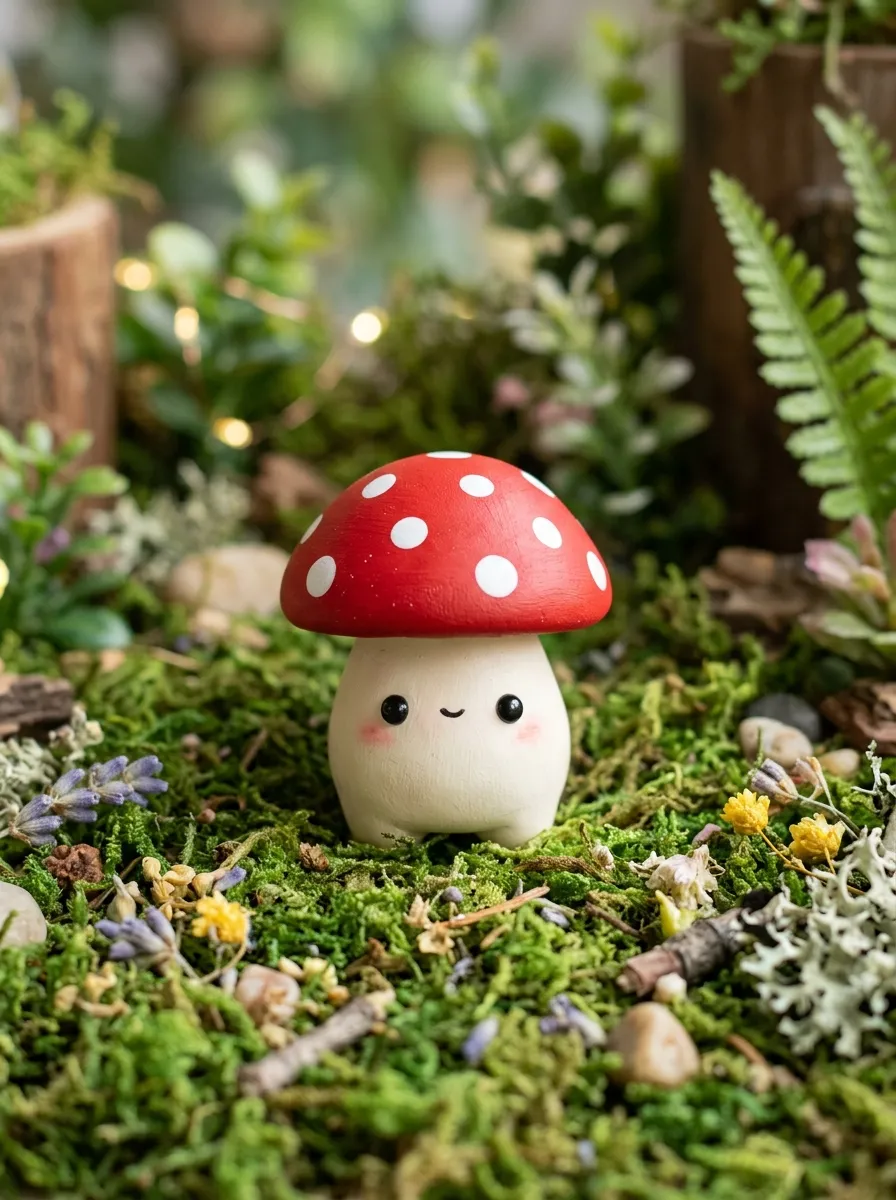
The sculpted cottagecore mushroom spine charm uses three-dimensional miniature sculpting methods to create hanging pendants that dangle gracefully from book spines. This design features miniature woodland toadstools complete with domed scarlet caps, hand-painted white spots, and textured ivory stems suspended from satin ribbons. When the ribbon rests flat between closed book pages, the clay mushrooms hang outside the spine, turning ordinary books into decorative display pieces for nightstands and shelves. This aesthetic aligns naturally with modern cottagecore lifestyle trends, celebrating whimsical woodland imagery and traditional handmade keepsakes. The design highlights the unique physical properties of polymer clay, demonstrating how tiny, three-dimensional elements can be engineered to remain durable during daily transit. Practicing this pendant technique refines spatial planning skills, delicate wire insertion, and miniature assembly without crushing small organic details.
Paragraph 2
Roll a small ball of ivory clay into a tapered cylinder measuring three-quarters of an inch to form the mushroom stalk, texturing the surface with a stiff-bristle brush. Shape a hemisphere of bright scarlet clay into a domed cap, pressing the underside against a needle tool to create radiating gill lines before joining it to the stalk. Insert a stainless steel eye pin vertically through the top of the cap down into the stem, securing the wire joint with a dab of liquid clay. Form tiny spheres of unbaked white clay, pressing them flat onto the red cap surface to create classic raised fly-agaric spots. Bake the sculpted mushrooms upright in an oven-safe bead rack or bed of baking soda for thirty minutes at 130°C to preserve their three-dimensional contours. Once cool, use round-nose jewelry pliers to link the cured eye pin to a narrow velvet ribbon using a brass jump ring, sealing the ribbon ends with fray-check fluid.
4. Sleek Monochrome Geometric Page Corner

Execution Process
Paragraph 1
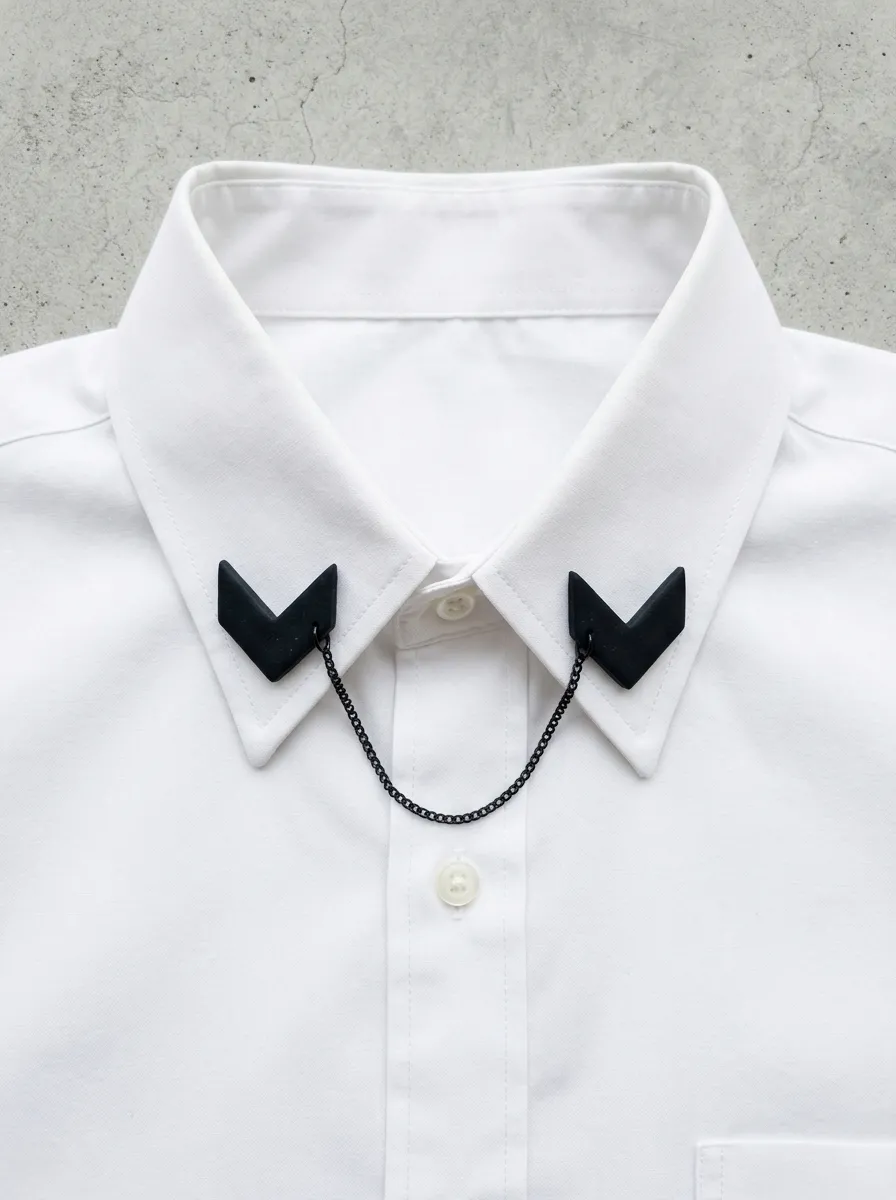
The sleek monochrome geometric page corner steps away from traditional hanging markers, introducing a modern triangular sleeve that hugs paper corners snugly. This design utilizes clean triangular pockets composed of interlocking black, white, and slate gray geometric clay segments. The minimalist design emphasizes clean diagonal lines, balanced negative space, and smooth matte finishes inspired by contemporary architectural forms. The corner sleeve slips over the top corner of several grouped reading pages, holding your place securely without shifting or falling outward during transport. Because the marker remains contained within the book perimeter, it protects corner page margins from bending, creasing, or accidental dog-earing. Makers gain direct experience in building hollow functional accessories, managing precise angled seams, and maintaining ultra-thin clay slabs that provide structural rigidity without splitting along fold lines.
Paragraph 2
Roll conditioned black and white clay sheets to an exact one-millimeter thickness using the thinnest setting of a clay conditioning machine. Cut two matching right-angle triangles measuring two inches along their perpendicular sides, keeping the cutting blade vertical to ensure straight, crisp edges. Slice diagonal strips from both colors, reassembling them into a striped chevron pattern across one triangle to serve as the decorative front face. Place a temporary spacer made from folded cardstock wrapped in baking parchment between the two triangles, aligning the outer edges perfectly. Cinch the two perpendicular edges together using gentle finger pressure, leaving the long hypotenuse edge completely open to form the receiving pocket. Bake the triangular assembly flat with the cardstock spacer intact at 130°C for thirty minutes, allowing the clay to cure and achieve flexible strength. After cooling, slide out the interior paper spacer, sand the outer seams with 600-grit wet sandpaper, and test the corner fit on a standard novel.
5. Antiqued Gilded Marble Ribbon Weight
Step-by-Step Guide
Paragraph 1
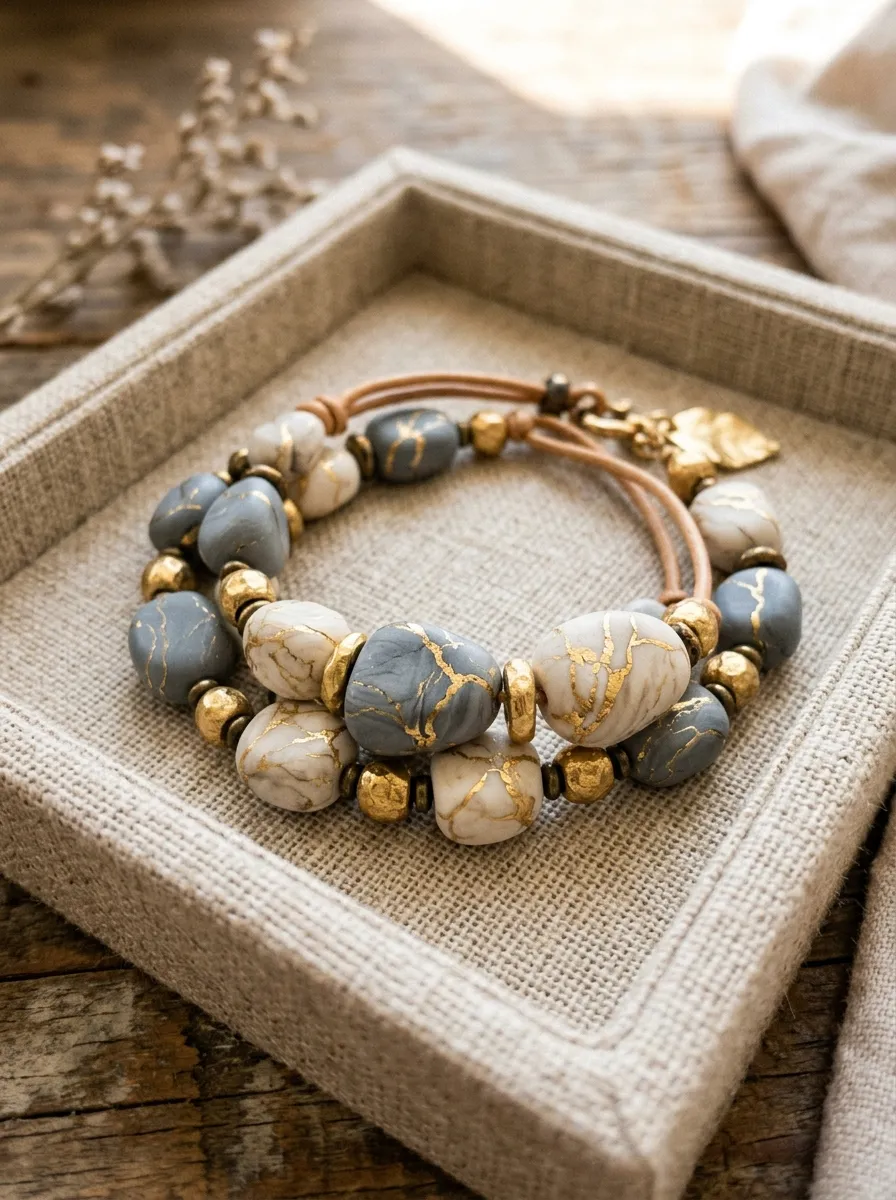
The antiqued gilded marble ribbon weight combines functional reading anchors with luxurious mineral aesthetics, creating double-ended markers that balance across hardcovers. This concept features two flat, tumbled clay stones boasting realistic marble veining and genuine imitation gold leaf fractures linked by a flowing ribbon. When placed inside an open volume, the weighted clay stones hang over the top and bottom page edges, preventing leaves from fluttering while reading outdoors. The visual depth is achieved through controlled tearing and re-compressing of gilded clay layers, which exposes fractured metallic highlights along smooth curved surfaces. This design avoids rigid mechanical symmetry, celebrating organic variation where each marble stone exhibits unique veining patterns and fluid contour lines. The finished marker provides an elevated, historical aesthetic that pairs naturally with leather-bound editions, linen journals, and antique desks.
Paragraph 2
Condition two ounces of translucent white clay, slicing the block into four thin sheets before applying loose flakes of gold leaf across the exposed faces. Add three drops of diluted gray acrylic ink along the gilded surfaces, stacking the sheets into a layered block to trap the color veins within. Squeeze the block firmly to fracture the metallic lines, then roll the clay into two smooth, flattened oval cabochons measuring one and a half inches across. Slice a clean horizontal channel two millimeters deep into the back of each oval stone to serve as a ribbon anchor point. Bake the sculpted marble stones flat on a parchment-lined ceramic tile for thirty-five minutes at 130°C until the translucent material cures with visual depth. Coat the baked channels with two-part epoxy adhesive, pressing the raw ends of a twelve-inch silk ribbon into the recesses, and allow the bond to cure undisturbed for twelve hours.
6. Whimsical Sweet Treat Page Clip

Execution Process
Paragraph 1
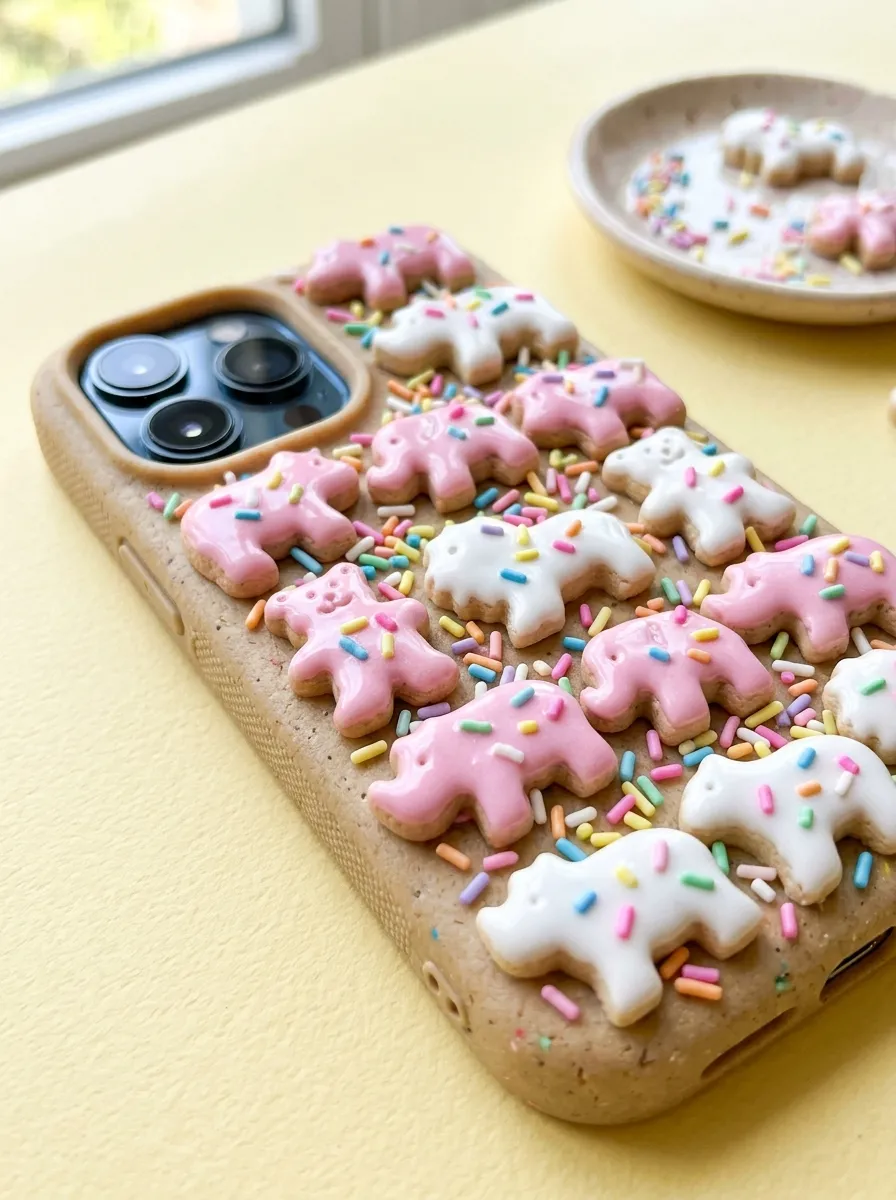
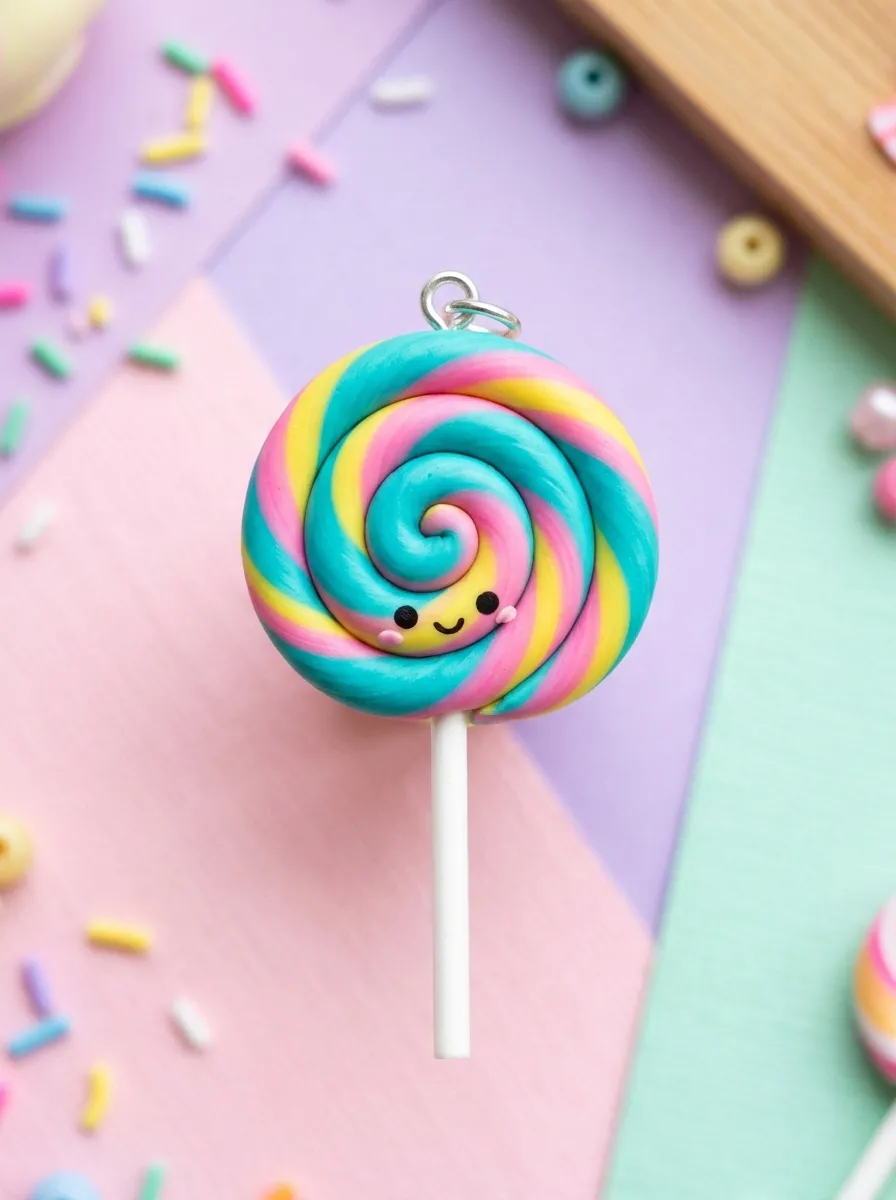
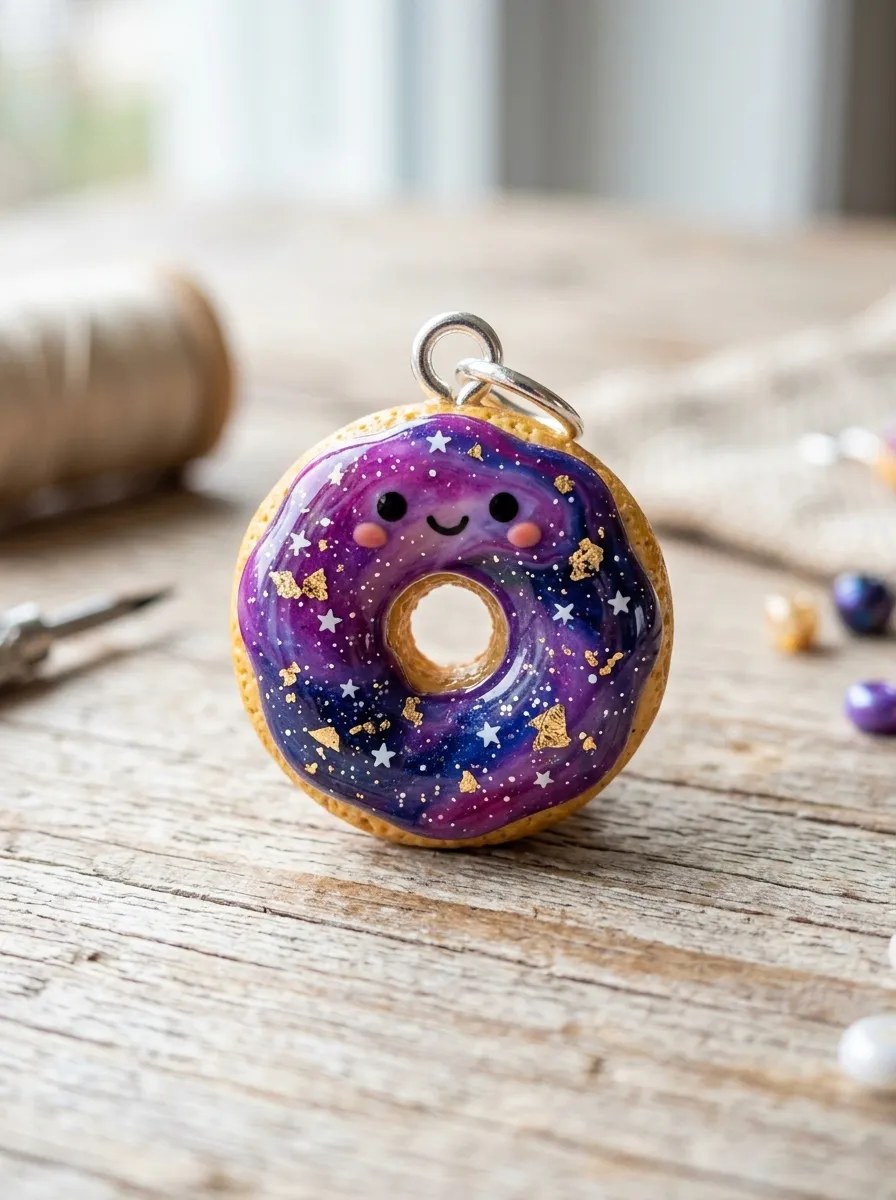
The whimsical sweet treat page clip embraces modern confectionary aesthetics, translating bakery favorites into durable miniature charms mounted securely to functional stationery clips. This design features miniature donuts, frosted layer cakes, and colorful macarons crafted from soft pastel clays with realistic textural detailing. The confectionery aesthetic brings cheerful, saturated color to daily reading materials, pairing pastel mint, strawberry pink, and creamy frosting hues with realistic pastry textures. The miniature food models sit atop metal clips, creating an engaging visual accent that peeks over the upper rim of closed books. This accessory holds broad appeal across all age groups, functioning equally well as a study planner marker, bullet journal clip, or playful gift for teachers and students. Crafters practice needle texturing, liquid clay glaze blending, and miniature assembly techniques that create realistic food surfaces without losing structural strength.
Paragraph 2
Construct a miniature pastry base by rolling a quarter-inch sphere of golden-tan clay, flattening it into a donut ring with a central needle puncture. Texture the baked-dough surface using the stiff bristles of an old toothbrush, rotating the piece to achieve an authentic crumb texture along the outer perimeter. Mix a small portion of liquid polymer clay with pastel pink paste pigment, applying the glossy glaze over the upper surface with a fine-tip paintbrush. Add miniature multi-colored clay slivers across the wet icing layer to simulate rainbow candy sprinkles, pressing them lightly to ensure permanent adhesion during baking. Embed the top loop of a large silver paperclip into the underside of the raw donut, backing it with a small disc of tan clay to seal the metal inside. Bake the assembled charm flat at 130°C for twenty-five minutes, allowing the liquid clay frosting to cure into a semi-gloss, flexible finish before regular use.
7. Celestial Crescent Moon and Star Marker

How to Make
Paragraph 1
The celestial crescent moon and star marker draws inspiration from astronomical illustrations, modern mysticism, and deep nighttime palettes to create an elegant reading accessory. This design features a slender, sculpted crescent moon paired with tiny dangling star charms, finished in deep midnight blue, iridescent purple, and shimmering pearl mica powders. The curved inner contour of the moon hugs the top edge of closed book covers, creating an architectural silhouette that looks striking on display shelves. Surface brushwork with metallic gold pigments highlights fine surface craters, engraved starbursts, and organic lunar ridges pressed into the clay. This project introduces makers to the crossover between surface pigment powders and polymer clays, demonstrating how dry metallic pigments bond permanently to raw clay during curing. Crafters develop skills in delicate curved cutting, metallic powder burnishing, and hanging link assembly.
Paragraph 2
Roll an even sheet of midnight black clay to a three-millimeter thickness on your ceramic tile, smoothing the surface with an acrylic roller. Use a two-inch circular metal cutter to stamp a disc, then offset the cutter by one inch to slice away a crescent moon silhouette with tapered tips. Stamp tiny starburst depressions into the moon face using a fine needle point, dusting the surface with rich gold mica powder using a soft cosmetic brush. Pierce a two-millimeter hole through the upper moon tip and another through the lower horn to accommodate hanging jump rings. Stamp a tiny separate half-inch star from the remaining clay, piercing its upper point before placing both pieces onto a parchment-lined baking tile. Bake the celestial pieces for thirty minutes at 130°C, cooling them completely before linking the tiny star to the moon base with a brass jump ring and securing the top to a black grosgrain ribbon.
8. Classic Leather-Look Stamped Initial Bookmark

How to Create
Paragraph 1
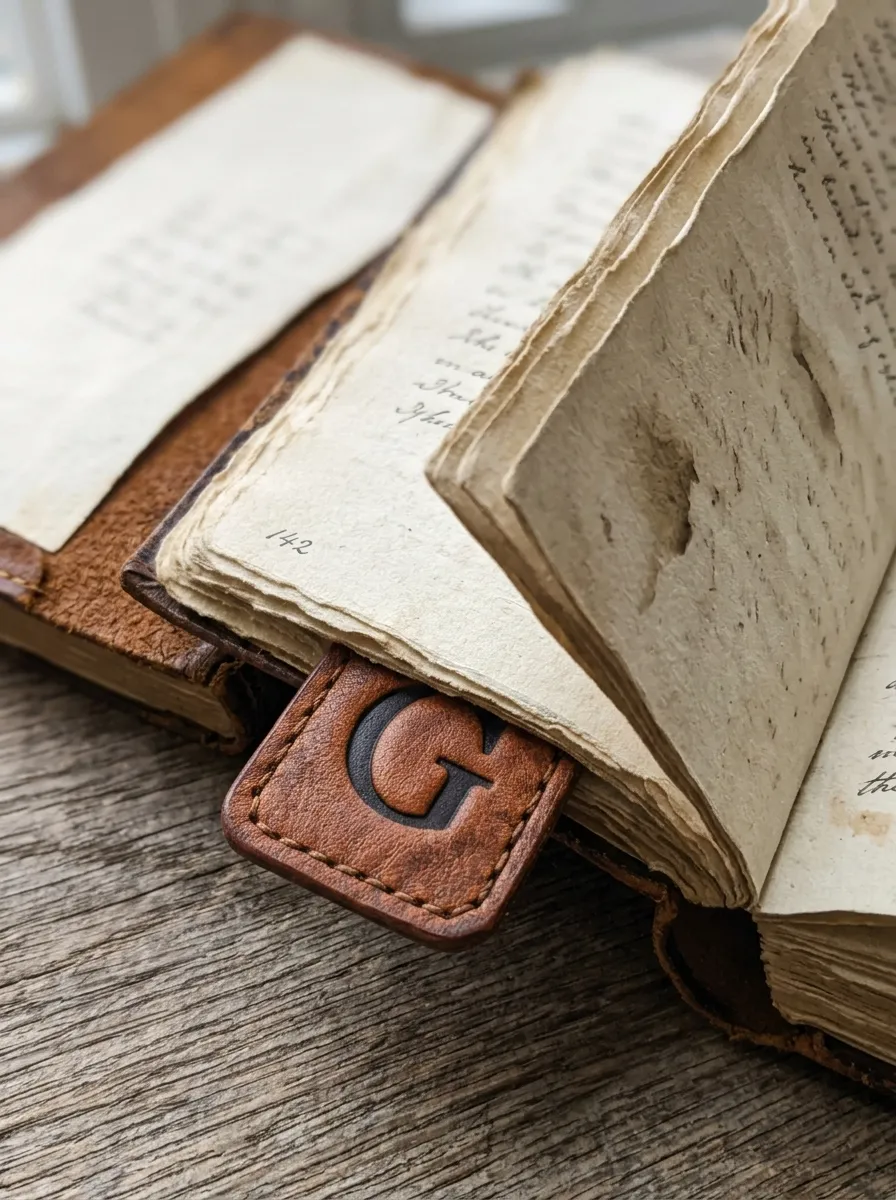
The classic leather-look stamped initial bookmark replicates the rich, supple texture of artisanal saddle leather using specialized polymer clay formulations. This concept utilizes rich umber, cognac, and deep mahogany clay blended with flexible baking mediums to produce a durable, bendable strap that mimics genuine hide. The centerpiece of the design is a crisp, debossed serif initial stamped into the lower margin, surrounded by faux perimeter stitching grooves that enhance the leatherwork illusion. This design avoids loud colors and cartoon forms, appealing directly to minimalists, professionals, and lovers of traditional stationery crafts. The finished strap provides a thin, non-damaging marker that fits smoothly between delicate bible leaves or dense academic volumes without stretching bindings. Crafters learn to formulate flexible clay blends, execute crisp metal alphabet stamping, and apply shading washes that highlight stamped depressions.
Paragraph 2
Condition two ounces of rich cognac brown clay, passing it through your roller at a two-millimeter thickness setting directly onto textured cardstock to transfer grain. Cut a long, narrow strip measuring one and a quarter inches wide by six inches long using a metal ruler and sharp tissue blade. Press a metal alphabet stamp firmly into the lower third of the strip, ensuring the letter debossing penetrates half a millimeter into the textured surface. Use a blunt tracing wheel or needle tool to press tiny, evenly spaced dashed indentations along the entire outer perimeter to simulate realistic machine stitching. Bake the flat strip between two sheets of parchment paper under a flat baking tile for thirty-five minutes at 130°C to preserve flexibility and flatness. After cooling, brush dark brown water-based acrylic paint over the stamped initial, immediately wiping away surface excess with a damp cloth to leave deep shadow within the letterform.
9. Modern Abstract Terrazzo Slab Weight
Step-by-Step Guide
Paragraph 1
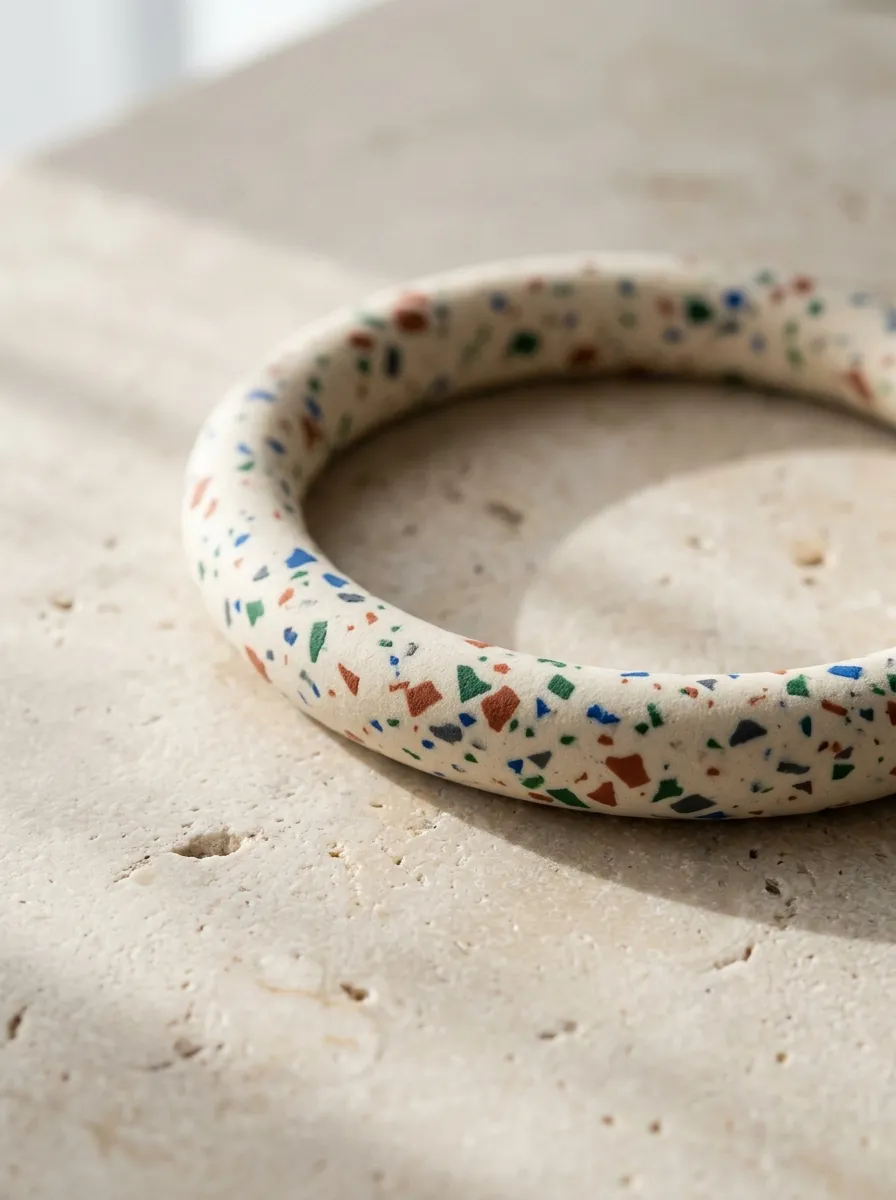
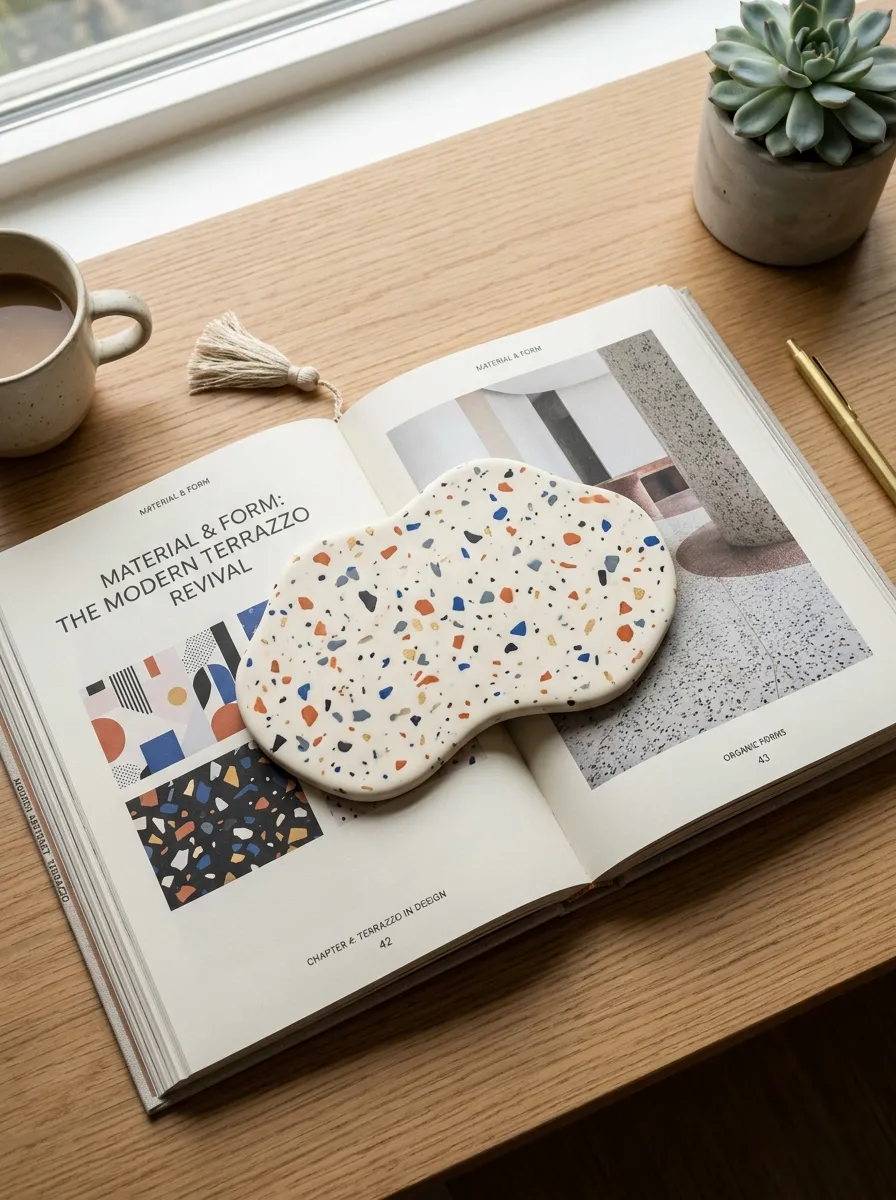
The modern abstract terrazzo slab weight introduces contemporary edge and geometric sophistication through flat, sculptural polymer clay shapes designed to hold open thick reading volumes. Rather than sliding inside the book, this solid clay piece functions as an external paperweight that rests across open pages, keeping books open during hands-free study, cooking, or journaling sessions. The design features an asymmetrical, rounded organic puddle silhouette decorated with bold color-blocked fragments, terrazzo speckles, and contrasting line work. Its low, broad footprint distributes weight evenly across both pages without damaging fragile paper margins or creasing spine glues. This design functions as a versatile desk sculpture that transitions effortlessly from functional study tool to modern aesthetic room decor. Crafters refine balance techniques, large-surface smoothing methods, and high-grit wet sanding processes that yield smooth, stone-like finishes without relying on liquid varnishes.
Paragraph 2
Condition four ounces of white clay, rolling it into a substantial slab measuring eight millimeters in thickness to ensure sufficient gravitational weight for page holding. Embed assorted flat geometric chips of terracotta, cobalt, and slate clay across the surface, pressing them level using an acrylic roller with firm pressure. Use an irregular, wavy organic cutter or hand-cut a smooth asymmetrical puddle shape measuring five inches long by two and a half inches wide. Smooth the rounded outer perimeter with a damp sponge, beveling the bottom edges slightly to prevent sharp corners from marking soft paper pages. Bake the heavy slab flat on a ceramic tile for forty-five minutes at 130°C, leaving the piece inside the closed oven until completely cold to prevent thermal shock warping. Wet-sand the cured slab sequentially with 400, 800, and 1200-grit sandpaper submersed in water, producing a smooth, satin-matte surface that glides harmlessly across open text.
10. Playful Animal Silhouette Page Hugger

Execution Process
Paragraph 1
The playful animal silhouette page hugger uses clever physical slot engineering to create a charming animal profile that appears to rest directly atop closed book leaves. This design features flat animal silhouettes—such as sleeping cats, inquisitive foxes, or small bears—incorporating an internal horizontal friction slot cut into the lower torso. The book page slides securely into this concealed slot, allowing the animal head and front paws to peek out from the top of the volume while the lower body remains hidden inside. This functional structure eliminates the need for metal clips or long ribbons, using the natural clamping friction of cured, flexible clay to hold the reading position securely. The minimalist, graphic profile provides an endearing, practical companion for casual novels and planners, offering an accessible, beginner-friendly introduction to structural slot engineering and contour carving.
Paragraph 2
Roll an even slab of warm cinnamon-orange clay to a three-millimeter thickness on your glass work surface, smoothing away surface fingerprints with light strokes. Trace a simplified sleeping fox silhouette measuring two inches wide by two inches tall using a sharp needle tool, cutting the perimeter with a craft blade. Carefully slice a horizontal channel two inches long and one millimeter wide across the lower half of the fox body, stopping four millimeters short of the outer edges. Smooth all interior and exterior cut lines using a silicone blending tool, taking care not to pinch the narrow page slot closed during manipulation. Bake the sculpted fox flat on a ceramic tile lined with parchment paper at 130°C for thirty-five minutes to achieve maximum polymer flexibility. Once cool, test the slot tension against two sheets of standard book paper, gently filing the inner slot edges with folded sandpaper if necessary for smooth entry.
Common Beginner Mistakes and How to Avoid Them
Constructing polymer clay bookmarks involves specific structural and dimensional challenges that can compromise your finished stationery if overlooked during the initial shaping phase. The most frequent error is building clay tabs and paperclip toppers too thick, which stretches book bindings, cracks delicate spine glue, and causes closed books to splay open awkwardly on shelves. Always keep structural page inserts and flat bookmarks under two millimeters in thickness, reserving thicker, sculpted elements exclusively for parts that dangle outside the page block. Another common issue is under-baking thin clay pieces, which leaves the polymer brittle, weak, and prone to snapping when flexed between dense pages. Polymer clay requires sufficient heat and time for its plasticizers to fuse completely; always bake thin items for at least thirty to thirty-five minutes using a verified freestanding oven thermometer. In addition, beginners often fail to anchor metal paperclips securely, causing decorative toppers to tear away from metal findings after minimal handling. Always coat metal joints with liquid polymer clay, bake hardware directly into the clay body, and reinforce joints with a secondary backing sheet. Finally, avoid using brittle, low-grade craft clays, selecting flexible professional formulations specifically engineered to withstand repeated bending without fracturing.
Practical Tips for Better Crafting Results
Elevating polymer clay bookmarks from simple home crafts into durable, boutique-quality stationery depends on precise conditioning, clean cutting, and patient surface finishing. Always condition your clay thoroughly until it bends without cracking along folded edges, as well as passing it through roller machines multiple times to eliminate hidden air pockets. When working with light-colored clay slabs, keep a bottle of isopropyl alcohol and lint-free cotton pads at your workstation, gently wiping the raw clay surface before baking to lift away embedded lint, dust, and fingerprints. Use high-carbon steel tissue blades for straight perimeter cuts, slicing downward in a single clean guillotine motion rather than sawing back and forth through the soft material. To guarantee absolute flatness during the curing cycle, bake flat bookmarks sandwiched between two glazed ceramic tiles lined with unwrinkled parchment paper, which prevents thermal curling and bubbling. If your design incorporates ribbons, choose fray-resistant woven grosgrain, velvet, or waxed cotton cords, sealing trimmed ends with a clear craft sealant or a quick pass over a controlled flame. Finally, buff cured bookmarks with denim fabric or high-grit wet-dry sandpaper to produce a smooth, tactile surface that feels pleasant to hold during quiet reading sessions.
Styling, Presentation, and Storage Solutions
Handmade polymer clay bookmarks offer exceptional styling versatility, functioning as practical reading tools, desk ornaments, and charming additions to curated bookshelf displays. When styling these accessories for home organization or gift presentation, pair a completed bookmark with a coordinating linen journal, a high-quality pen, and a warm ceramic mug to create a cohesive literary vignette. Display your collection on open bookshelves by clipping sculptural markers to the front boards of favorite novels, allowing decorative charms and ribbon weights to dangle gracefully down the book spines. For practical storage, hang ribbon bookmarks from a simple wooden wall peg rail or arrange flat paperclip markers inside a shallow divided ceramic dish on your writing desk to keep them organized and accessible. When preparing these handmade items as thoughtful gifts, mount individual bookmarks onto custom-cut Kraft paper backing cards stamped with inspirational reading quotes or simple care instructions. Securing the cards with natural jute twine or sliding them inside clear glassine sleeves elevates the handmade appeal, transforming simple craft projects into artisanal stationery products. You can also photograph your completed pieces resting across antique typography, open poetry books, and natural wood surfaces to showcase their organic textures and modern proportions on creative platforms.
Budget Management and Assembly Planning
Creating polymer clay bookmarks is an economical craft that delivers exceptional return on investment for both hobbyists and small handmade stationery businesses. Because an individual bookmark tab or paperclip topper requires only ten to twenty grams of clay, a single standard two-ounce clay block yields multiple finished accessories at minimal expense. To optimize your craft budget, purchase versatile foundational colors—such as translucent, white, black, raw terracotta, and sage—in economical bulk packages, mixing custom secondary shades manually to keep supply inventories lean. Boost production efficiency by batching your workflow: condition and roll out large composite slabs in one sitting, cut all shapes and embed hardware in the next, and dedicate a single session to oven curing and final sanding. Working in systematic batches sharpens physical muscle memory for identical cutter alignments and edge smoothing, significantly increasing your overall output speed while minimizing cleanup steps. A simple paperclip marker or flat stamped tab generally takes between twenty and forty minutes to construct, making it an efficient weekend project. Storing conditioned clay scraps in clean, airtight polypropylene storage containers preserves freshness, preventing moisture loss and dust contamination between active crafting sessions.
Creative Variations and Advanced Modifications
Once you master basic flat tabs, paperclips, and ribbon weights, you can explore advanced structural modifications to expand your handmade bookmark collection. Experiment with combining translucent clay with concentrated alcohol inks, fine metallic leaf, or crushed dried flower petals to create custom faux-quartz, amber, or sea-glass markers that catch ambient light beautifully. Integrate multi-media elements by incorporating tiny brass eyelets into perforated holes, setting raw mineral crystals into sculpted clay bezels, or combining clay charms with hand-tied macramé fringe along bookmark tails. You can also explore specialized surface techniques like sgraffito, coating baked clay with dark acrylic paint and carving away fine geometric patterns with a needle tool to expose contrasting base colors underneath. For heavy reference volumes, cookbooks, and study bibles, engineer multi-strand ribbon markers attached to a single wide clay spine anchor, allowing readers to track multiple sections simultaneously within a single book. As your creative confidence and technical skill grow, combine these diverse fiber, clay, and metal methods to design unique, heirloom-quality reading accessories that showcase your personal artistic vision.