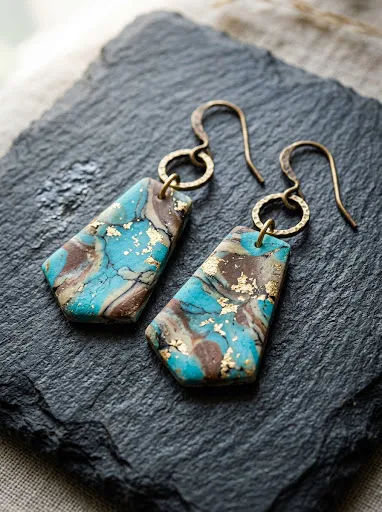
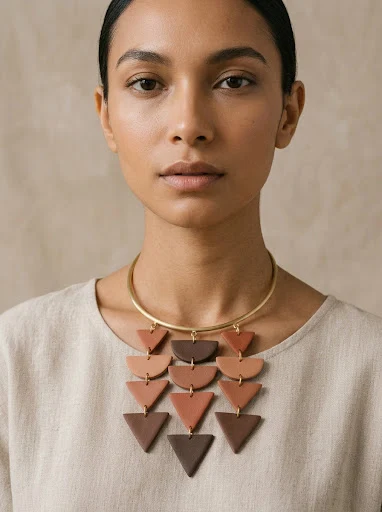
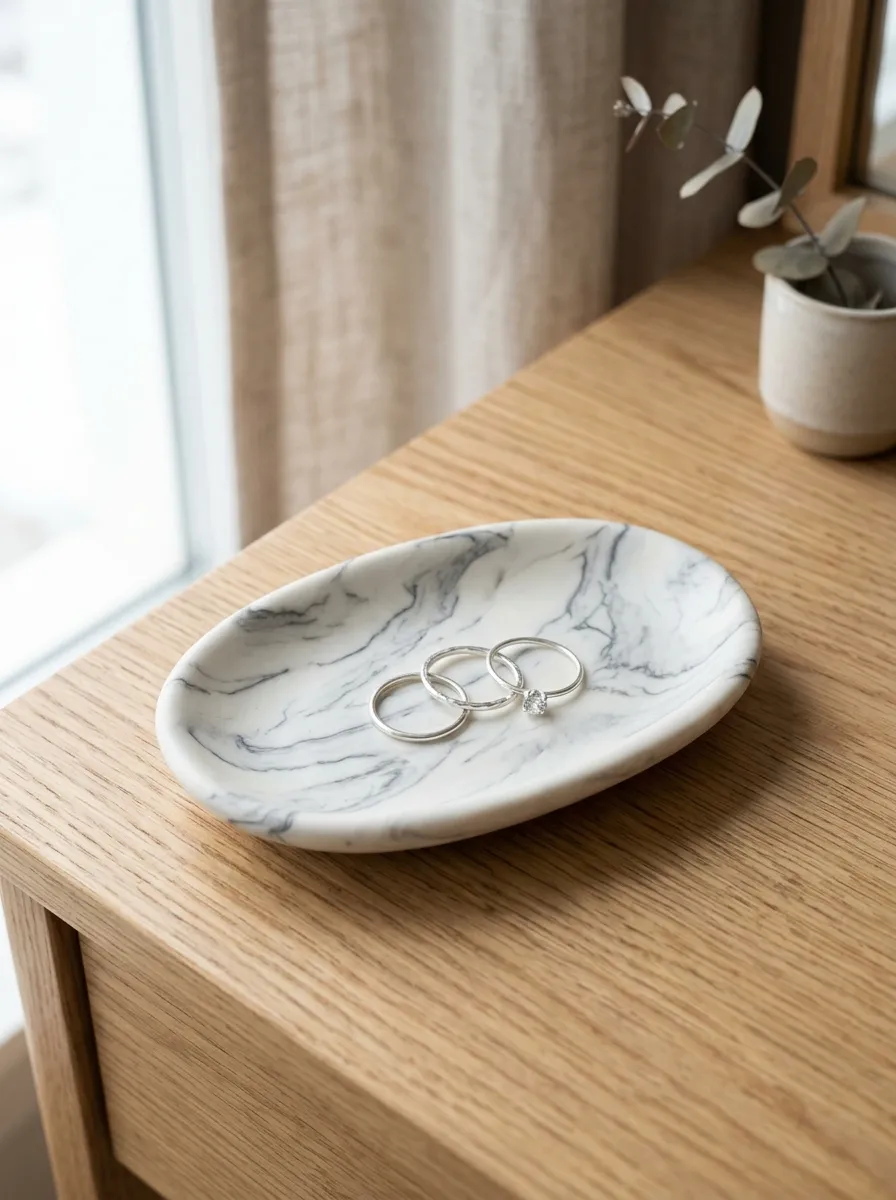
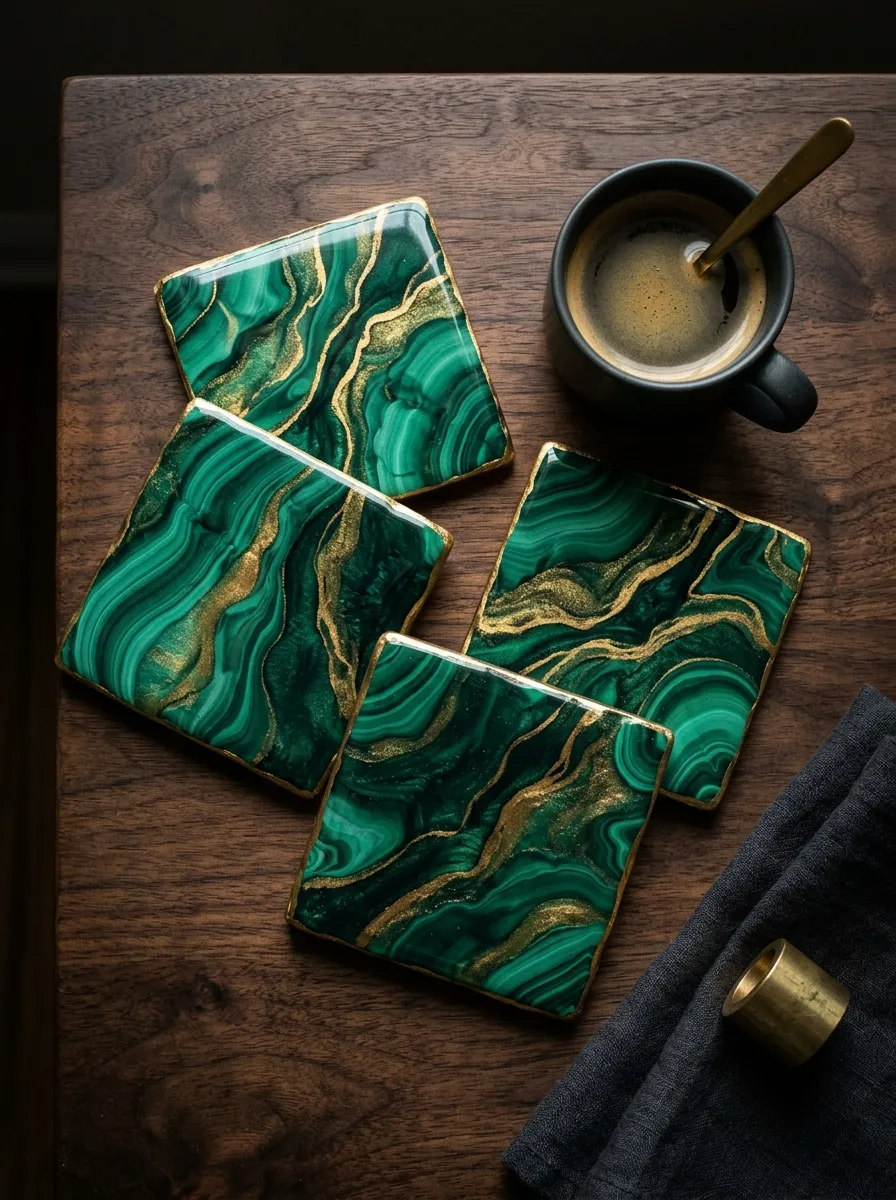
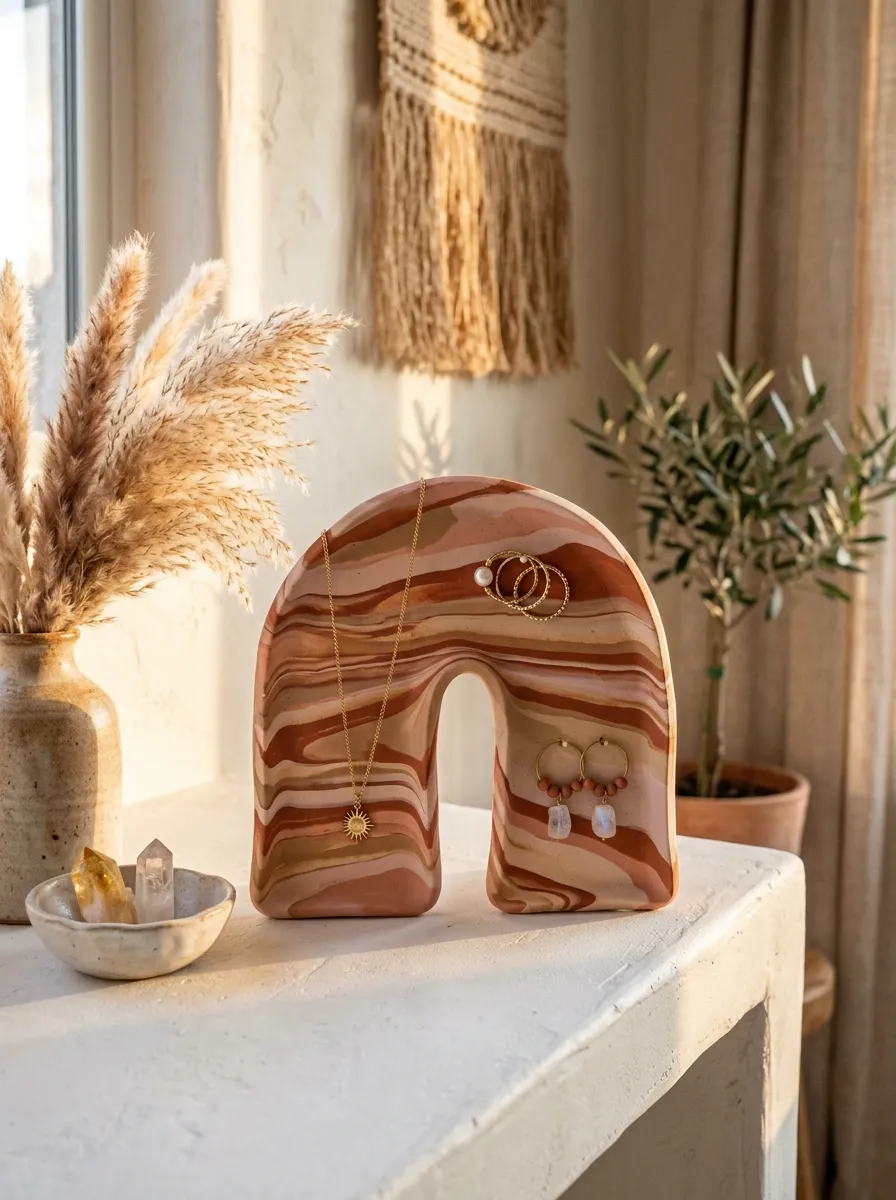
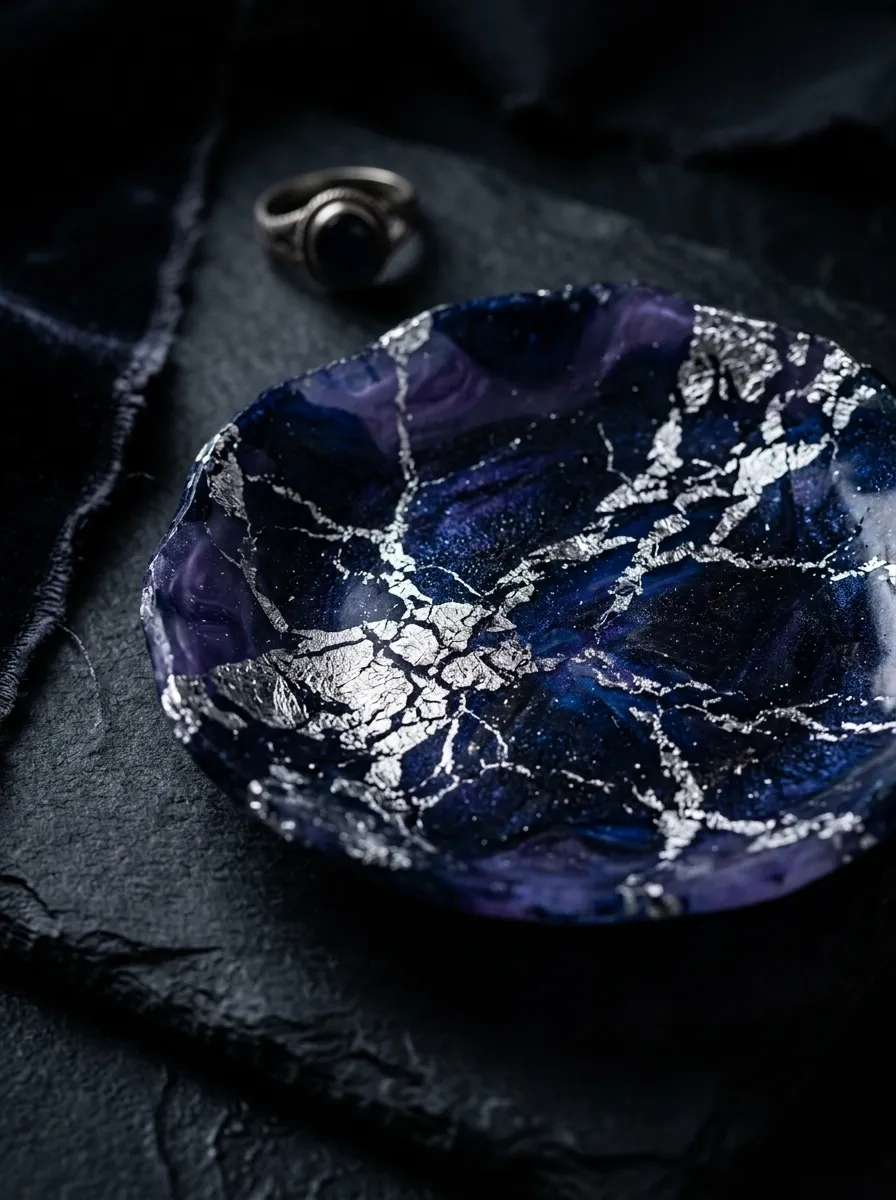
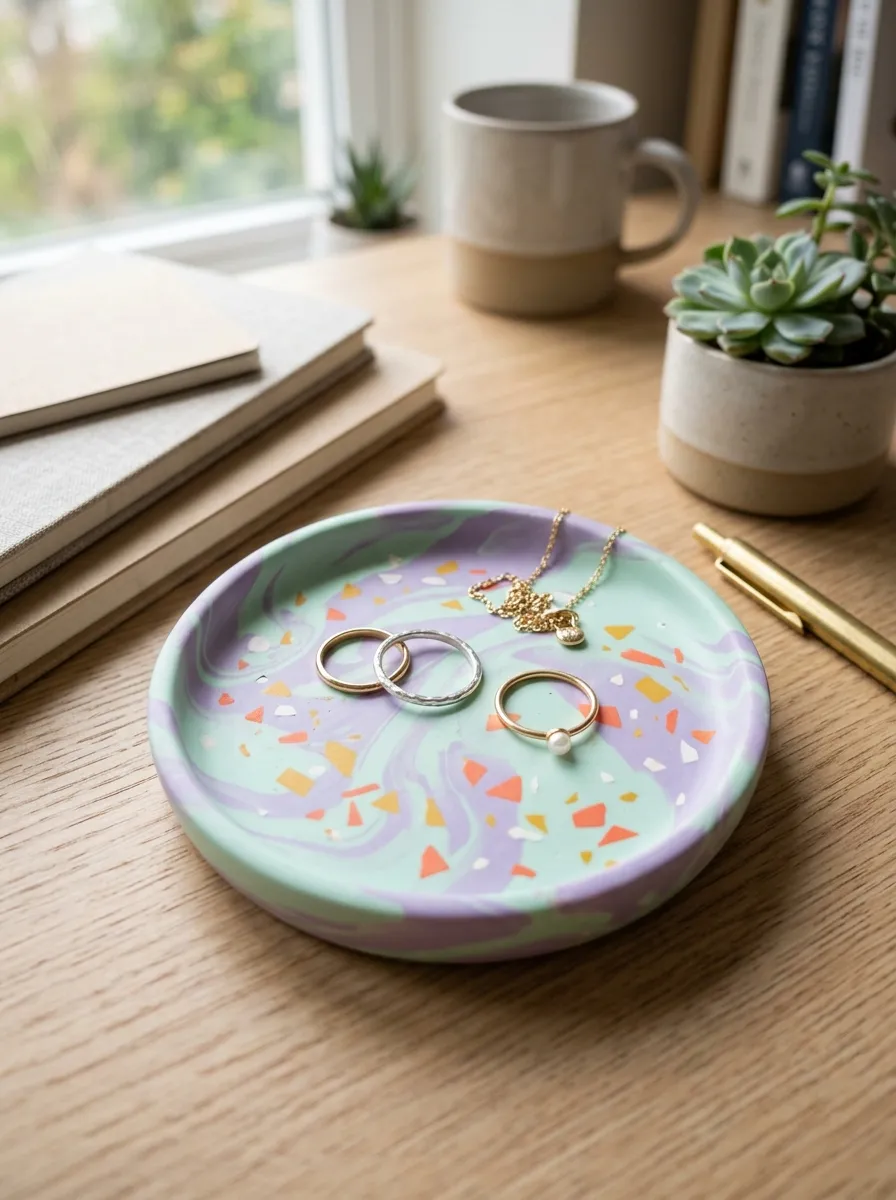
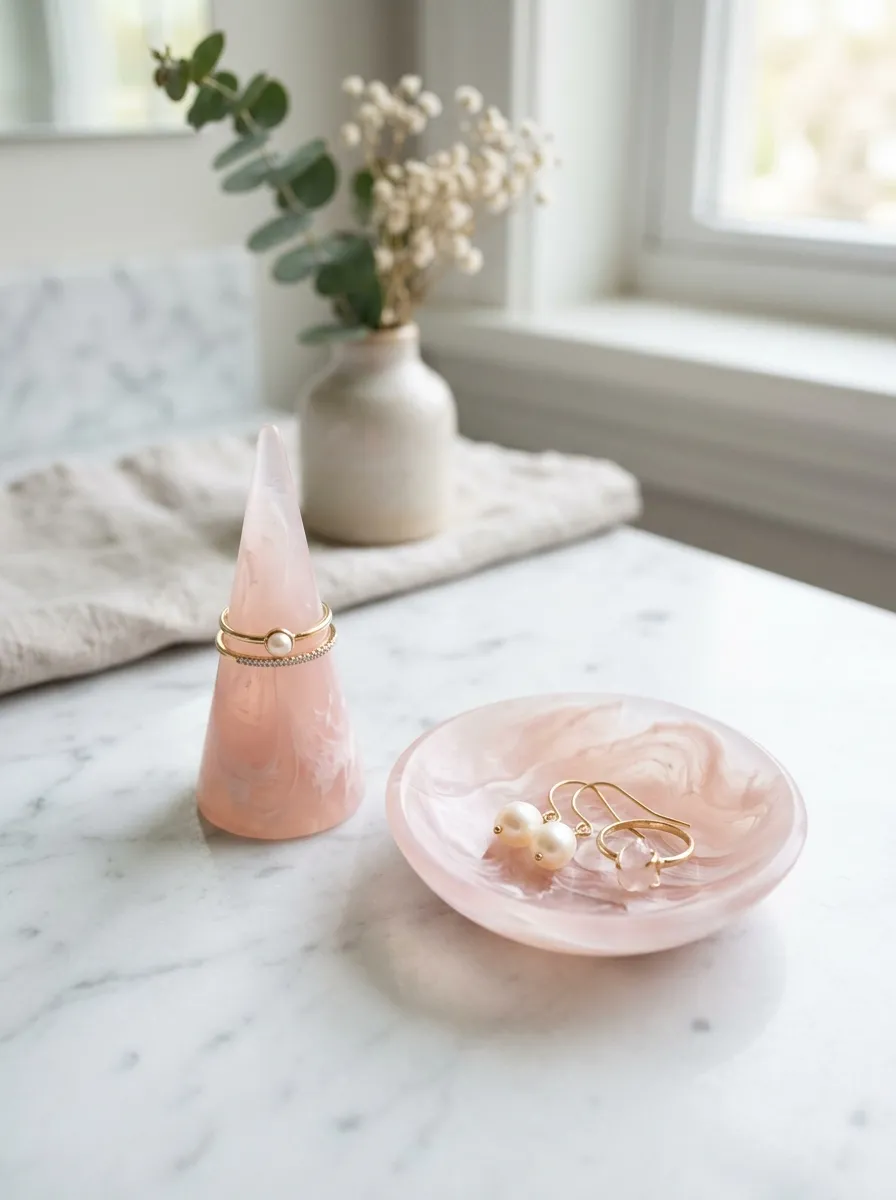
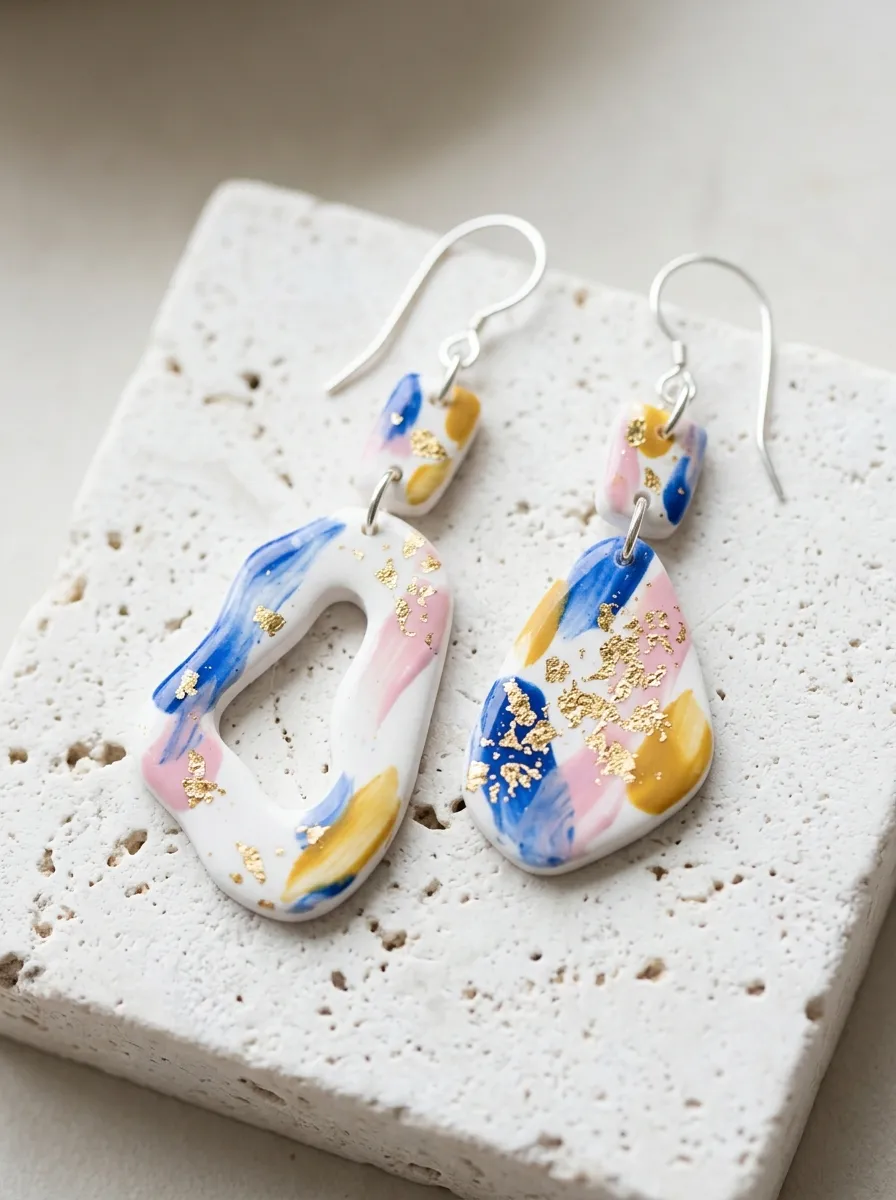
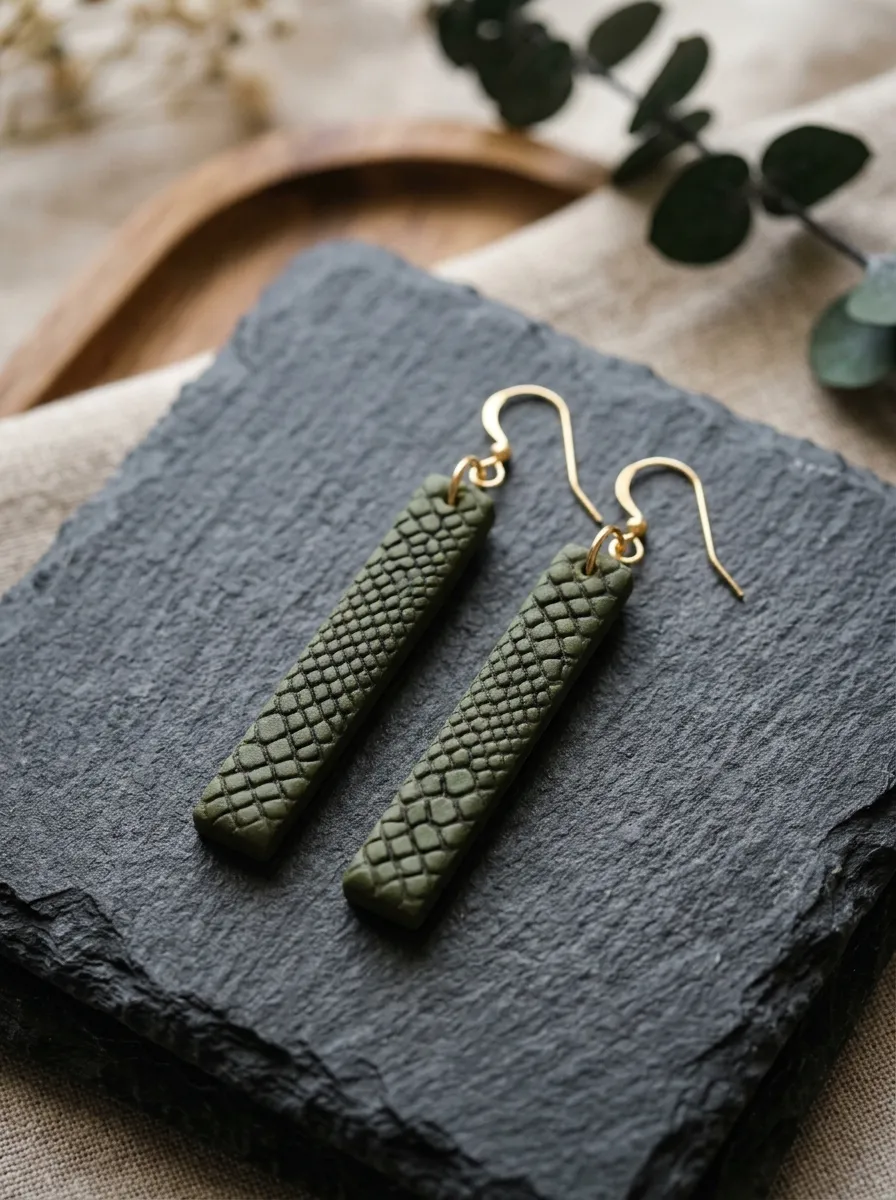
Polymer clay jewelry continues to dominate modern visual boards as a versatile, accessible medium for wearable art. Handcrafted accessories allow makers to experiment with contrasting color palettes, structural forms, and polished finishes without requiring industrial workshop machinery. This comprehensive guide details ten distinct two-tone polymer clay jewelry concepts designed to elevate your personal accessory collection or craft catalog. Readers will discover how balancing dual hues transforms simple geometric shapes into sophisticated statement pieces, from understated minimalist studs to dramatic articulated dangle earrings. Each project explores foundational clay modeling methods, precise edge-joining techniques, and surface-finishing strategies that ensure structural durability and professional aesthetic appeal. Understanding the interaction between different color blocks, metallic hardware, and clay textures enables artists to establish cohesive accessory lines with minimal financial investment. The following instructions outline essential workshop practices, curing protocols, and color-blocking concepts that eliminate guesswork for artisans at every skill level. By mastering these dual-pigment projects, you acquire practical skills in clay conditioning, shape cutting, balanced baking, and assembly, turning raw composite blocks into durable, gallery-quality wearable designs suitable for everyday use, artisanal markets, or digital showcases.
Why This Idea Is Trending or Useful
Dual-color polymer clay accessories consistently capture attention on modern visual platforms because they embody the popular clean, contemporary aesthetic seen across current design movements. Incorporating two distinct shades within a single accessory establishes immediate visual tension and depth, allowing simple geometric silhouettes to feel intentional and modern. From a practical standpoint, two-tone pieces are exceptionally functional; combining a neutral grounding tone like ivory, terracotta, or slate with an energetic accent color creates versatile jewelry that coordinates effortlessly with diverse wardrobe styles. For independent creators, this balance offers immense commercial appeal. Dual-pigment designs consume minimal raw supplies, produce very little composite waste, and do not rely on costly specialty equipment. Novice crafters can achieve high-end visual results on their initial attempts simply by adhering to basic rolling, slicing, and curing principles. The tactile nature of polymer clay also appeals to makers seeking hands-on creative projects that yield durable, professional items within a single afternoon. Because these techniques rely on fundamental physical joins rather than complex carving or painting, beginners gain instant creative confidence while producing items that align with current lifestyle aesthetics and artisanal fashion movements.
Materials and Preparation
Achieving clean, durable two-tone clay jewelry requires organized workspace preparation and appropriate fundamental tools. Gather high-density polymer clay blocks in your chosen complementary or contrasting shades, ensuring the clay is fresh and pliable. Your workspace should consist of a smooth, non-porous ceramic tile or tempered glass work surface that permits clean clay release. Essential shaping tools include an acrylic rolling rod or mechanical clay conditioner, stainless steel tissue slicing blades, assorted shape cutters, hand drills with micro-bits, and smooth ceramic baking plates. For assembly, procure lead-free jump rings, flat-back earring studs, non-reactive jewelry adhesive, and needle-nose crafting pliers. Begin your preparation by cleaning your work surfaces with isopropyl alcohol to eradicate lint, residual pigments, and airborne dust particles. Condition each color block independently by rolling and folding the material until it turns supple, smooth, and free of internal micro-fissures. Never cross-contaminate pigments; clean your rolling tools and hands thoroughly between conditioning each hue. Finally, test your oven temperature using a dedicated external oven thermometer, verifying that your heat level matches the curing instructions specified by your clay manufacturer prior to starting assembly.
Idea 1: Split-Arch Minimalist Dangle Earrings

How to Create
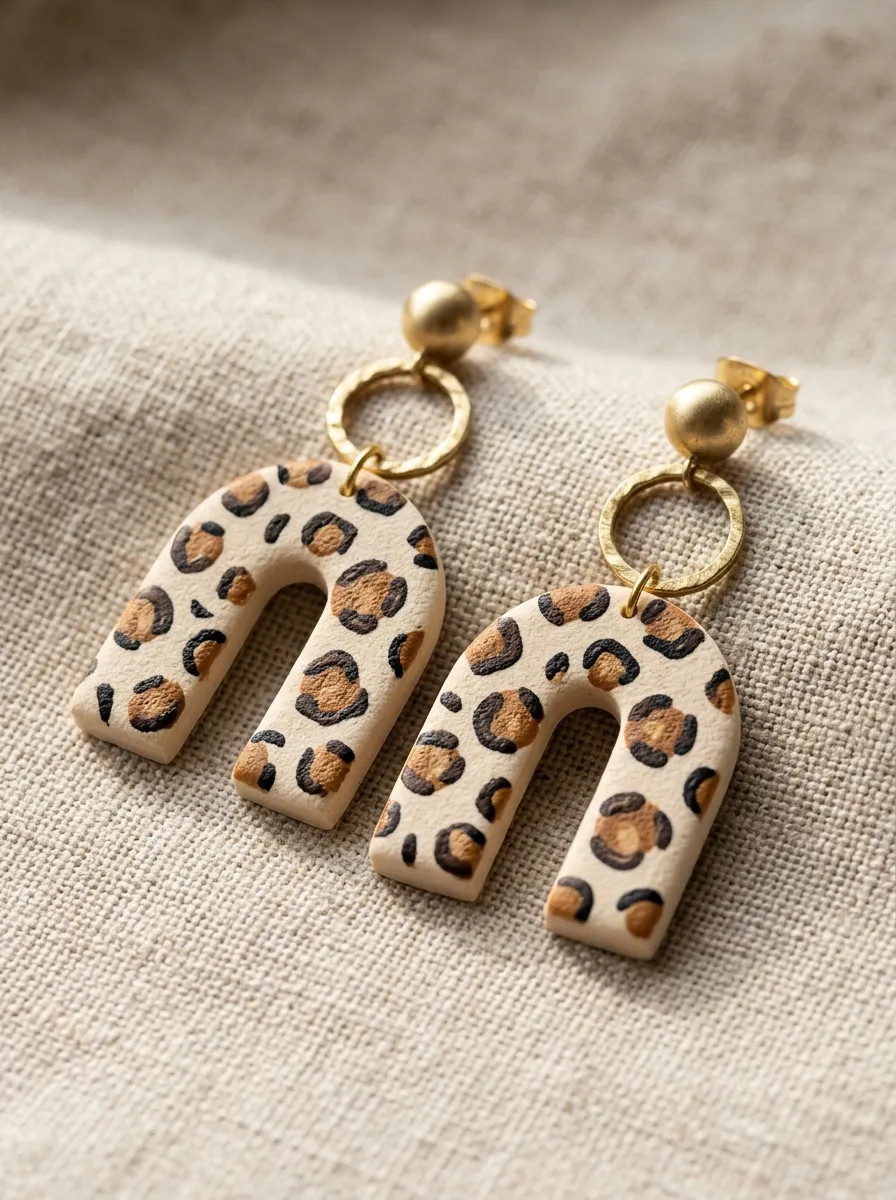
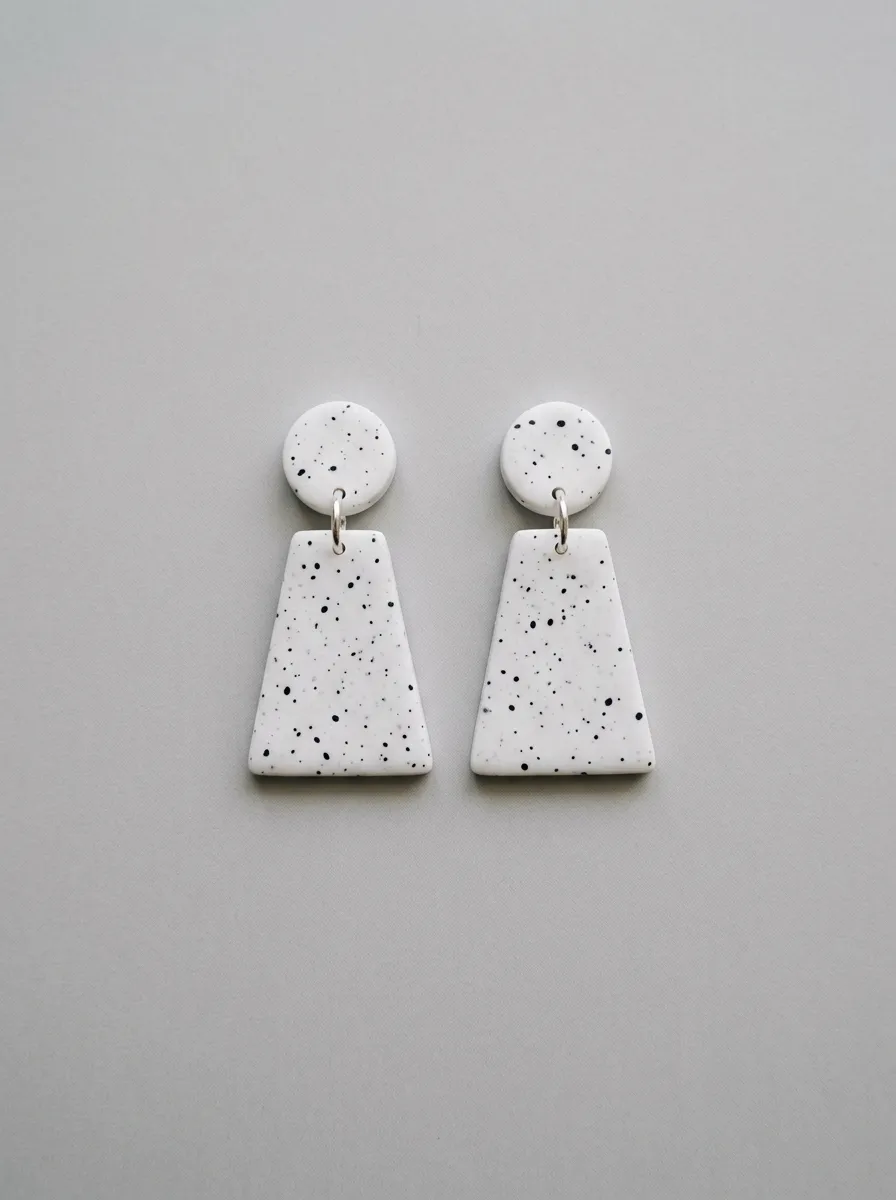
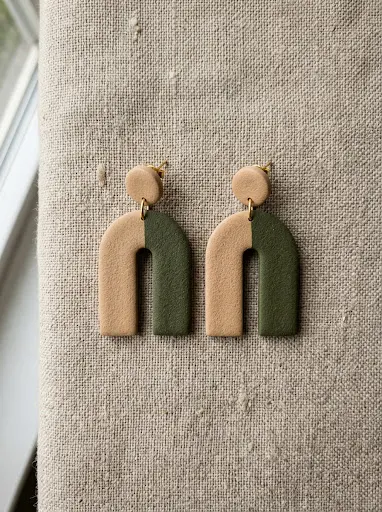
The split-arch minimalist dangle earring focuses on balanced architectural symmetry, juxtaposing a soft matte neutral with a saturated grounding shade across a rounded archway. This design draws inspiration from modern geometric interior trends, emphasizing clean dividing seams and open negative space. The top element incorporates a compact circular stud, while the lower pendant displays a vertical division where two distinct colors merge seamlessly down the center line of the arch. The stark contrast between tones emphasizes the crisp join, creating an eye-catching visual line without requiring surface paints or textures. The structural integrity relies on achieving an even thickness across both clay sections so that the finished piece hangs flush against the jawline. Choosing tones such as warm almond paired with deep olive green creates an earthy balance that suits both casual and formal wear. By keeping the exterior perimeter unembellished, the craftsmanship of the physical color seam becomes the focal point of the earring. This structural clarity provides an ideal introductory project for learning flush-seam clay construction.
To execute this split-arch design, condition equal portions of almond and olive clay until fully pliable, then roll both blocks to an even three-millimeter thickness using guide rings. Slice one straight, clean edge along each colored sheet using a rigid stainless steel tissue blade. Lay the two straight edges against each other on your working tile, pressing gently along the junction to bond the seam without distorting the flat plane. Smooth an acrylic roller lightly over the joint using parchment paper as a protective barrier to blend the seam perfectly flat. Press an arch-shaped cutter firmly through the combined slab, positioning the cutting boundary so the color seam divides the arch precisely down the middle. Use a small round cutter on the solid almond clay to generate your coordinating top stud components. Pierce uniform connecting holes along the top of the arch and bottom of the stud using a hand drill or needle tool before curing. Bake on a flat ceramic tile at the prescribed temperature for thirty-five minutes, cool completely, and join with a metallic jump ring.
Idea 2: Organic Marble and Solid Semicircle Drop Earrings
Step-by-Step Guide
This dynamic drop earring pairs an organic, swirled two-tone marble disc with an anchoring solid semicircle, providing a balanced study in chaotic and controlled forms. The upper component utilizes a hand-blended marbling technique combining stark white and deep cobalt blue, which creates sweeping, fluid ribbons across the clay surface. Below this expressive round element hangs a flat, solid cobalt semicircle that balances the visual activity of the marble pattern. The contrast between unpredictable organic veining and precise geometric blocking gives the finished piece an upscale, artisanal quality. Maintaining identical color values between the solid segment and the primary pigment in the marble ensures cohesive design flow across both components. This style maintains a lightweight profile on the earlobe while delivering significant graphic impact. The polished, stone-like appearance of the marbled disc mimics expensive lapidary minerals, allowing makers to achieve a luxury aesthetic using straightforward physical blending techniques. The project successfully highlights how simple manipulating methods can produce complex surface variations.
Begin by cutting three portions of white clay to one portion of cobalt blue clay. Roll each color into long, slender ropes of equal length, then twist the ropes tightly around one another to form an integrated spiral cylinder. Fold the twisted coil in half, roll it smooth against your tile, and repeat the twisting motion three times to multiply the color streaks without muddying the tones. Compress the twisted mass into a compact ball, then roll it outward into a flat sheet measuring two and a half millimeters in depth. Cut two circular discs from the marble slab using a medium circular cutter. Next, condition a separate sheet of pure cobalt blue clay to the identical thickness, cutting two matching circles and dividing them in half horizontally with a straight tissue blade to form semicircles. Puncture small assembly holes along the bottom of the marble circles and top centers of the blue semicircles. Bake the elements on flat parchment, sand the cured perimeters using fine wet sandpaper to smooth cut lines, and link the components using jump rings before adhering stud posts.
Idea 3: Asymmetrical Color-Blocked Hexagon Studs

Execution Process
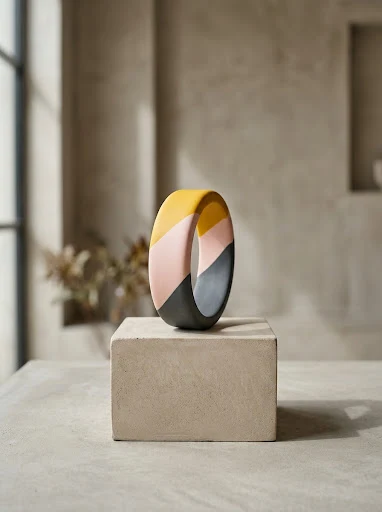
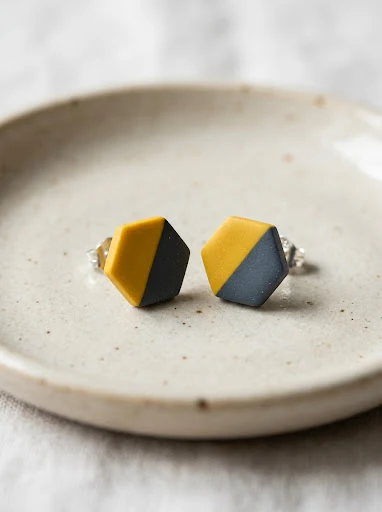
Asymmetrical color-blocked hexagon studs offer a sharp, modern alternative to traditional symmetrical earrings by introducing diagonal dividing lines across a six-sided silhouette. This concept joins two highly saturated contrasting hues, such as mustard yellow and charcoal slate, divided at a sharp forty-five-degree angle across the face of the stud. The asymmetry generates dynamic motion, transforming an understated everyday post earring into an artistic statement. The primary visual goal is securing an absolute straight line at the color intersection, free of bleeding or blurred pigment margins. The flat, low-profile design sits flush against the earlobe, making it an exceptional choice for crafters who prefer functional, snag-free jewelry. Hexagonal geometry provides crisp edges that naturally reflect light, highlighting the smooth, matte surface of the polymer medium. The design also provides an excellent platform for utilizing clay scraps from larger workshop projects, maximizing efficiency while producing modern, retail-ready personal accessories.
To construct these geometric studs, roll conditioned mustard yellow clay and charcoal slate clay into separate uniform sheets precisely two millimeters thick. Using a metal ruler and a scalpel or sharp tissue blade, cut a precise forty-five-degree bevel along one edge of each color sheet. Align these cut edges together upon your glass work tile, ensuring the seam is fully closed along the entire length. Place a sheet of baking parchment over the joined colors and burnish the surface using circular motions with an acrylic roller to fuse the pigments securely at the seam line. Position a small hexagonal cutter directly over the diagonal line, angling the cutter so the seam crosses from one corner vertex to an opposing flat facet. Depress the cutter evenly into the slab to produce your matched stud pair. Remove surrounding scrap clay carefully to avoid warping the hexagonal edges. Transfer the tile directly to your curing oven, bake according to material specifications, allow to cool, and attach hypoallergenic metal posts to the reverse sides using jewelry-grade adhesive.
Idea 4: Interlocking Dual-Hue Contour Hoop Drops
Setup Method
Interlocking dual-hue contour hoop drops utilize nesting concentric forms to achieve depth and dimensional movement without adding excess weight. This project incorporates an open-centered outer teardrop loop crafted in a soft terracotta hue, which frames an independently swinging, solid oval drop rendered in warm cream. As the wearer moves, the inner pendant sways freely within the hollow perimeter of the outer frame, generating visual interplay between the two tones. The negative space between the components highlights the clean lines of each element, producing a sophisticated, airy accessory. Achieving balanced proportions is essential; the inner drop must possess sufficient clearance along its perimeter to swing without catching against the outer frame walls. This style bridges classical hoop motifs with modern sculptural clay craftsmanship, resulting in a versatile piece that complements both casual linen wear and evening attire. The physical layering demonstrates how polymer clay can mimic modern bent-wood or cast-resin construction techniques while retaining its handmade charm.
Prepare this nesting design by rolling conditioned terracotta clay and cream clay into separate, even slabs measuring three millimeters in thickness. Take two concentric teardrop cutters, depressing the larger cutter into the terracotta sheet and immediately centering the smaller cutter within that boundary to excise the inner material, producing an open outer frame. Next, use a proportional oval cutter on the cream slab to form the suspended interior pendant, verifying that its exterior dimensions leave a two-millimeter perimeter gap inside the terracotta frame. Pierce a centered vertical hole through the top point of the terracotta frame, and pierce an identical suspension hole through the apex of the cream oval pendant. Bake all components on a smooth ceramic tile covered with cardstock to prevent surface glossing. Once cured and cooled, pass a large gauge jump ring through both components simultaneously, ensuring the cream oval hangs suspended centrally within the terracotta frame. Fasten the assembly to a comfortable ear wire to complete the functional kinetic earring.
Idea 5: Layered Terrazzo Slab Statement Pendants

How to Make
The layered terrazzo slab statement pendant translates the enduring popularity of composite architectural stone into a flat, graphic piece of wearable art. This concept pairs a pale base tone, such as soft oat or raw linen, with scattered flecks of contrasting dark pigment, mounted directly over a solid foundational backplate. The speckled composite top portion features tiny, hand-sliced fragments of contrasting clay pressed flush into the surface, creating an authentic terrazzo surface pattern. Below or behind this terrazzo pattern, an extended foundation of the solid contrasting color peeks out, forming an intentional two-tone border that frames the patterned element. This design celebrates visual texture while maintaining a completely flat, silky smooth finished surface. Terrazzo patterns are inherently unique, ensuring that every pendant made from the same slab remains an original composition. The balance between the speckled field and the grounding solid block creates an elevated, boutique appearance that pairs exceptionally well with brass findings and cord necklaces.
Create the terrazzo effect by first rolling a base sheet of oat-colored clay to two millimeters thick. Take cured or firm scraps of dark charcoal clay and slice them into microscopic, irregular geometric chips using a sharp blade. Scatter these dark flecks randomly across the oat sheet, pressing them down lightly with your fingertips. Lay parchment paper across the scattered flecks and roll firmly with an acrylic rod until the chips are pressed entirely flush into the base sheet, forming a unified, flat patterned surface. Cut this terrazzo sheet into an elongated rectangle. Roll a separate sheet of solid charcoal clay to two millimeters thick and cut a slightly wider, longer rectangle to serve as the supporting backplate. Adhere the terrazzo rectangle onto the charcoal plate, leaving an even bottom reveal of solid charcoal. Press the layers together gently to eliminate trapped air pockets. Drill two suspension holes at the upper corners, bake thoroughly, smooth the finished edges with wet abrasive paper, and string onto a natural cord or metal chain.
Idea 6: Twisted Cord Two-Tone Collar Necklace
How to Create
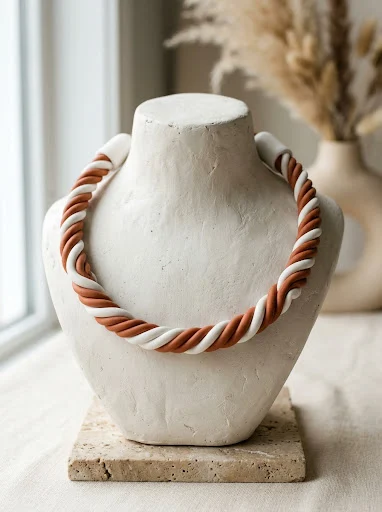
The twisted cord collar necklace transforms flat polymer clay into a dimensional, rope-like textile simulation that rests comfortably along the collarbone. This design combines two continuous coils of clay in high-contrast tones, such as matte white and rich terracotta, twisted tightly together to create a helical spiral pattern. The resulting clay cord offers visual texture, rhythm, and structural substance while remaining remarkably lightweight around the wearer’s neck. Terminated with smooth, solid-colored end caps or custom curved closures, the piece reads as a bold statement collar suitable for modern wardrobe styling. The technical focus of this design lies in maintaining uniform coil diameter along the entire length of both clay ropes, which ensures that the twist remains mathematically even from end to end. When executed cleanly, the alternating colors produce a dynamic visual spiral that draws the eye across the neckline, proving that polymer clay can achieve sophisticated fluid movement without requiring intricate carving tools.
Begin by conditioning large blocks of matte white and terracotta clay until highly pliable. Extrude or hand-roll each color into a long, perfectly uniform rope measuring four millimeters in diameter and roughly thirty-five centimeters in length. Align the two colored ropes parallel to each other on your work surface, pinching one end securely together. Gently twist the two strands around each other from top to bottom, maintaining consistent manual tension so the spirals remain identical in pitch and density along the entire length. Smooth the twisted cord gently by rolling it forward once across your tile under a flat acrylic sheet to unify the exterior profile. Form the cord into a smooth crescent or collar curve matching an anatomical neck contour directly on a curved baking bowl or flat tile. Trim the ends cleanly with a sharp blade. Drill horizontal cord-attachment holes through the terminal ends before curing. Bake supported on folded cardstock to preserve the rounded profile, cool thoroughly, and attach flexible jewelry wire, crimp beads, and a secure metal clasp.
Idea 7: Dipped-Look Horizon Bar Brooch

Step-by-Step Guide
The dipped-look horizon bar brooch takes inspiration from modern dipped ceramics, pairing an earthy base color with a sharp white or pastel color block that mimics a liquid immersion line. The primary body consists of a sturdy, elongated rectangular bar rendered in a rich tone such as slate gray, warm sage, or raw rust. One distinct end of the bar features an overlapping segment of bright white clay that terminates in a crisp, horizontal dividing boundary. This clean division creates the illusion that the finished brooch was dipped halfway into fresh paint, producing a striking modern accent for jackets, scarves, or canvas bags. The rectangular form provides structural strength, preventing the long bar from bending or warping during normal wear. Brooches offer a larger surface area than earrings, allowing the maker to showcase perfect surface smoothness and razor-sharp edge definition. The two-tone dipped styling balances organic and industrial design sensibilities, appealing to lovers of modern textile accessories.
To construct the bar brooch, condition your base clay and white clay thoroughly, rolling both to an identical three-millimeter thickness. Using a gridded cutting mat and a sharp craft scalpel, cut a rectangular bar from the base clay measuring seven centimeters in length and two centimeters in width. Cut a smaller white rectangle measuring three centimeters in length and the identical two-centimeter width. Carefully position the white rectangle over one end of the base bar, matching the outer three perimeters perfectly. Use a roller over parchment paper to compress the white overlay smoothly into the base bar, tapering the interior join line until the overall bar thickness is entirely uniform throughout. Trim any excess clay from the outer edges to re-establish sharp ninety-degree perimeter corners. Lay the assembled bar flat on a smooth ceramic baking tile. Bake at the manufacturer’s specified temperature for forty minutes to ensure optimal polymer cross-linking and rigidity. Once cool, affix a locking metal pin back to the reverse side using industrial two-part epoxy adhesive.
Idea 8: Concentric Circle Cutout Pendant

Execution Process
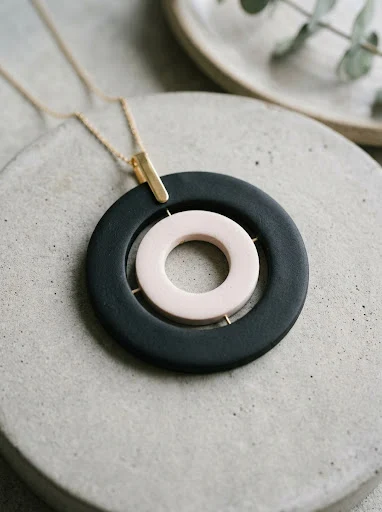
The concentric circle cutout pendant explores negative space and nested geometry by pairing two contrasting circular rings that float within one another. The outer component is formed as an open circular doughnut shape in a bold shade, such as mustard yellow or midnight black. Suspended directly inside its open center is a smaller, floating circular ring rendered in a soft off-white or blush hue. This open-air concentric construction allows the wearer’s clothing to show through the jewelry piece, integrating the accessory directly with the underlying textile. The visual interest stems from the precise spacing between the concentric boundaries, which creates harmonious symmetry and modern graphic impact. The structural key to this design is achieving concentric circles that are centered, ensuring that the wall thickness of each ring remains balanced along its entire circumference. This airy, structural pendant delivers substantial presence on the chest without feeling dense or visually heavy.
Begin by rolling conditioned black clay and soft off-white clay into separate slabs measuring three millimeters in depth. On the black slab, press a large fifty-millimeter round cutter into the surface, then center a thirty-five-millimeter cutter directly inside that cut before removing the clay, creating a clean circular frame fifteen millimeters wide. On the off-white slab, use a thirty-millimeter cutter to establish the outer edge, and center a fifteen-millimeter cutter inside it to form the smaller nested ring. Carefully remove the center dropouts and exterior waste clay from both elements. Using a small hand drill or needle tool, pierce a tiny vertical suspension hole through the top edge of both circular rings, and an additional pairing hole at the bottom interior of the larger black ring. Bake the rings flat between two sheets of cardstock weighted with an oven-safe tile to maintain flatness. After baking and cooling, connect the interior off-white ring to the outer black ring using a small jump ring, then thread the top loop onto an elegant metal bail and chain.
Idea 9: Scalloped Dual-Color Modular Bracelet Links

Setup Method
This modular bracelet concept utilizes a series of identical, interlocking scalloped links featuring a two-tone diagonal color split across each individual unit. The repeated modular links connect sequentially via jump rings, wrapping comfortably around the wrist like a flexible chain of wearable modern art. Each scalloped link combines two soft tones, such as pastel lilac and butter yellow, joined diagonally across the curved crest of the scallop. When joined together in a continuous chain, the alternating colors create a rhythmic, undulating visual wave that circles the wrist. The repetitive nature of this build allows makers to practice precise small-batch production, ensuring every link matches its neighbors in scale, thickness, and hole placement. The scalloped edges soften the overall look, providing a playful yet balanced retro aesthetic that appeals to enthusiasts of modern vintage fashion. The flat construction ensures maximum comfort against the skin for everyday wrist wear.
Produce the modular links by conditioning your two complementary clay colors and passing them through a pasta machine or acrylic roller to achieve an exact two-millimeter thickness. Join long strips of each color down their center seams using the parchment burnishing method to form a single continuous two-tone sheet. Use a small scalloped cutter to punch out eight to ten identical link units, orienting the cutter so that the color seam runs diagonally across each scallop profile. Carefully remove each cutout link, using a needle tool to create two clean connection holes on opposing ends of each individual link. Inspect all links to confirm uniform hole placement, which guarantees the finished bracelet hangs straight around the wrist. Bake the entire batch on a flat baking surface for thirty minutes. Once cured and completely cooled, sand any burrs along the edges using wet sandpaper, then link each module together in sequence using sturdy jump rings, finishing the chain with a functional magnetic or lobster claw clasp.
Idea 10: Checkerboard Inlay Geometric Drop Earrings
How to Make
Checkerboard inlay geometric drops bring historical pattern work into contemporary jewelry through clean two-tone micro-mosaic assembly. This design pairs crisp white and deep forest green squares assembled into a balanced four-square or nine-square grid, forming a substantial rectangular drop pendant. The contrast between deep pigment and clean white produces a punchy visual rhythm that aligns with current graphic fashion trends. Rather than painting the grid on top of cured clay, this method constructs the pattern through physical clay inlay, yielding permanent, sharp edges that will never peel or wear down over time. The geometric precision of the grid is balanced by pairing the drop with a solid, minimalist stud element, anchoring the pattern and allowing the checkerboard to take center stage. Mastering this inlay technique provides makers with foundational skills in cane-building and surface compression that can be applied to countless other patterns.
To build the checkerboard pattern, roll solid white and forest green clay into long rectangular blocks possessing an identical square cross-section of roughly six millimeters by six millimeters. Stack two white square ropes and two green square ropes together into a two-by-two checkerboard pattern, alternating the colors so that opposing hues sit adjacent and diagonal to one another. Gently press the composite block together from all four sides using flat acrylic blocks to compact the seams and eliminate air gaps. Using a razor-sharp tissue blade, slice thin cross-sections across the end of the checkerboard cane, yielding identical multi-square patterned tiles measuring two millimeters in thickness. Mount these patterned slices onto a thin, two-millimeter backing slab of solid green clay to provide structural backing. Cut the slab into clean rectangles using a rigid blade, punch a connection hole at the top edge of each, and bake flat for thirty-five minutes. Cool the components, polish the faces smooth, and connect to ear posts using small metal jump rings.
Common Beginner Mistakes and How to Avoid Them
Beginners working with dual-tone polymer clay commonly encounter several preventable pitfalls that compromise the structural integrity and aesthetic finish of their pieces. A frequent issue is color bleeding or cross-contamination during the rolling and cutting stages, which leaves dark pigment smudges across light-colored clay surfaces. Prevent this by thoroughly washing hands with soap, wiping down acrylic rollers, and cleaning work surfaces with rubbing alcohol whenever switching between different colored slabs. Another widespread mistake is underbaking the clay, which results in brittle, fragile jewelry components that snap or crumble when drilled or handled. Polymer clay cures via heat-activated chemical cross-linking; always verify your oven’s internal temperature using a standalone oven thermometer rather than relying on the appliance dial, and bake pieces for the full duration specified by the manufacturer. Trapping air pockets during seam assembly is another error that causes visible blistering or surface separation during baking. Prevent bubbling by rolling an acrylic rod smoothly across joins under firm pressure with parchment paper. Finally, drilling connection holes too close to the edges of clay pieces causes the structural margins to crack under tension. Always drill holes at least two to three millimeters inward from any cut perimeter to maintain structural durability.
Practical Tips for Better Results
Elevating two-tone polymer clay jewelry from amateur projects to professional pieces requires attention to finishing techniques and physical preparation. Always condition your clay thoroughly before cutting; adequately conditioned clay flexes smoothly without showing cracks along folded margins, ensuring clean cuts and seamless joins. When cutting geometric shapes, cover your conditioned slab with a layer of ultra-thin plastic wrap before pressing cutters into the material. This simple technique softens perimeter edges, yielding a curved, professional contour that requires minimal manual sanding after baking. For completely flat pieces, bake your jewelry components sandwiched between two unglazed ceramic tiles lined with clean cardstock; this setup prevents thermal warping and eliminates shiny spots caused by direct glass contact. After curing, implement a multi-stage wet sanding routine, progressing from four-hundred-grit to one-thousand-grit wet-and-dry sandpaper submerged in warm, soapy water. This removes surface dust, flattens uneven seams, and imparts a silky, matte stone texture to the polymer surface. Finally, consider sealing light-colored pieces with a thin layer of matte polymer varnish to shield delicate whites and pastels from body oils, cosmetic transfers, and environmental grime during long-term daily wear.
Styling, Presentation, or Organization Ideas
Presenting two-tone polymer clay jewelry effectively elevates its perceived value, whether styling pieces for editorial photography, organizing personal collections, or preparing inventory for retail display. Because two-tone accessories possess clean graphic dividing lines, they display best against neutral, textured backdrops such as raw linen fabric, light-toned unvarnished wood blocks, or matte architectural concrete slabs. When photographing your designs for digital galleries, utilize diffused natural window lighting to highlight surface smoothness without casting harsh reflections or washed-out highlights across delicate pastel pigments. For retail presentation, mount finished earrings and pendants on heavy, unprinted kraft paper cards or debossed linen stock; minimal, tactile packaging materials complement the handmade nature of the jewelry without competing with its color balance. For personal accessory organization, store completed polymer clay jewelry on soft fabric-lined hanging trays or multi-tiered wall racks rather than tossing pieces loosely into crowded jewelry boxes. Storing clay items in open, organized compartments prevents metal jump rings and sharp earring posts from scratching smooth clay faces, preserving the pristine matte finish of your pieces over years of regular use.
Budget or Time Planning
Crafting high-quality two-tone polymer clay jewelry provides an economical creative outlet when planned with efficient batching workflows and sensible material investments. Polymer clay remains an affordable raw material, with a single standardized block yielding multiple small jewelry components when rolled to practical thicknesses between two and three millimeters. Maximize your financial investment by acquiring basic primary colors alongside a generous supply of white and black clay, allowing you to hand-mix custom pastel tints, deep jewel shades, and muted earthy tones without purchasing numerous specialized colors. Structure your production time into dedicated assembly stages to boost efficiency; dedicate your initial hour entirely to color mixing, conditioning, and rolling uniform slabs. The second phase should focus exclusively on precision cutting, seam burnishing, and hole puncturing across all planned designs. Bake all prepared components concurrently in one large, temperature-monitored oven batch to save household energy and prevent inconsistent cure cycles. While parts are curing and cooling, organize your jump rings, earring posts, and pliers for assembly. This structured, assembly-line workflow lets you produce an entire multi-piece accessory collection in three to four focused workshop hours.
Creative Expansion and Advanced Inspiration
Once you have mastered foundational two-tone joins and geometric silhouettes, several advanced design variations offer limitless creative expansion for future jewelry projects. Consider experimenting with varied surface textures by applying rubber stamping mats, coarse linen weaves, or etched acrylic plates to one color block while leaving the opposing tone completely smooth. This textural contrast adds tactile dimension to your two-tone visual balance, producing pieces that feel architectural and complex. Another compelling direction involves incorporating metallic elements directly into your clay seams, such as laying thin brass wire, gold leaf flakes, or raw metallic powder along dividing borders before final baking. You can also explore sculptural, dimensional forms by bending dual-toned slabs over curved wooden dowels or ceramic armature tubes during the curing process, producing dynamic undulating cuffs, curved hoop drops, and sculptural ring bands. Finally, consider exploring translucent clay formulations tinted with concentrated alcohol inks to create semi-translucent color blocks that interact with light, contrasting them against completely opaque companion slabs. These advanced modifications highlight polymer clay’s incredible adaptability, allowing artisans to continuously push the limits of contemporary wearable accessory design.