Crafting animal-print polymer clay jewelry enables designers and jewelry lovers to recreate wild nature patterns with accessible, modern craft materials. Exploring animal prints provides direct access to high-contrast visual textures, organic forms, classic neutral palettes, and striking statement accents. In this detailed guide, you will learn the exact methods required to condition, pattern, cut, assemble, bake, and finish safari-inspired pieces with professional durability. Understanding how to translate leopard rosettes, zebra striping, tortoiseshell marbling, snake scales, and dalmatian spots into lightweight wearable art gives you the freedom to craft personal accessories on demand. Working with polymer clay is an exceptionally useful skill because it eliminates the high cost, complex machinery, and heavy metal-smithing equipment historically needed to manufacture decorative statement accessories. With a structured approach and basic craft tools, you will gain the ability to turn simple clay blocks into intricate, boutique-quality statement earrings, textured pendants, and timeless cuff bracelets. Whether you want to elevate your personal jewelry wardrobe, build an artisan collection for an online storefront, or simply develop a reliable handcraft, this practical tutorial provides actionable techniques to transform classic fauna motifs into wearable contemporary treasures.
Why Animal Prints Dominate Modern Handmade Jewelry
Animal print concepts consistently dominate modern design platforms because they offer character, high-contrast visual energy, and a bold presence that plain accessories fail to deliver. Fashion lovers and handmade enthusiasts actively seek out items that serve as neutral statement pieces while maintaining practical, lightweight comfort for everyday wear. The natural versatility of polymer clay makes it an ideal medium for this design trend, as it easily mimics organic hide textures, translucent horn, glazed porcelain, and smooth leather without adding cumbersome weight to the wearer’s earlobes or necklines. For beginners, this craft offers remarkable accessibility because it requires minimal upfront investment and does not rely on toxic chemicals or expensive studio kilns. Anyone can produce heirloom-quality accessories at a home kitchen table or small craft desk using an ordinary household baking oven. Furthermore, wildlife patterns encourage deliberate creativity, enabling makers to utilize cane slicing, surface marbling, and everyday household implements to impress detailed organic designs directly into raw clay. Combining untamed nature with effortless DIY usability ensures this creative avenue remains universally appealing to both aspiring artisans and seasoned jewelry designers.
Essential Materials, Workstation Tools, and Preparation
Preparing an organized workspace is essential for producing clean, professional clay jewelry free of surface debris, accidental finger impressions, or lint. Your core materials must include high-grade, professional polymer clay blocks in primary animal-print colors, such as warm beige, rich terracotta, burnt umber, jet black, translucent amber, and optical white. Gather clean craft equipment, including an acrylic rolling roller, dedicated jewelry cutters, a flexible tissue slicing blade, parchment paper, and a digital oven thermometer to monitor precise baking temperatures. Your assembly hardware kit requires nickel-free brass jump rings, hypoallergenic earring posts, industrial jeweler adhesive, flat-nose pliers, and water-resistant micro-grit sandpaper sheets ranging from 400 to 1200 grit. Begin by thoroughly washing and drying your hands, then wipe your ceramic tile or tempered glass working surface with isopropyl alcohol to remove lingering grease and atmospheric dust particles. Condition the polymer clay block by hand-kneading or passing it through a dedicated clay roller multiple times until the material becomes pliable, cohesive, and completely devoid of internal air pockets. Taking the time to properly measure your clay thickness and establish clean workspaces guarantees that every subsequent assembly step proceeds smoothly and without structural failures.
1. Classic Leopard Rosette Statement Arch Earrings

How to Create
The classic leopard rosette design draws inspiration from African leopard coats, where irregular golden-tan patches are outlined by broken, organic dark brown rings. In this polymer clay adaptation, the pattern relies on high contrast between a warm cream base slab, rich caramel centers, and deep espresso ring borders. This feline pattern captures timeless safari appeal while maintaining a structured, balanced shape that flatters the jawline when shaped into elongated modern arches. By blending organic wildlife patterning with architectural earring geometries, you produce an ornament that retains visual energy without appearing chaotic or disorderly. The visual depth created by hand-applied clay spots provides a realistic, painted appearance that commands immediate attention in any setting. Crafting this piece helps beginners master foundational skills regarding slab patterning, roller integration, and symmetrical component cutting, all of which apply broadly across many other patterned jewelry forms.
Begin by rolling conditioned warm cream polymer clay to a uniform depth of three millimeters over a smooth tile to form the base canvas. Next, roll a small portion of caramel-brown clay into a narrow log, slicing tiny discs to place randomly across the cream base slab. Roll out a very thin log of jet-black clay, cut tiny segments, and gently wrap them around the caramel dots, intentionally leaving open gaps to form authentic broken rosette rings. Place a sheet of parchment paper over the patterned slab and roll firmly with your acrylic roller until the spots fuse completely flat into the cream base. Use a sharp arch-shaped clay cutter to cut out two matching arched frames, then use a piercing needle to punch small connection holes near the top and bottom edges. Bake the earrings flat on your ceramic baking tile for thirty-five minutes at 130 degrees Celsius, monitoring your independent oven thermometer closely. Once cooled, sand the perimeter edges with 600-grit wet sandpaper, and link each arch to a matching brass ball stud using flat-nose pliers and brass jump rings.
2. Monochrome Zebra Stripe Fan Dangle Earrings
Execution Process
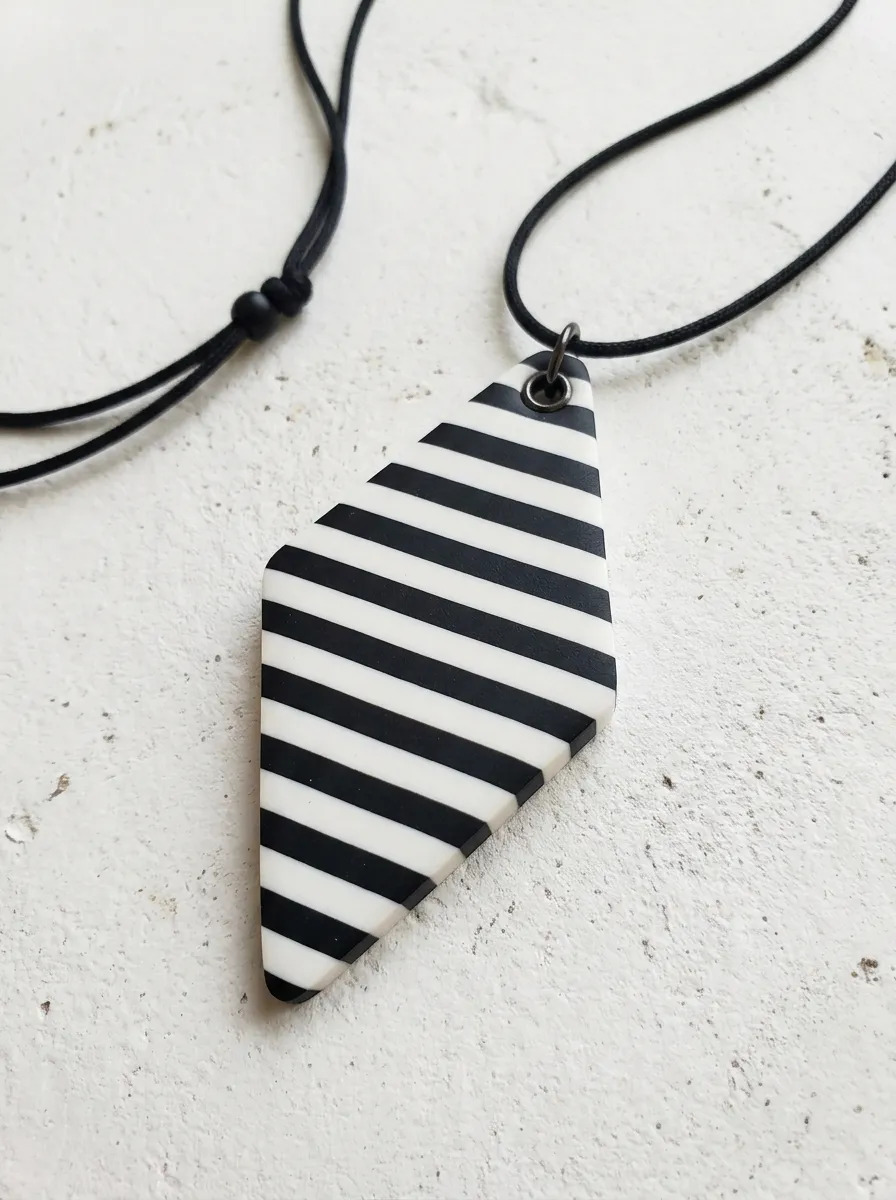
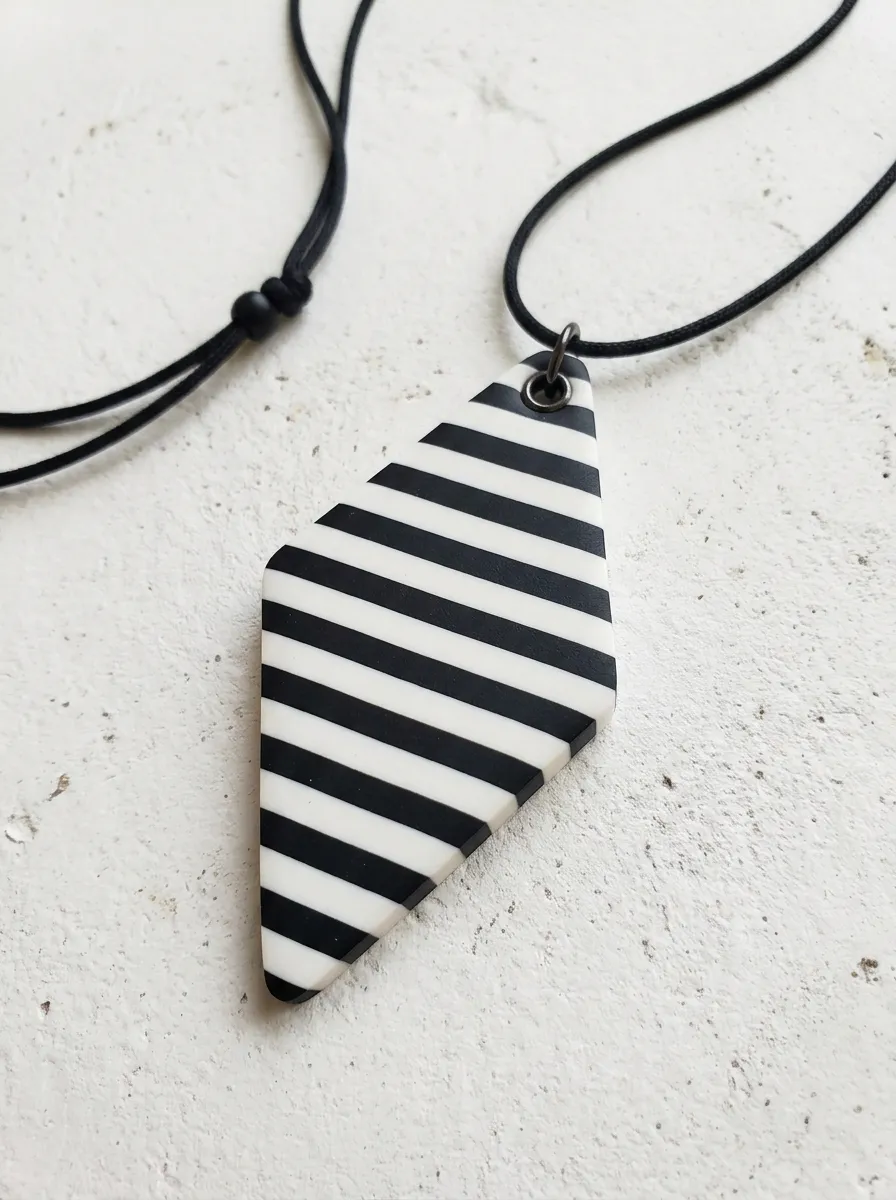
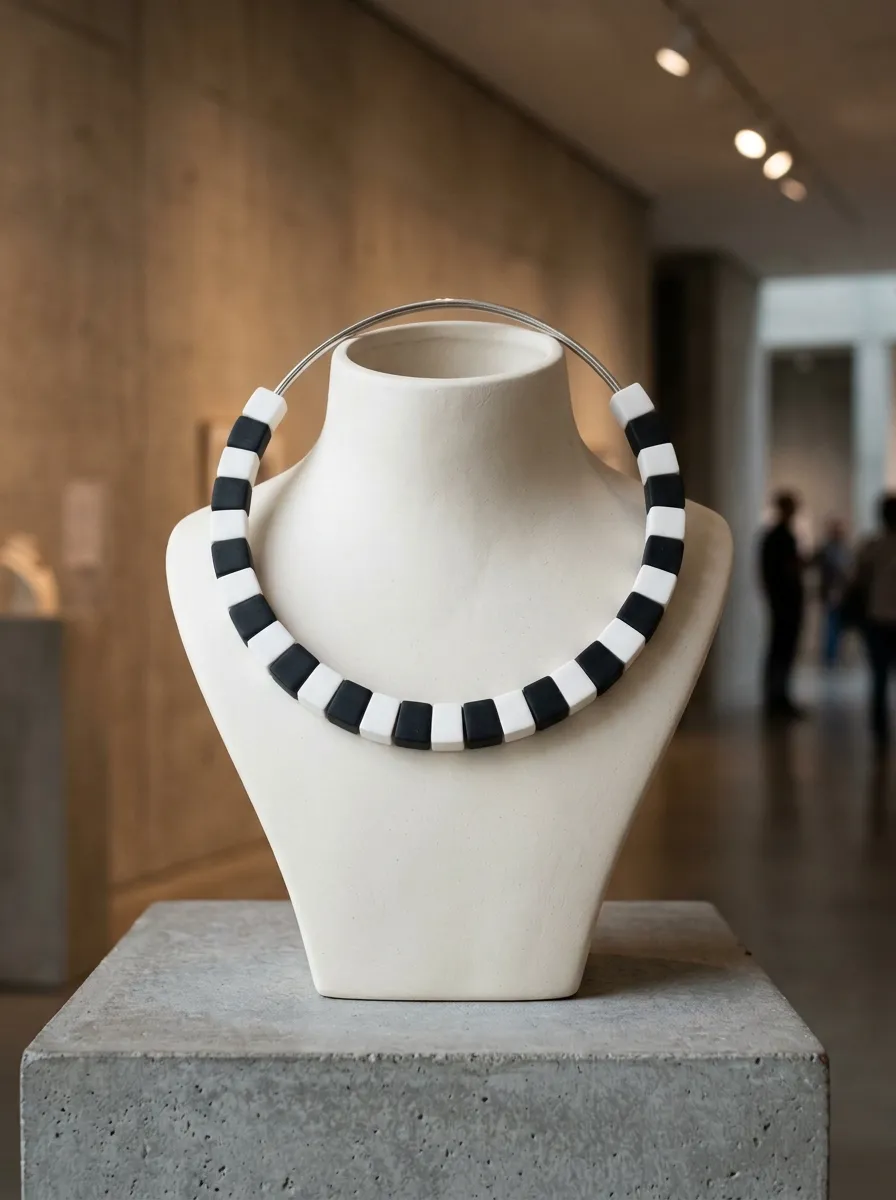
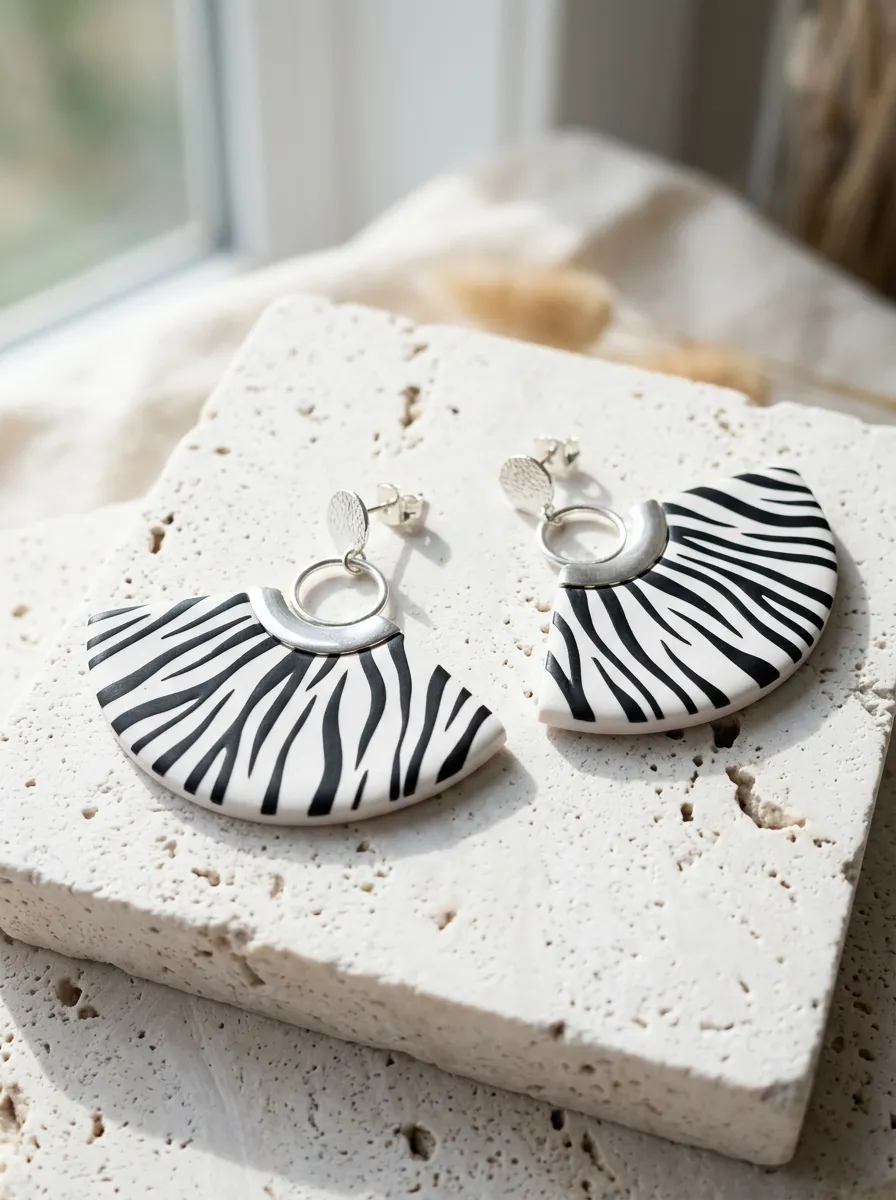
Monochrome zebra stripe dangles capture the bold graphic energy of African plains zebras, celebrated for their dramatic alternating ribbons of crisp white and deep black. The focal point of this accessory is the dynamic tension between stark contrasting stripes and graceful, curving fan silhouettes. Polymer clay is an exceptional vehicle for zebra stripes because it allows makers to produce crisp, non-bleeding lines through precise clay cane layering or thin surface appliqués. When executed in classic monochrome, these earrings project a sharp, contemporary elegance that pairs equally well with casual monochrome streetwear and formal evening attire. The wide fan framework provides an expansive visual field for the bold stripes while maintaining an ultra-lightweight profile that never pulls down the earlobes. Crafting this project introduces beginners to line tapering, stripe distortion techniques, and balanced geometric cutting, establishing essential skills for advanced graphic clay design.
Roll a slab of thoroughly conditioned bright white clay into a consistent sheet measuring 2.5 millimeters in thickness using your acrylic roller. Prepare a separate small slab of jet-black clay rolled to an ultra-thin one-millimeter setting. Using a flexible tissue blade, cut the black clay into long, tapered slivers with pointed tips and varying widths to mimic organic zebra striping. Lay the black slivers across the white slab in gentle, converging diagonal curves, ensuring some lines branch out naturally like wild zebra coats. Lay a sheet of tracing paper over the patterned slab and burnish the surface gently with your fingertips and roller to press the black stripes flush into the white foundation. Use a large fan-shaped cutter to cut out two symmetrical earring components, and pierce a clean suspension hole at the apex of each piece. Bake the fan pieces for thirty minutes at 130 degrees Celsius, allowing them to cool completely before wet-sanding the borders with 800-grit sandpaper and attaching stainless steel ear wires.
3. Translucent Tortoiseshell Marbled Hoops
Setup Method
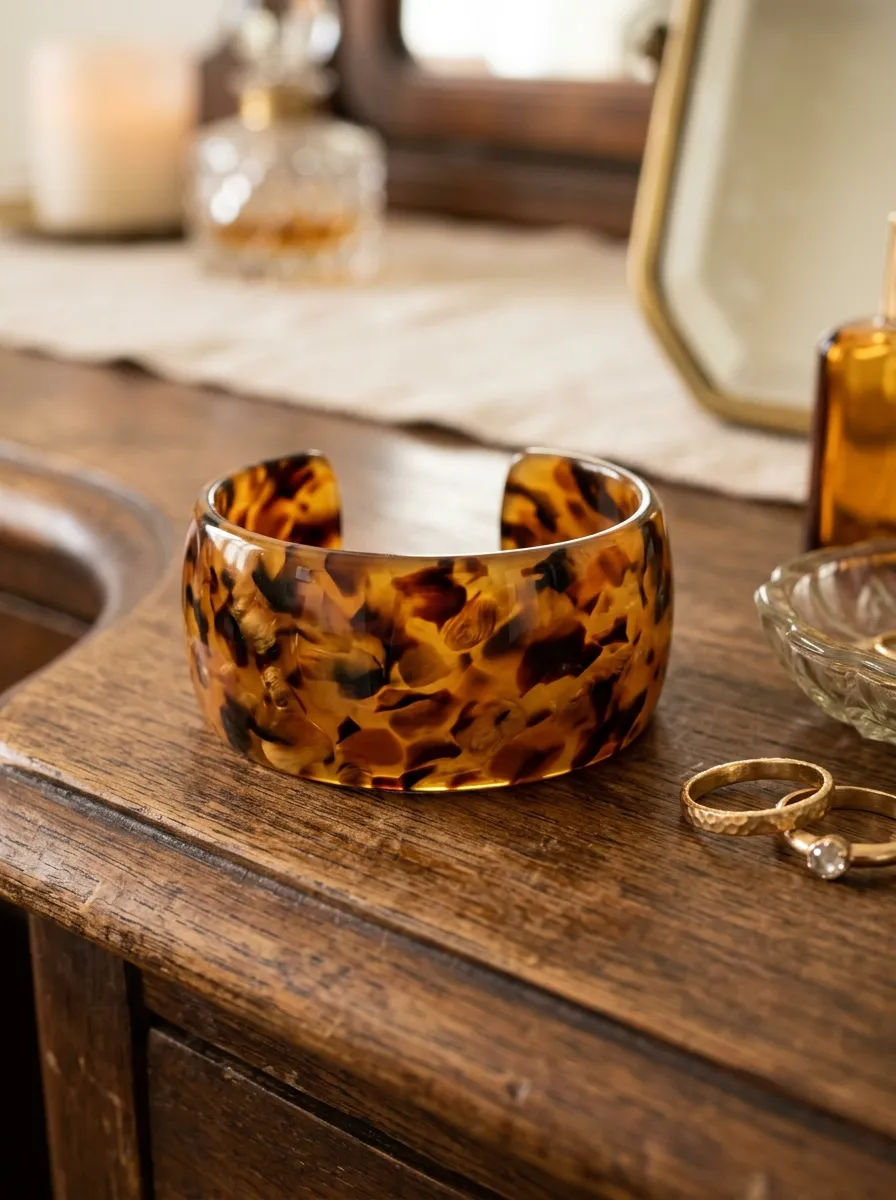
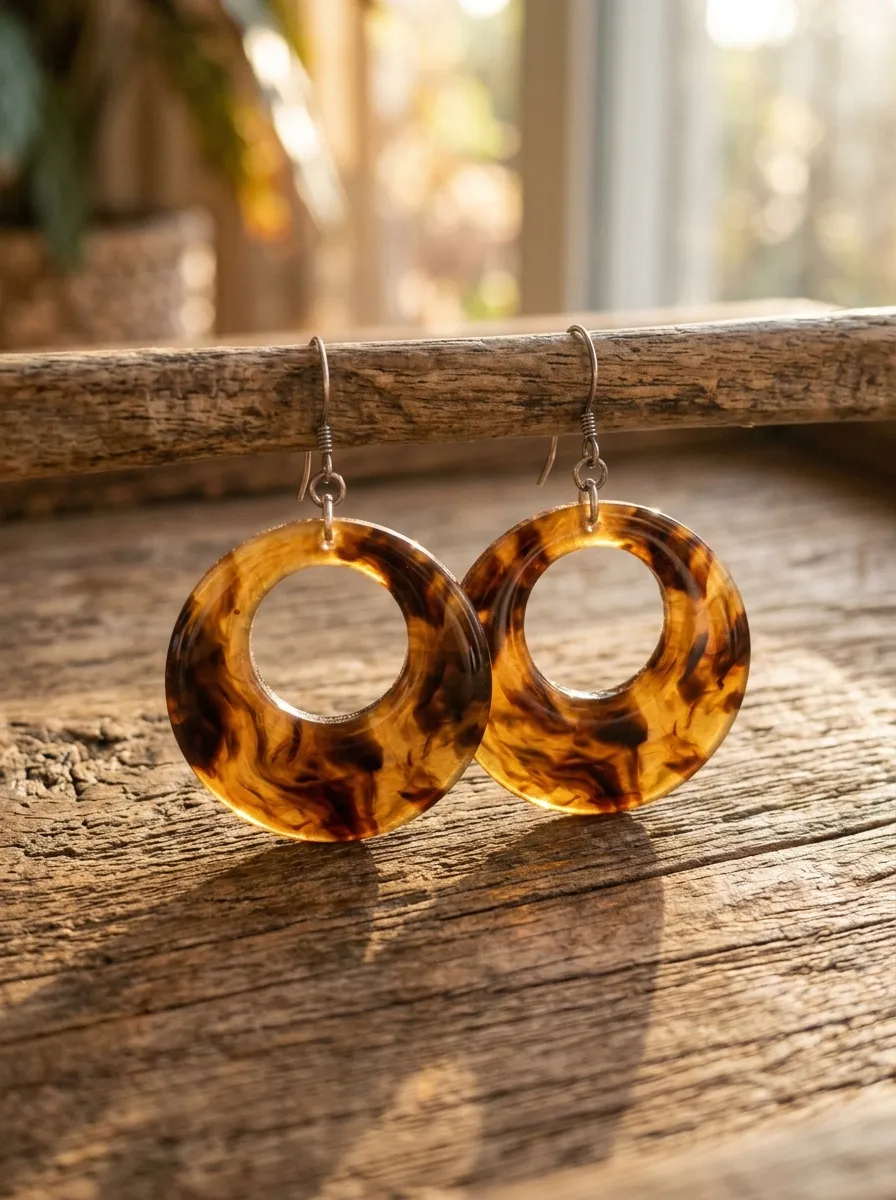
Translucent tortoiseshell marbled hoops replicate the warm, waxy depth and mottled amber translucency found in antique tortoiseshell eyewear and heirloom accessories. Instead of opaque pigments, this design relies on blending heavy ratios of translucent clay with rich amber, golden ochre, and deep chocolate brown. The circular hoop silhouette creates an open, flowing framework that catches ambient light, highlighting the suspended flecks of dark pigment trapped beneath the glowing amber surface. Transforming standard crafting clay into believable faux tortoiseshell enables makers to wear iconic luxury aesthetics without using restricted biological materials or expensive manufactured horn. Because hoop earrings interact constantly with natural light, the translucent layers glow softly, bringing flattering, warm golden undertones to the wearer’s face. Mastering this project teaches students the foundational techniques of formulating translucent formulas, controlling mica inclusions, and forming dimensional hoop curves using rigid cylindrical baking cores.
Formulate the simulated tortoiseshell mixture by chopping sixty percent translucent clay, twenty-five percent raw sienna clay, and fifteen percent deep chocolate brown clay into coarse pea-sized cubes. Scatter the mixed colored cubes together into a dense cluster, compacting them firmly with your hands into a single solid rectangular block. Slice paper-thin wafers off the end of this block using a sharp tissue blade, then lay the variegated wafers onto a thin sheet of pure translucent backing clay. Roll over the surface with an acrylic roller to blend the mottled edges into smooth, continuous amber-hued tortoiseshell patterns. Use concentric round circle cutters to cut out hollow hoop rings, smoothing any rough edges with an alcohol-dampened cotton swab. Drape the flat cut rings carefully over a wooden cylinder or glass bottle to bake in a rounded curve, or keep them flat for modern disc-hoop silhouettes. Bake for thirty-five minutes at 130 degrees Celsius, cooling fully before coating the pieces with high-gloss jewelry varnish to achieve an authentic polished horn finish.
4. Minimalist Dalmatian Spot Geometric Drops

Step-by-Step Guide
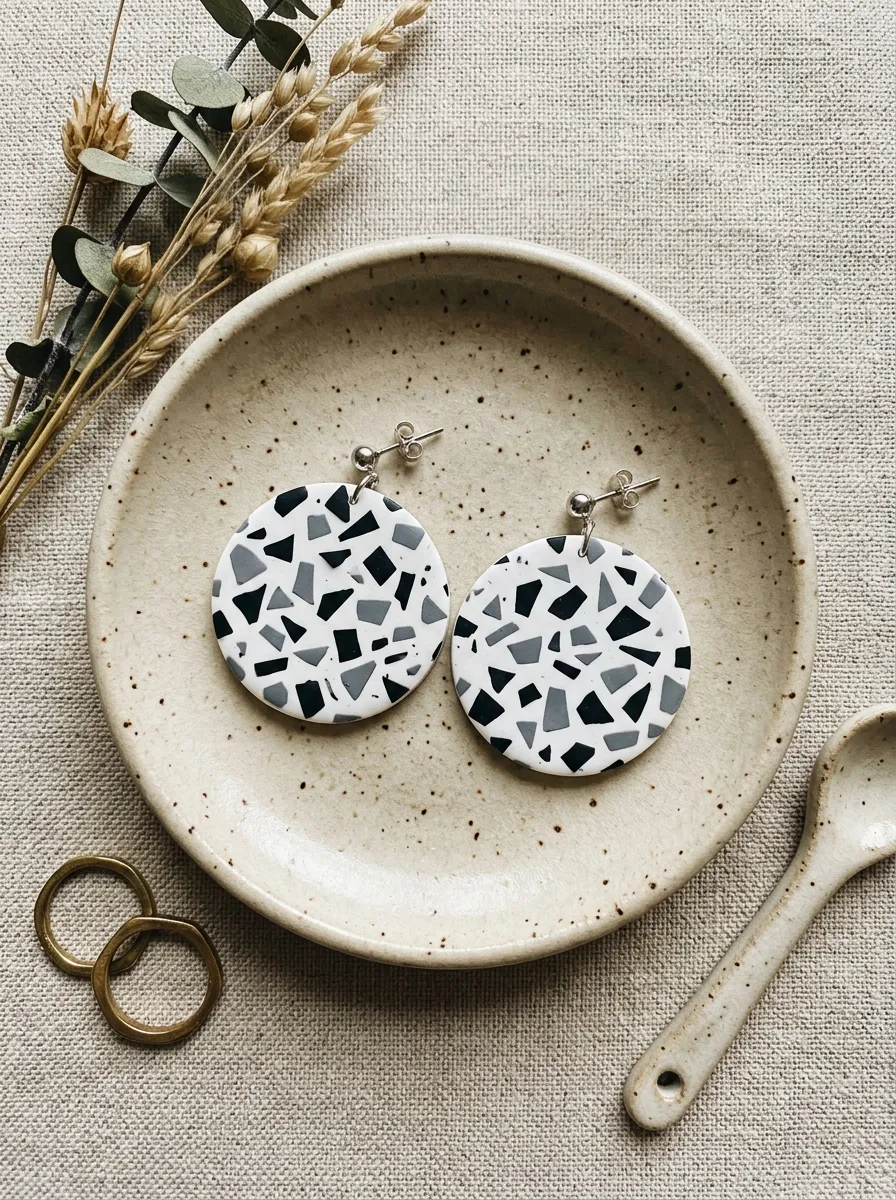
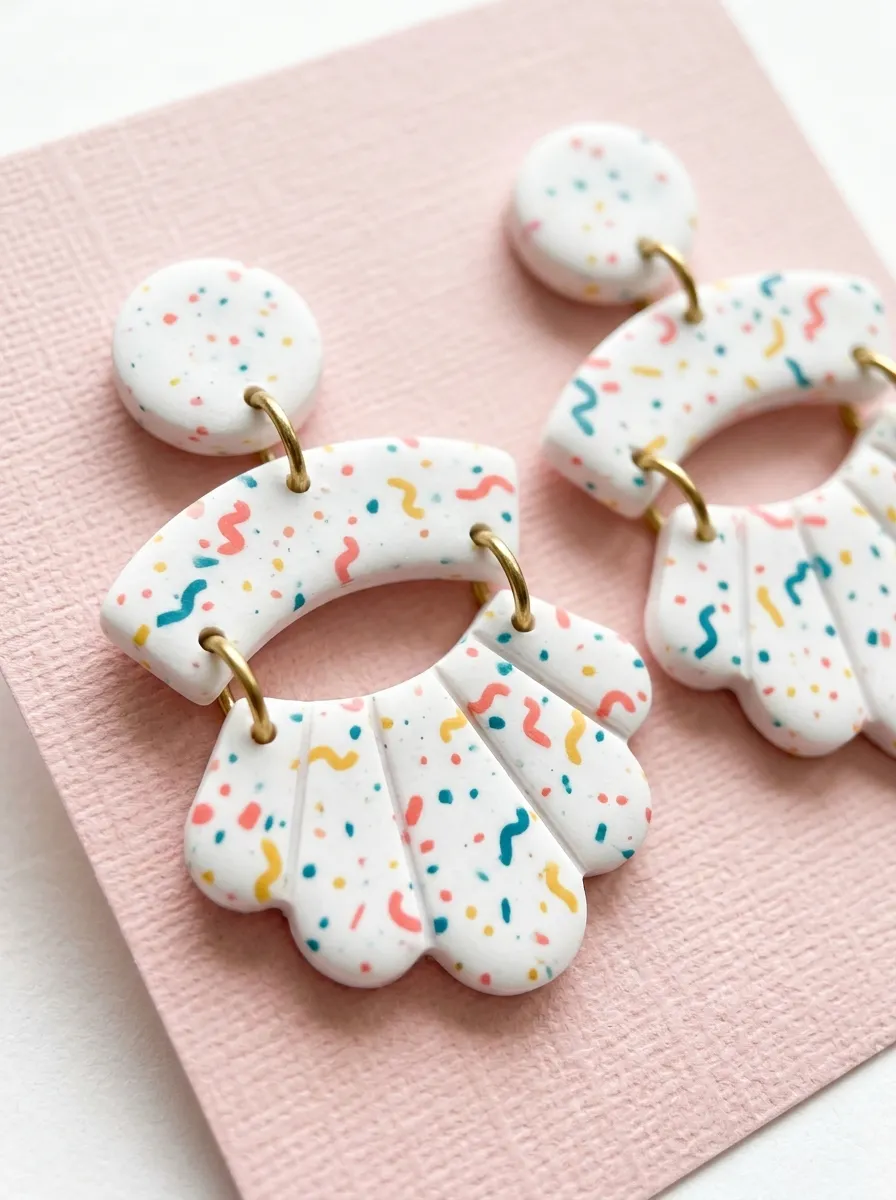
Minimalist dalmatian spot geometric drops draw inspiration from the spotted coats of Dalmatian canines and natural speckled granite stones. This design features an unblemished, matte white clay canvas sprinkled with irregular, micro-fine black speckles, shaped into paired geometric trapezoids and small circular discs. The clean simplicity of the monochrome palette provides a versatile everyday aesthetic that coordinates effortlessly with modern office wear, minimal linen shirts, and casual denim jackets. Unlike complex patterned slabs that require elaborate layout planning, the dalmatian motif relies on spontaneous, organic spot placement that makes every single earring uniquely charming. The clean lines of the paired geometric drops balance the playful character of the spots, creating a professional and polished piece of handmade jewelry. Making these drops introduces beginners to the simple technique of surface pebble embedding, clean multi-tier drop assembly, and maintaining pristine white clay surfaces without discoloration.
Roll a block of conditioned white polymer clay to a uniform thickness of three millimeters on a clean glass working tile. Pinch off dozens of tiny, pinhead-sized pieces of black clay, rolling a few between your palms into rounded spheres while leaving others in irregular organic shapes. Scatter the tiny black specks across the white clay slab with varying density, clustering several spots closer together while leaving breathing room across other areas. Place a clean sheet of baking parchment over the slab and press the specks flat into the white base using firm, even passes with your acrylic roller. Use a trapezoid cutter for the lower drops and a small round cutter for the top ear studs, cutting matching pairs from the speckled slab. Punch clean jump-ring connecting holes through the pieces using a round piercing tool before curing. Bake all components flat on parchment paper for thirty-five minutes at 130 degrees Celsius, cool thoroughly, and connect the shapes using minimal silver jump rings.
5. Earthy Giraffe Pattern Hexagon Pendants

How to Make
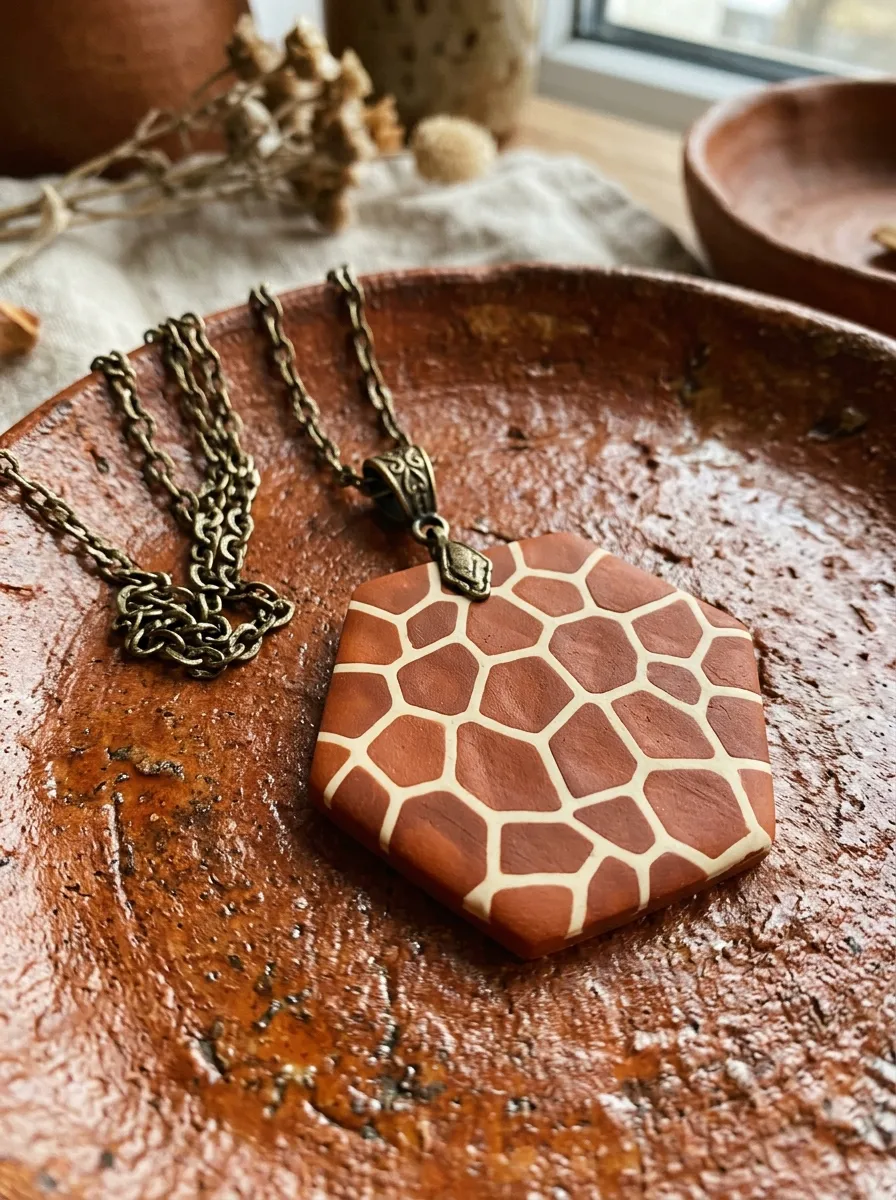
The earthy giraffe pattern hexagon pendant pays homage to the majestic reticulated giraffe, known for its warm polygonal blocks outlined by fine cream pathways. This design features geometric terra-cotta or burnt-sienna patches nested closely together over an off-white base, forming an organic mosaic tile effect. Suspended inside an elongated hexagonal framework, this pattern combines wildlife texture with crisp geometric balance, creating an eye-catching pendant that hangs flat against sweaters, tunics, and autumnal knitwear. Polymer clay is the premier material for replicating giraffe patterns because makers can cut and assemble precise mosaic tiles or utilize crackle techniques that fissure naturally when rolled. The warm earth tones—including camel, rust, and cream—evoke a grounded, bohemian elegance that remains stylish throughout changing fashion seasons. Constructing this pendant develops your skills in mosaic assembly, seam welding, and securing functional metal bails for long-lasting pendant wear.
Start by rolling one slab of conditioned cream clay and one slab of warm burnt-sienna clay, setting both sheets to a thickness of two millimeters. Using a craft blade, cut the burnt-sienna clay into irregular, five- and six-sided polygonal tiles of various sizes, mimicking natural cracked mud or giraffe hide. Carefully arrange the sienna tiles onto the cream base slab, leaving a thin, consistent one-millimeter gap of cream clay visible between every single tile edge. Lay baking paper over the assembled mosaic and roll firmly in multiple directions with an acrylic roller to fuse the mosaic pieces seamlessly into the cream matrix. Cut out a large, symmetrical hexagon shape using a sharp metal cutter, and pierce a clean suspension hole centered at the upper point. Bake the pendant flat on your tile for thirty-five minutes at 130 degrees Celsius, letting it cool inside the turned-off oven to eliminate thermal shock. After cooling, polish the flat front face with fine 1000-grit sandpaper, brush on a durable matte finish, and string the pendant onto an antique bronze cable chain.
6. Textured Faux Snakeskin Embossed Bar Earrings

Step-by-Step Guide
Textured faux snakeskin bar earrings replicate the diamond scales and sleek luxury of exotic reptilian leather without relying on animal products. Rather than relying solely on color changes, this design incorporates dimensional surface embossing that catches raking light and invites physical touch. The slim, vertical bar silhouette offers a modern profile that flatters the neckline while framing the face with textured movement. Polymer clay captures intricate scale imprints cleanly from silicone texture mats or everyday mesh textiles, retaining crisp ridge lines even after baking. Rendered in deep olive green, slate grey, or muted sand, these embossed bars provide an understated alternative to bold spots, making them suitable for professional environments and formal occasions. Making this project introduces foundational skills in deep relief stamping, vertical proportion trimming, and dry-brush surface antiquing to highlight embossed textures.
Begin by rolling conditioned olive-green clay into a thick, uniform slab measuring 3.5 millimeters on your smooth working tile. Lightly dust the surface of a flexible snake-scale silicone texture mat with cornstarch to act as a release agent, preventing the raw clay from sticking inside deep crevices. Press the texture mat firmly into the olive slab, rolling over it with heavy, uniform downward pressure using your acrylic roller to imprint deep, scale-like ridges. Peel the mat back slowly from one edge, and dust away any loose cornstarch using a soft, dry makeup brush. Cut the textured clay into two slender vertical bars measuring twelve millimeters in width and fifty millimeters in length using a steel ruler and craft knife. Punch a tiny connection hole through the top of each bar, then bake them supported on a flat tray for thirty-five minutes at 130 degrees Celsius. Once cool, lightly wipe black acrylic wash across the raised scales, wiping the tops clean so dark paint remains in the recessed scale grooves to emphasize depth.
7. Golden Safari Cheetah Print Organic Teardrops
Execution Process
Golden safari cheetah print teardrops capture the swift elegance of the African cheetah, characterized by dense, solid black dots set against a luminous golden-ochre background. This design differs from leopard prints by using solid, non-ringed spots placed in dense clusters, producing a lively and energetic pattern. The organic teardrop shape softens the visual intensity of the spots, creating a classic earring silhouette that sways gently with the wearer’s movements. Adding fine metallic gold powder or mica pigment to the ochre base clay imparts a subtle shimmer, catching ambient light like a sunlit savannah. These lightweight earrings function as bold statement accessories that instantly elevate simple monochrome dresses or casual white linen shirts. Crafting these teardrop accessories teaches makers the versatile technique of formulating shimmering mica clay bases, applying solid micro-dots, and mastering teardrop cutter alignment for balanced visual symmetry.
Condition a block of rich mustard-yellow clay, kneading in a generous pinch of fine gold mica powder until the clay glistens with a consistent metallic sheen. Roll the shimmering yellow clay into a smooth slab measuring 2.5 millimeters in thickness using your acrylic roller on a tile. Prepare a small ball of conditioned black clay, rolling it out into a paper-thin snake with a diameter of only one millimeter. Snip tiny segments from the black snake and roll them quickly between your fingers into tiny round balls, pressing them across the golden slab in dense, irregular clusters. Roll across the surface with an acrylic roller to press the black dots flush into the shimmering background clay without distorting their circular forms. Cut out two matching teardrop shapes with a clean metal cutter, ensuring the dot density remains visually balanced on both sides. Bake the pieces on a flat tile for thirty-five minutes at 130 degrees Celsius, cool thoroughly, sand the edges underwater, and assemble with gold-plated French hook ear wires.
8. Bold Tiger Stripe Statement Oval Ring

Setup Method
The bold tiger stripe statement ring draws direct inspiration from the striking amber-orange and dark charcoal stripes of the Bengal tiger. This dramatic jewelry piece showcases a smooth, high-domed oval cabochon resting inside a sturdy, textured clay band that wraps comfortably around the finger. The dynamic contrast between vivid sunset orange, creamy white undertones, and bold tapering black tiger stripes yields an empowering personal ornament. Polymer clay provides an ideal material for rings because it can be sculpted seamlessly around adjustable metal ring bases, curing into a lightweight yet rigid structure that withstands daily movement. The large oval shape provides a prominent canvas for the striped artwork, allowing the tapering bands to curve naturally around the finger’s contour. Crafting this statement ring develops your skills in creating striped clay canes, slicing matching cabochon veneers, and securely embedding functional metal hardware into raw clay structures for enduring strength.
Create a striped tiger cane by stacking alternating flat sheets of warm orange clay and thin ribbons of black clay, tapering the black layers to form wedge-shaped stripes that sink into the orange mass. Compress the striped clay block into a compact cane, reducing its thickness by pressing the sides gently until the internal stripes become fine and sharp. Using a rigid tissue blade, slice a three-millimeter-thick veneer slice from the end of the cane, revealing the dynamic diagonal tiger stripes. Place this striped veneer over a pre-baked dome of scrap clay or an oval cabochon mold, smoothing the edges downward to form a seamless curved top. Smooth a band of black clay around an adjustable flat-pad metal ring blank, securing the metal disc with liquid polymer clay, and mount the striped cabochon directly on top. Return the entire ring assembly to your oven, baking it for forty minutes at 130 degrees Celsius to permanently bond the components. Once cured and cooled, coat the tiger cabochon with clear gloss varnish while leaving the ring band matte.
9. Cow-Print Modern Asymmetrical Arch Studs

Execution Process
Cow-print modern asymmetrical arch studs celebrate the playful, contemporary resurgence of pastoral bovine patterns across high-fashion runways and indie craft platforms. This design features large, irregular jet-black patches scattered across a stark porcelain-white foundation, shaped into quirky asymmetrical arches or curved organic shapes. The high-contrast, oversized patches offer a fresh alternative to fine wildlife dots, creating a minimalist yet statement-making accessory that stands out clearly against dark hair. Polymer clay provides an ideal medium for cow prints because it allows for sharp, crisp boundary lines between pure white and pure black clay without bleeding or smearing. Because these studs sit close to the earlobe, they offer comfortable, snag-free wear that functions well during busy workdays and active social outings. Making these earrings introduces students to the technique of tearing raw clay by hand to create natural organic patches, smoothing large contrasting slabs, and mounting sturdy earring posts with liquid clay overlays.
Roll clean, pure-white polymer clay into a flat slab measuring 2.5 millimeters thick, maintaining clean hands and tools to prevent dark lint from contaminating the white surface. Take a small portion of jet-black clay, roll it paper-thin, and hand-tear irregular, rounded patches with smooth, curved perimeters of various sizes. Press these torn black shapes randomly onto the white clay slab, ensuring the spots have natural, amoeba-like borders rather than sharp, geometric lines. Lay a clean sheet of baking parchment over the slab, rolling over it with medium pressure until the black patches are fully integrated and flush with the white clay surface. Cut out modern, wide arch shapes or irregular organic oval silhouettes using dedicated metal jewelry cutters. Bake the pieces on a flat ceramic tile for thirty-five minutes at 130 degrees Celsius, allowing them to cool completely. Turn the pieces over, affix stainless steel earring posts to the backs with jeweler epoxy, and cure a thin layer of liquid clay over the metal bases to lock them in place permanently.
10. Faux Tiger-Eye Agate Marbled Pendant

Step-by-Step Guide
The faux tiger-eye agate marbled pendant captures the radiant, silky luster and chatoyant bands of natural tiger-eye gemstones, which mimic the predatory gaze of big cats. This design blends shimmering rich gold, bronze, and dark mahogany clays into banded striations that simulate the natural mineral layers found in metamorphic rocks. Suspended from a long cord or metallic chain, this large, polished pendant serves as an earthy focal point that harmonizes with autumn palettes, oversized knitwear, and structured outerwear. Polymer clay with metallic mica content is ideal for faux-mineral techniques because rolling the clay aligns the mica particles in parallel directions, creating optical shifts in brightness as the pendant moves. This project guides makers through the precise mechanics of mica-shift manipulation, metallic clay marbling, and wet-sanding to achieve a stone-smooth, museum-quality finish without using rock-tumbling equipment.
Slice equal portions of metallic gold clay, metallic copper clay, and deep brown clay into thin, alternating sheets, stacking them into a single layered block. Compress the stack from the sides and twist the block gently to create wavy, organic striations that resemble natural sedimentary mineral bands. Slice the twisted block lengthwise with a flexible tissue blade to expose the undulating interior metallic layers, and roll the slice flat to three millimeters. Cut a clean, oversized teardrop or smooth rounded pebble shape from the best section of the marbled pattern using a sharp metal cutter. Pierce a generous suspension hole near the top edge using a five-millimeter hole punch or hollow brass tube. Bake the pendant on a ceramic tile for thirty-five minutes at 130 degrees Celsius, letting it cool slowly to maximize physical durability. Sand the cured piece under running water using 400, 600, 800, and 1200-grit sandpaper consecutively to achieve a silky, glass-smooth surface, then buff with a soft denim cloth to bring out the natural metallic shimmer.
Common Beginner Mistakes and How to Avoid Them
Beginners working with animal-print polymer clay jewelry frequently encounter several common technical errors that can easily be avoided with proper preparation and careful workflow habits. The most widespread mistake is color contamination, where dark pigments like black or brown transfer onto pristine white or cream bases during handling. Prevent this by thoroughly wiping your hands, rolling pins, and blades with alcohol wipes between color changes, and always work with your lightest clay shades before handling dark hues. Another frequent pitfall is underbaking the clay, which occurs when makers rely on faulty built-in oven thermostats rather than monitoring temperatures with an independent digital oven thermometer. Underbaked polymer clay remains brittle and will snap easily when drilled or worn, whereas properly cured clay flexes slightly without breaking. Always cure your jewelry components for the full recommended time at the exact packaging temperature. Finally, beginners often roll pattern spots too aggressively, causing round rosettes and neat stripes to smear into distorted, blurry shapes. Always apply gentle, even pressure when burnishing pattern veneers, using parchment paper between the clay and the roller to prevent drag and distortion.
Practical Tips for Better Results
Achieving professional, boutique-quality animal-print jewelry relies on small refinements in your finishing workflow and careful handling habits. When cutting intricate shapes out of soft patterned slabs, place a sheet of thin plastic wrap over the clay before depressing your cutters; this simple trick yields rounded, organic edges that look authentically cast rather than harsh, stamped cutouts. To eliminate visible fingerprints and surface dust from raw clay pieces before baking, gently smooth the surface using a cotton swab lightly dampened with isopropyl alcohol. After baking, invest adequate time in wet-sanding your pieces underwater using progressively finer micro-abrasive sandpaper sheets, moving methodically from 400 grit to 600, 800, and finally 1200 grit. This wet-sanding step removes minor surface flaws, refines outer perimeters, and prepares the clay for a soft, matte satin finish or high-gloss protective varnishing. When assembling jewelry, always twist jump rings open sideways with two pairs of smooth-jaw pliers rather than pulling the cut ends apart outward, which permanently warps the circular ring geometry. Incorporating these simple habits transforms beginner craft projects into polished, professional-grade accessories.
Styling, Presentation, and Display Ideas
Presenting animal-print polymer clay jewelry effectively elevates its perceived artistic value, whether you are creating gifts for friends, styling social media posts, or setting up a retail craft display. When styling these accessories for photography, pair the textured clay pieces alongside warm, natural props that reinforce their safari and organic origins. Use raw linen fabrics, travertine stone slabs, dried palm spears, weathered wood trays, and woven raffia baskets as tactile backdrops that complement the earthy colors and finishes of the clay. For personal wardrobes, animal-print statement earrings pair naturally with simple, monochromatic clothing, such as crisp white button-downs, camel wool overcoats, and black turtlenecks, allowing the bold jewelry designs to function as the primary focal point of the outfit. For retail packaging and artisan markets, mount your earrings and pendants on thick, unbleached kraft paper cards or textured cotton cardstock printed with minimal, elegant typography. Using soft earth tones, warm brass display stands, and clean geometric packaging helps communicate the thoughtful handmade heritage of your work, inviting admirers to value the jewelry as enduring, wearable artwork.
Efficient Budget and Production Time Planning
Managing your time and materials efficiently is the key to enjoying polymer clay crafting while keeping your hobby or small enterprise cost-effective. Polymer clay is an economical craft medium, but costs can accumulate if you purchase dozens of specialty cutters and unnecessary accessories prematurely. Begin your collection with versatile foundational colors—black, white, translucent, raw sienna, and gold—blending your own custom animal-print shades to minimize excessive inventory. Maximize your production workflow by working in coordinated batches rather than completing one solitary earring pair from start to finish. Dedicate a specific session solely to conditioning clay, rolling uniform base slabs, applying print patterns, and cutting out components, organizing the raw pieces neatly on parchment-lined ceramic baking tiles. Fill an entire oven tray with multiple completed sets to execute a single, efficient, bulk baking session, saving electrical energy and ensuring consistent curing conditions across all pieces. Once the cured components have cooled, complete assembly line tasks—such as hole drilling, edge sanding, and jump-ring assembly—in organized stages with your jeweler pliers. Planning your studio workflow into distinct, focused blocks reduces material waste, keeps your workspace neat, and significantly reduces total production time per jewelry item.
Creative Expansion and Advanced Inspiration
Once you have mastered the foundational animal-print construction methods covered in this guide, consider exploring advanced decorative techniques to push your jewelry designs even further. You can introduce metallic gold foil, copper leaf, and silver flakes directly beneath translucent tortoiseshell slabs, capturing glowing metallic reflections beneath a glassy amber surface. Another sophisticated avenue involves hand-carving detailed sgraffito patterns through thin, contrasting surface clay layers before baking, exposing the underlying color with precise botanical or tribal motifs. You can also experiment with complex millefiori caning techniques, building large three-dimensional clay blocks that can be reduced and sliced into hundreds of identical, miniature animal-print veneers for large production runs. Try combining your polymer clay elements directly with complementary mixed-media materials, such as raw brass stamping charms, natural wooden beads, freshwater pearls, or hand-tied leather tassels. Exploring these advanced hybrid techniques allows you to evolve simple clay-making skills into a distinctive personal design signature, creating timeless, animal-inspired statement jewelry that stands out across modern handmade design platforms.