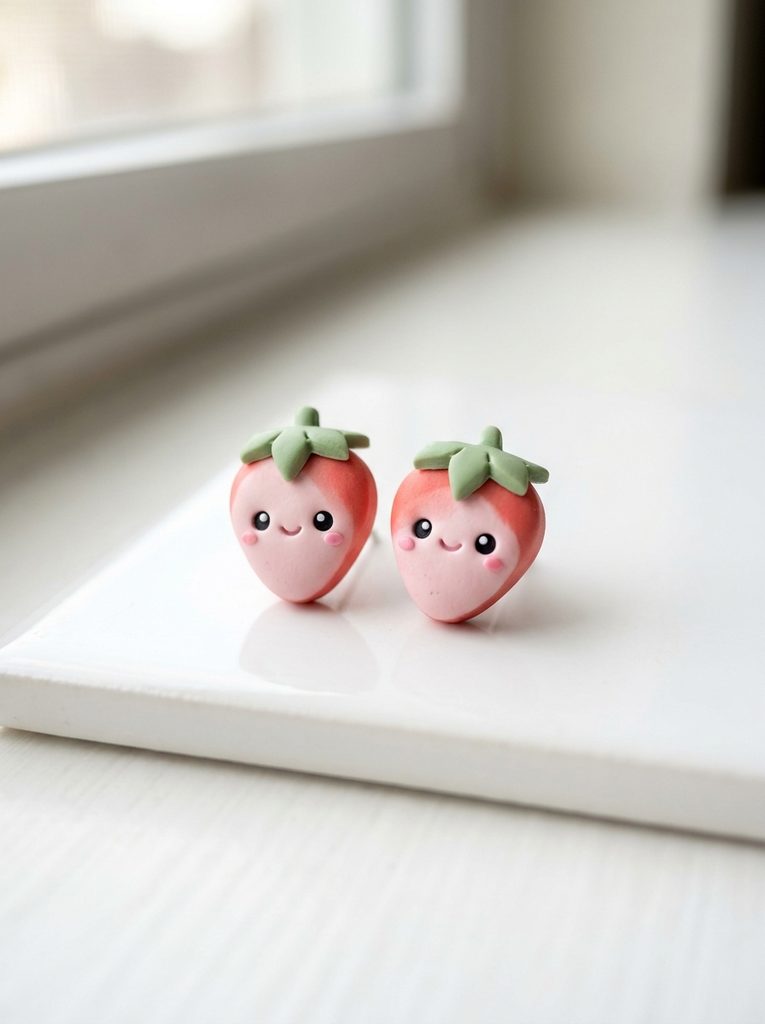
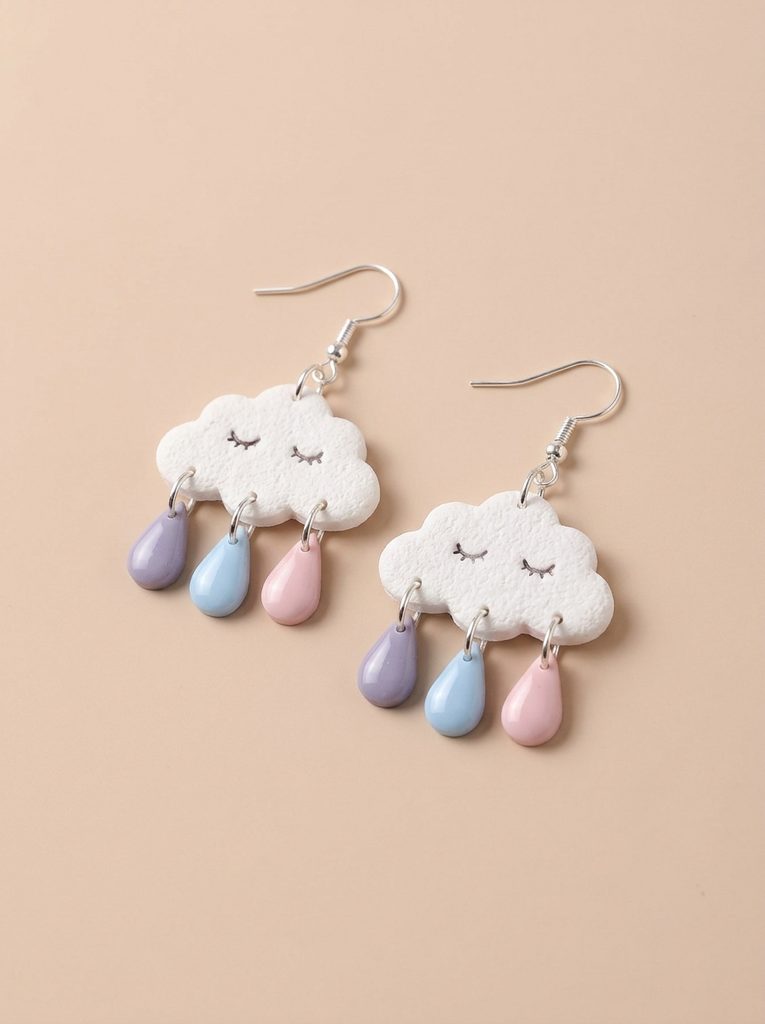
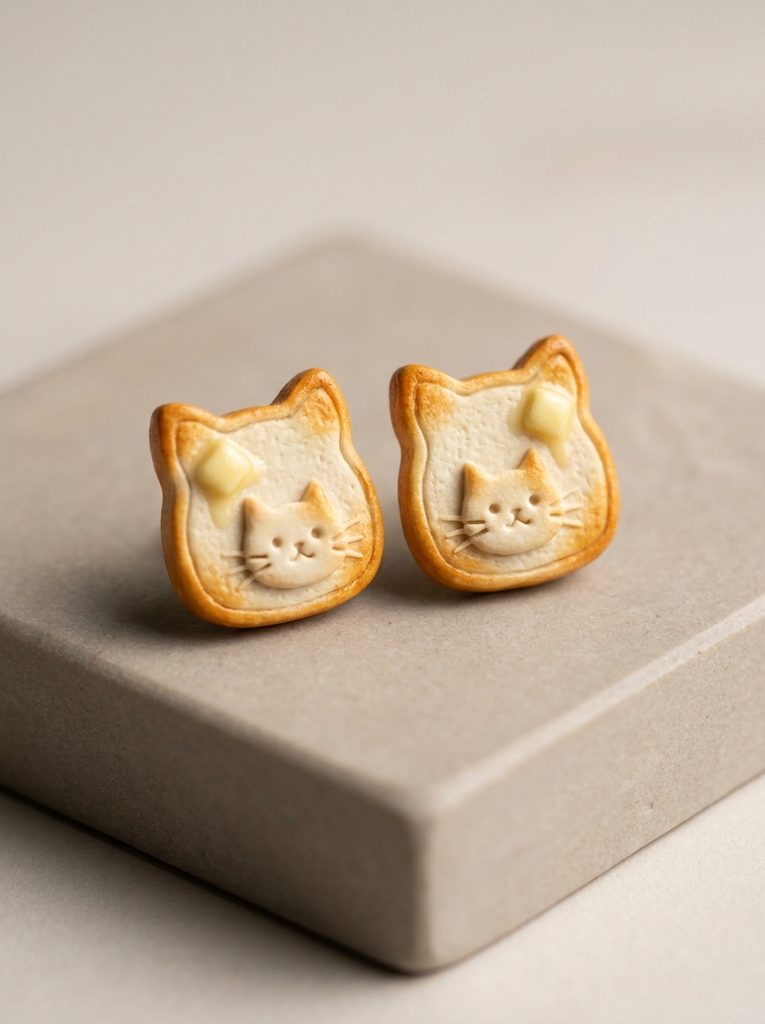
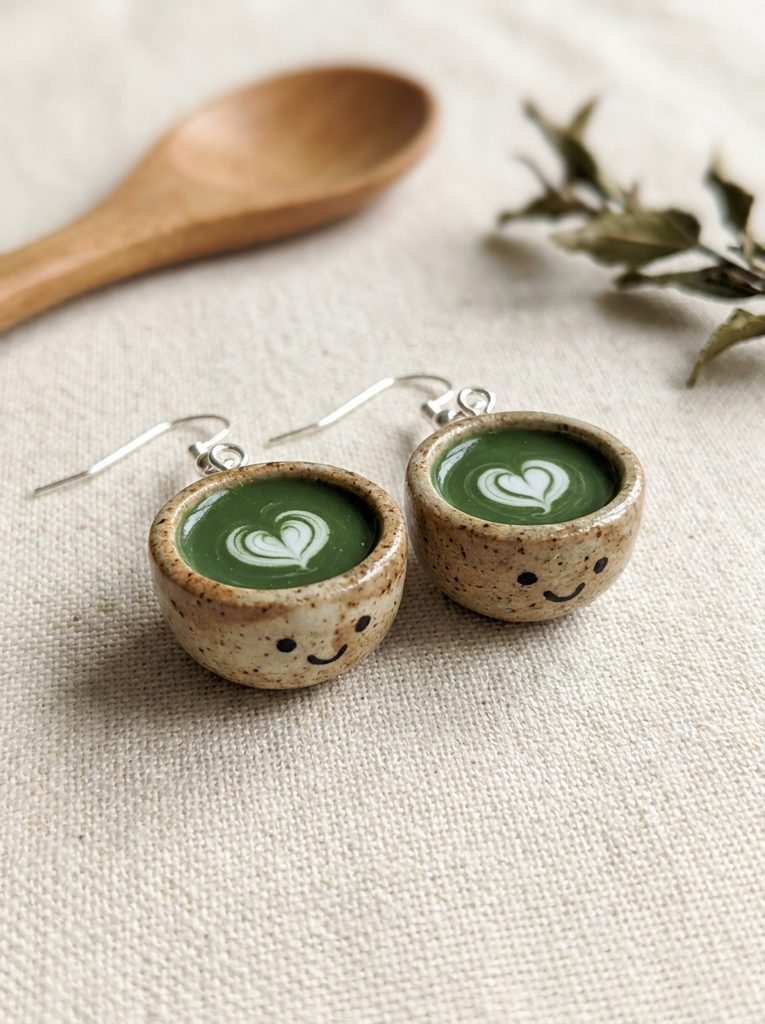
Handmade accessories bring distinctive charm to everyday essentials, and polymer clay remains one of the most versatile mediums for functional craft projects. The term kawaii originates from Japanese culture, representing a design aesthetic centered on simplicity, soft rounded contours, gentle pastel palettes, and expressive, cheerful character expressions. Crafting miniature clay keychains allows makers to transform ordinary blocks of colored polymer into durable, tactile accessories suitable for backpacks, keyrings, and zipper pulls. This comprehensive tutorial delivers ten practical, beginner friendly project concepts designed to build foundational sculpting skills while producing functional keepsakes. You will explore critical techniques including structural conditioning, proportion balancing, eye pin embedding, baking control, and clear protective sealing. Every project highlights clean geometric modeling, showing how basic spheres, coils, and teardrops assemble into miniature works of art. Beyond technical assembly, you will gain essential knowledge regarding hardware selection, heat management, and clean surface preservation. Whether you are assembling a personal collection or crafting handmade gifts for friends, these practical Pinterest ideas deliver actionable guidance for every step of the creative process.
Why Kawaii Miniature Crafts Are Trending on Visual Feeds
Miniature clay figures maintain consistent popularity across modern inspiration boards because they blend nostalgic charm with tactile utility. The current design landscape heavily favors approachable DIY crafts that require minimal storage space and produce immediate, functional results. Kawaii clay charms fit this modern design ethos by emphasizing compact, sweet forms that visually brighten everyday utility items like tote bags, vehicle keys, and mobile accessories. From a creative perspective, miniature sculpting provides an accessible creative project for individuals seeking screen-free artistic outlets without investing in expensive industrial machinery or dedicated workshop facilities. The visual appeal relies on clean geometry, soft color palettes, and cheerful facial details, creating an instant emotional connection with viewers. Social feeds naturally elevate these projects because the before-and-after transformation from raw clay blocks to polished, durable charms makes compelling visual content. Furthermore, the modular nature of polymer clay enables endless personalization, allowing crafters to adapt single concepts into custom gifts, seasonal decorations, or curated accessory sets.
Essential Materials and Workspace Preparation
Successful polymer clay modeling requires an organized workspace and specific foundational materials to ensure durable, clean results. Begin by securing high-density polymer clay blocks in primary, pastel, and neutral shades, selecting formulations known for baked flexibility rather than brittle finishes. Essential tools include a smooth acrylic rolling rod, a rigid tissue blade, ball stylus detailing tools, needle point probes, and flat silicone shaping pens. For hardware, prepare stainless steel screw eye pins, five-millimeter jump rings, lobster clasps, and standard split keyrings alongside flat-nose jewelry pliers. Workspace hygiene is vital when handling light clay shades; prepare a smooth ceramic tile or tempered glass sheet as your primary work surface, cleaning it thoroughly with isopropyl alcohol to remove lint and dust particles. Keep baby wipes nearby for cleansing hands between color transitions, preventing dark pigment migration into lighter clays. Pre-bake planning also involves calibrating an oven thermometer, as household ovens often fluctuate, risking scorched pigments or under-cured, fragile finished charms.
Miniature Strawberry Milk Carton Charm
How to Create
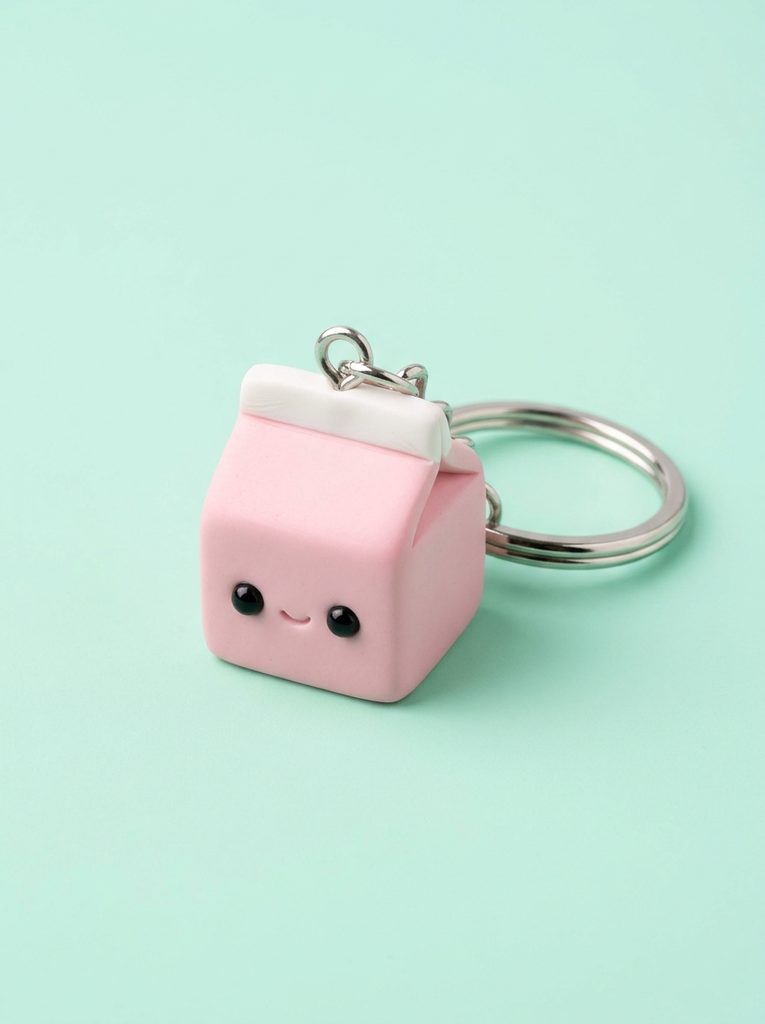
The strawberry milk carton design translates clean geometric packaging into an adorable miniature accessory that combines straight structural lines with miniature painted details. This design relies on a uniform rectangular prism representing the cardboard beverage container, accented with a pitched roof section and miniature decorative elements. Soft pastel pink clay establishes the dominant flavor identity, while clean white clay forms the upper folded spout and contrasting side panels. The charming facial features—consisting of tiny recessed black bead eyes and a delicate mouth line—infuse the inanimate container with signature kawaii character. Balancing sharp, crisp corners with soft, friendly facial proportions is essential to master this specific aesthetic. The structured silhouette ensures the finished keychain resists snagging when stored inside pockets or daily tote bags, providing excellent functional durability.
Begin by conditioning two ounces of pastel pink clay until soft, rolling it into a compact rectangular block measuring approximately one inch in height and three-quarters of an inch in width. Flatten all six facets against a smooth ceramic tile using an acrylic block to achieve straight edges and uniform rectangular planes. For the carton peak, roll a separate white clay snake, flatten it into a narrow strip, and bevel the top edge inward to resemble an authentic folded paper spout. Affix this white component to the upper surface using a drop of liquid polymer adhesive, gently smoothing the join with a silicone tool. Roll two minuscule specks of black clay into round spheres, pressing them flush into the front panel alongside a curved pink clay thread for the mouth. Insert a stainless steel eye pin vertically through the center of the carton peak, ensuring the shaft embeds deeply into the core clay. Bake the piece upright on a ceramic tile at the clay manufacturer’s designated temperature for thirty minutes, allow it to cool, and coat the surface with gloss varnish.
Smiling Avocado Half with Dimensional Core
How to Create
The halved avocado charm showcases contrasting textures and harmonious natural tones, pairing a smooth, creamy center with a stippled, dark green outer peel. The design centers on an egg-shaped teardrop silhouette, featuring an excavated central cavity that houses a glossy, rounded brown seed acting as a dimensional nose or tummy. Light chartreuse clay forms the soft interior flesh, bordered by a darker forest green perimeter band that mirrors real botanical layering. Introducing expressive black eyes directly onto the light green interior creates an approachable, organic character with timeless visual appeal. This concept remains an accessible project for novice crafters because organic produce naturally accommodates minor structural asymmetries without losing charm or realism.
Prepare the base by mixing yellow and leaf green clays to produce a soft chartreuse hue, forming it into a firm teardrop shape three-eighths of an inch thick. Take a medium ball stylus tool and firmly press a rounded circular depression into the wider lower half of the teardrop, creating a clean recess for the seed. Roll a small sphere of rich chocolate brown clay, coating it lightly with gloss glaze before seating it securely within the prepared circular cavity. For the protective skin, roll a thin sheet of dark forest green clay, wrap it tightly around the exterior perimeter, and trim away the excess with a precision blade. Use a soft toothbrush to gently stipple the dark green exterior rim, introducing realistic surface texture while leaving the pale face completely smooth. Add two tiny black clay balls above the brown seed for eyes, embed a sturdy eye pin through the upper tapered stem area, and bake the completed charm thoroughly.

Pastel Tiered French Macaron Stack
How to Create
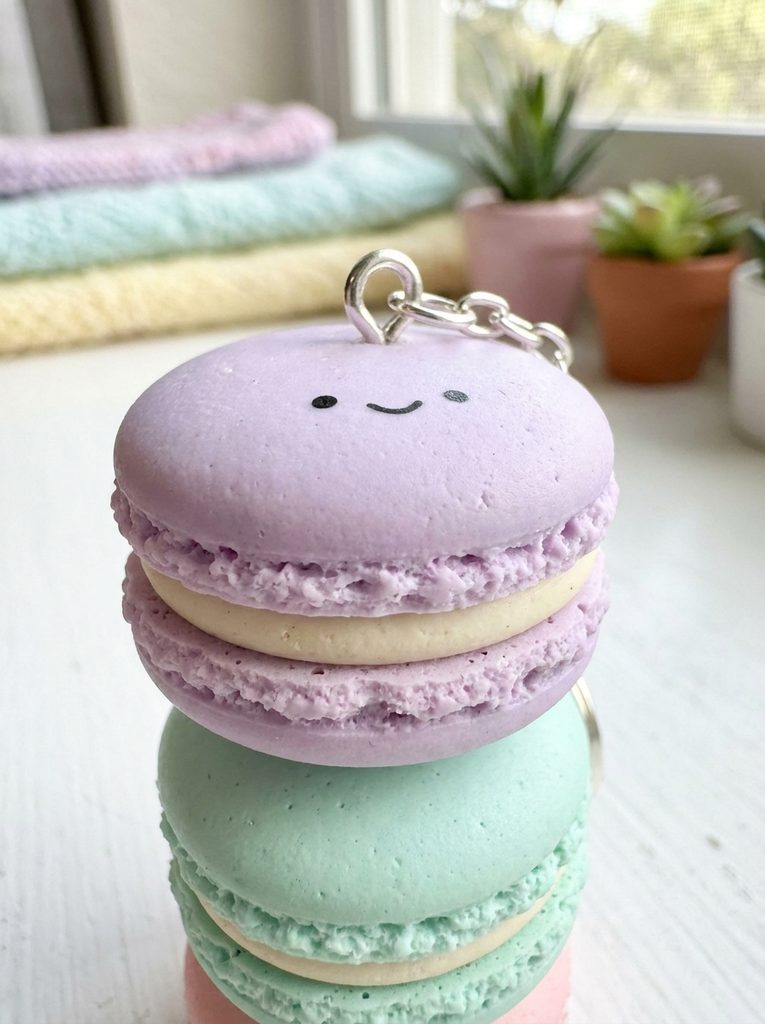
The tiered French macaron keychain captures patisserie elegance through delicate pastel hues, realistic ruffled edges, and contrasting creamy filling layers. This miniature design features two rounded macaron shells sandwiching an ivory cream disc, maintaining the realistic proportions of classic European confections. Soft mint green, lavender, or baby blue clay provides an ideal base for the cookie shells, contrasting cleanly with an off-white or translucent vanilla interior. Achieving authentic ruffled textural edges—known in baking terminology as the confection foot—transforms simple flattened discs into convincing miniature pastries. Adding a minimalist smiling face to the top shell brings the sweet treat firmly into the kawaii design realm, creating a versatile charm suitable for gift sets or aesthetic accessories.
Condition your chosen pastel clay and divide it into two equal portions, rolling each into a smooth sphere approximately three-quarters of an inch in diameter. Press each sphere flat against your work surface using your thumb, creating two domed discs with flat bottoms and smoothly curved tops. Take a sewing needle or coarse modeling probe and vigorously shred the bottom two millimeters of each disc’s perimeter, generating a porous, crumbly texture around the entire circumference. Roll a slightly smaller disc of warm white clay to serve as the creamy filling, pressing it gently between the two textured pastel shells without flattening the ruffled edges. Position two tiny black clay dots on the upper domed shell to establish the eyes, using a dotting tool to gently impress a subtle upward curving smile between them. Insert an eye pin horizontally or vertically through the center of all three assembled layers, ensuring mechanical interlock, then bake the assembly according to package instructions.
Kawaii Honey Pot with Dripping Amber Glaze
How to Create
The honey pot charm combines classic rounded earthenware shapes with fluid, glossy accents to produce an appealing tactile accessory. The central body features a stout, bulbous jar sculpted from warm terracotta or soft buttercup clay, accented with a traditional rim and miniature handles. A translucent golden yellow clay overlay drips organically down the neck and belly, simulating thick, viscous honey overflowing from the vessel. The friendly face placed on the jar’s front surface converts an ordinary kitchen container into a beloved storybook-style companion. The structural contrast between the matte earthenware base and the high-gloss amber drips provides visual interest while maintaining sturdy physical dimensions that withstand regular handling.
Form the core vessel by shaping warm ochre or pale tan clay into a solid sphere, flattening the top and bottom planes slightly against your ceramic tile. Roll a thin cylinder of identical clay, wrapping it neatly around the upper circumference to establish the defined lip and neck of the earthenware pot. Attach two small curved clay loops to the upper flanks to serve as traditional rustic handles, smoothing the seams seamlessly with a silicone blending chisel. Mix translucent liquid polymer clay with a tiny drop of amber alcohol ink or yellow pigment, carefully dripping it along the top rim so it pools naturally down the container walls. Apply two miniature black clay eyes and blushing pink pastel powder cheeks to the center of the pot using a soft detailing brush. Carefully insert an eye pin straight down through the open honey rim into the dense base clay, supporting the charm upright in a baking rack during oven curing.

Floating Pink Galaxy Boba Cup
How to Create
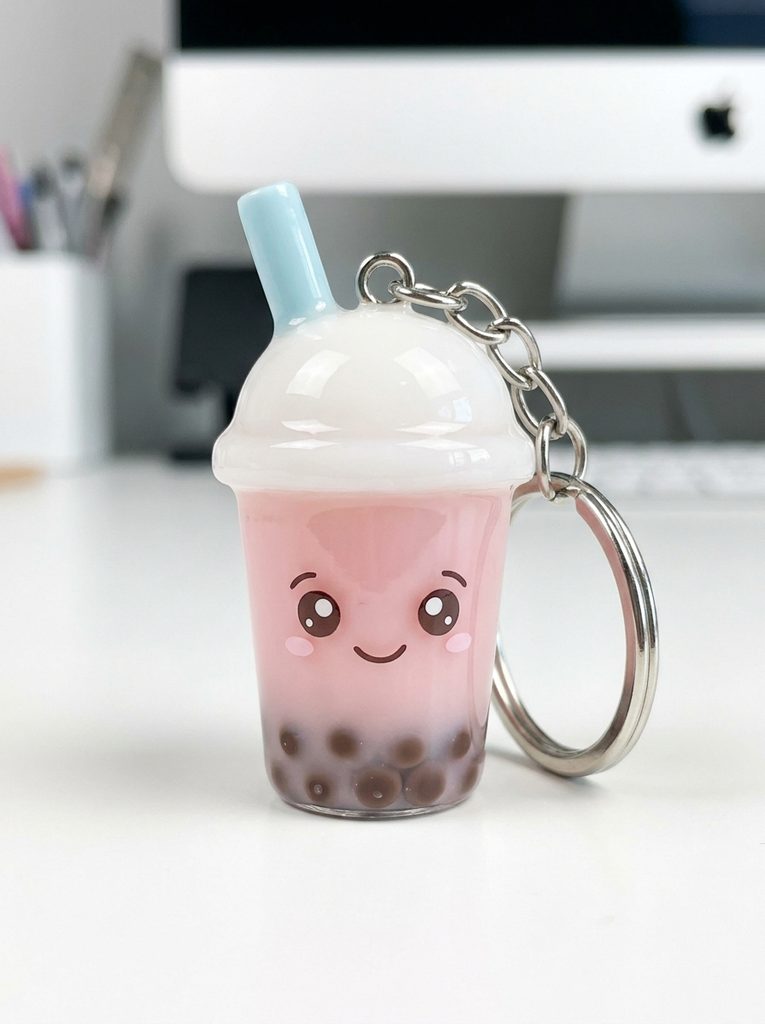
The bubble tea keychain translates a globally popular beverage into an adorable miniature icon complete with translucent liquid, dimensional tapioca pearls, and an oversized straw. The primary vessel utilizes translucent polymer clay tinted with a pale magenta or lavender pigment, replicating milky tea inside a classic clear plastic cup. Dark brown or charcoal spheres sit clustered along the base, clearly visible through the translucent exterior to represent chewy tapioca pearls. An opaque white domed lid caps the structure, penetrated by a bright pastel straw that doubles as an artistic anchoring point for your hardware. The miniature smiling face rests directly on the cup facade, giving life to an aesthetic beverage charm that appeals to modern accessory collectors.
Sculpt the beverage interior by rolling translucent clay blended with a speck of pink pigment into a tapered cylinder that narrows toward the base. Roll ten to twelve miniature balls of black polymer clay, pressing them firmly around the lower third of the pink cylinder so they appear settled at the bottom. Roll a flat disc of opaque white clay to cap the wide top rim, smoothing the outer edge downward over the sides to simulate an authentic sealed drink lid. Create the oversized straw by rolling a tight cylinder of pastel blue clay, slicing both ends flat, and inserting it diagonally through the white lid into the core. Apply two shiny black clay eyes and a tiny pink open mouth to the front surface, using an ultra-fine needle tool to ensure sharp perimeter lines. Insert your eye pin securely into the white lid alongside the straw base, baking the piece thoroughly before applying high-gloss glaze across the cup body.
Celestial Sleepy Cloud with Star Accent
How to Create
The sleepy cloud keychain relies on flowing, organic contours and peaceful facial expressions to create an ultra-calming, dreamy aesthetic accessory. The foundation consists of several overlapping spheres of soft white clay blended into a single billowy, cloud-like silhouette with flattened front and back planes. A soft, relaxed expression featuring curved sleeping eyes and subtle rosy cheeks reinforces the gentle nocturnal theme of the design. A tiny, contrasting pastel yellow star rests delicately against one side of the cloud, providing an asymmetric pop of warm color that elevates the overall composition. The smooth, rounded geometry of the cloud ensures minimal catch points, making it an exceptionally functional design for high-use keyrings and child-friendly bag tags.
To create the cloud foundation, roll one medium white clay sphere and four slightly smaller spheres, arranging them in a clustered horizontal grouping on your work surface. Use a soft silicone blending tool to smooth the seam lines connecting the spheres on both sides, transforming the cluster into one unified, puffy shape without losing outer rounded lobes. Gently compress the cloud between two smooth tiles so the thickness remains uniform at approximately five millimeters from edge to edge. Roll a small piece of light yellow clay flat, cut out a clean five-pointed star with a mini plunger cutter, and adhere it gently to the cloud’s upper curve. Paint two downward-curving arcs onto the front surface using black acrylic paint and a fine liner brush to represent closed, sleeping eyelashes. Insert an eye pin deeply into the center top lobe, bake on a flat surface, and finish with a smooth matte or satin protective sealant.

Rosy Cheeked Ceramic Style Mushroom
How to Create
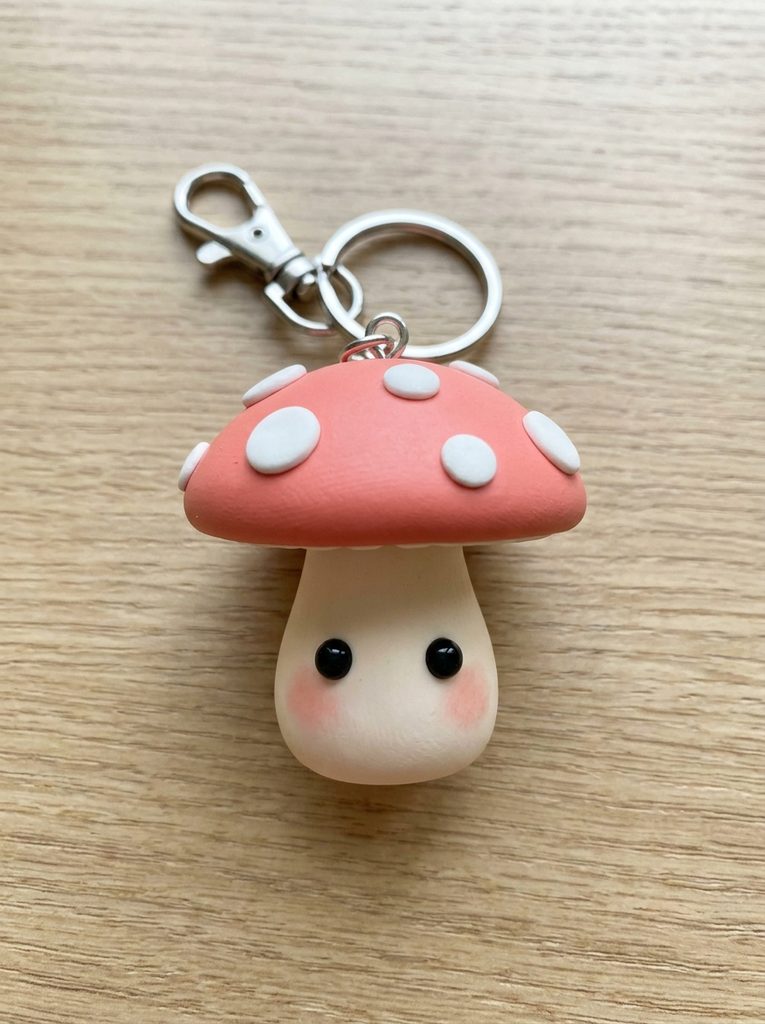
The kawaii mushroom charm adapts whimsical woodland themes into a compact, sturdy figure featuring a broad domed cap and a stout, stable stem. The oversized top cap utilizes soft coral, blush red, or pastel peach clay, decorated with raised white polka dots that provide tactile and visual contrast. Supporting the cap is a thick, pale ivory stem shaped with a wide base to ensure exceptional mechanical strength where the components join. The expressive facial details reside on the pale stalk beneath the cap overhang, creating a charming peek-a-boo effect when viewed from different angles. This organic design offers high structural integrity because the connected parts share a wide surface contact area, reducing the risk of breakage during active everyday use.
Begin by rolling an ivory clay cylinder that tapers slightly upward, standing it vertically and pressing downward to flatten both ends securely against your work surface. For the cap, roll a larger sphere of coral clay, cut it in half with your tissue blade, and hollow out the underside slightly using a large ball stylus. Apply a thin layer of bakeable liquid clay adhesive inside the hollowed cap before mounting it securely onto the top of the ivory stem. Roll several tiny specks of white clay into balls, pressing them flat against the coral dome in a scattered pattern to create neat polka dots. Form the face on the front of the pale stem using two glossy black clay spheres, dusting soft chalk pastel powder beneath each eye for rosy cheeks. Insert an extra-long eye pin from the apex of the mushroom cap through into the base stem, then bake the piece fully upright.
Happy Citrus Fruit Slice Charm
How to Create
The smiling citrus slice translates the radiant geometry of sliced fruit into a cheerful, sunny charm featuring bright hues and segmented patterns. Whether modeled as a lemon, lime, pink grapefruit, or sweet orange, the design utilizes concentric clay wraps to replicate natural rind, pith, and pulp layers. The wedge format—shaped as a half-circle—exposes symmetrical triangular juice segments separated by fine white lines representing internal membranes. Incorporating a smiling face in the central fruit flesh adds whimsical personality to an otherwise graphic botanical motif. The flat profile makes this charm exceptionally lightweight and comfortable to carry, laying flat against notebooks, wallets, or phone cases without adding unnecessary bulk.
Prepare the central pulp segments by forming bright yellow clay into a thick cylinder, slicing it lengthwise into six equal triangular wedge prisms. Place thin sheets of translucent white clay between each triangular wedge, pressing the pieces back together into a cohesive segmented cylinder that displays internal membrane lines. Wrap the assembled cylinder in a thin layer of white clay for the pith, followed by an outer wrap of vibrant yellow clay representing the zest skin. Slice the finished cane into four-millimeter thick discs using a sharp tissue blade, then cut each circular disc in half to produce neat semicircular fruit slices. Apply two tiny black clay bead eyes and a smiling thread mouth to the exposed pulp section of the half slice, smoothing edges carefully. Push an eye pin through the curved outer rind into the center core, curing the charm flat between parchment sheets to prevent warping during heating.

Kawaii Glazed Donut with Raised Sprinkles
How to Create
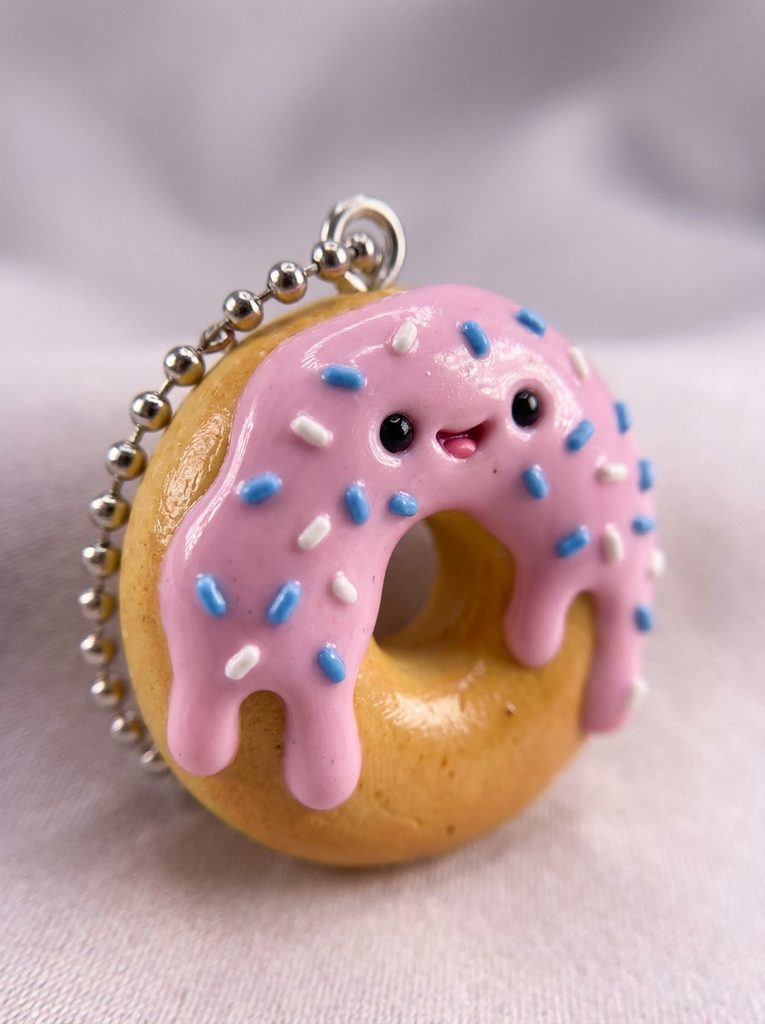
The miniature glazed donut keychain captures the playful appeal of classic bakery treats through rich textures, pastel frosting, and colorful raised toppings. The base pastry ring features a warm golden-tan clay tone, sculpted with a soft central indentation and rounded exterior edges that simulate fried dough. A layer of wavy, glossy frosting—sculpted in pastel strawberry pink, chocolate brown, or mint green—drapes organically over the top surface. Multi-colored micro sprinkles scatter across the frosting layer, providing three-dimensional texture that invites tactile touch. Adding expressive kawaii eyes directly onto the pastry or frosting layer completes the transformation from food replica into a beloved animated character charm.
Form the pastry base by rolling a smooth log of golden-tan clay, joining the ends together to form an even circular ring roughly one inch in diameter. Smooth the join line completely with your fingers, then use a ball stylus tool to refine the inner hole into a neat, round opening. Roll a thin sheet of pastel pink clay, cutting an irregular wavy border around the outer perimeter and carving a matching hole through the center disc. Lay this pink frosting layer over the tan donut ring, pressing it gently so it drapes naturally along the outer contours without trapping air underneath. Roll micro-fine threads of blue, yellow, and white clay, slicing them into tiny sprinkle lengths and pressing them individually across the pink frosting. Affix two black clay beads and subtle cheek blushes to the front frosting curve, insert an eye pin through the upper rim, and bake thoroughly.
Petite Succulent in Terracotta Pot
How to Create
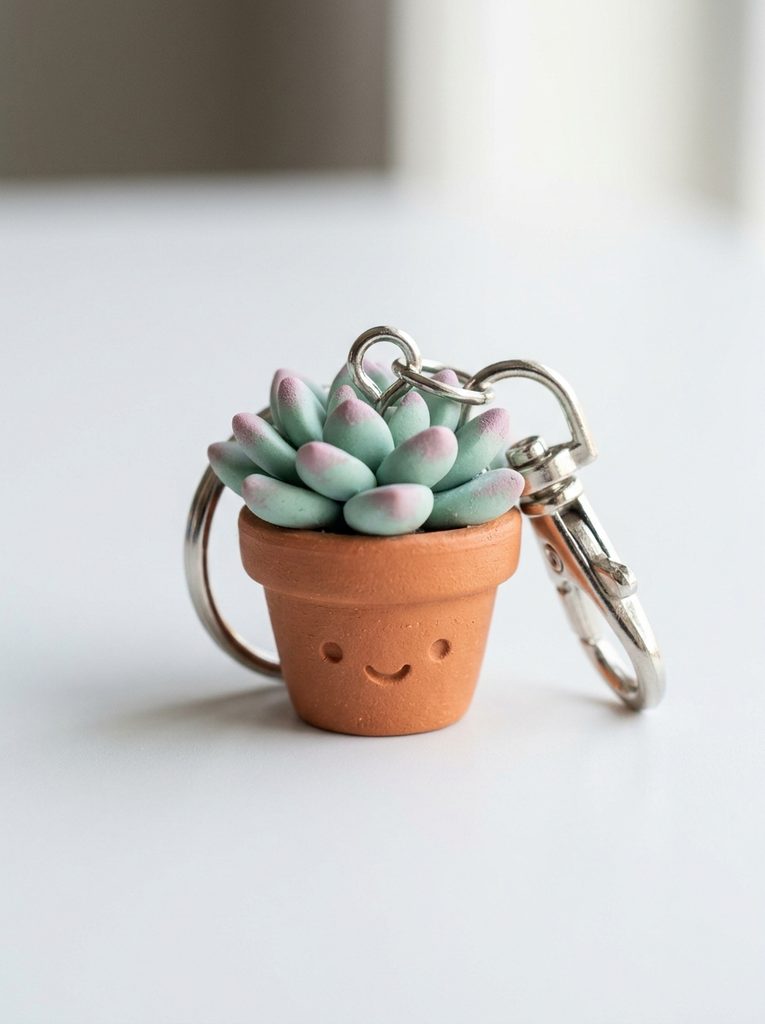
The kawaii succulent keychain merges modern houseplant enthusiasm with miniature character sculpting, producing an earthy yet adorable botanical accessory. The lower half consists of a tapered miniature terracotta pot, complete with a pronounced upper rim and warm reddish-brown coloration. Nestled inside the pot is a rosette-style succulent featuring layered fleshy leaves tinted in soft seafoam green with subtle dusty rose tips. A gentle smiling face positioned across the front of the terracotta container infuses the botanical craft with heartwarming, approachable charm. This design provides exceptional durability because the delicate succulent leaves sit protected within the perimeter boundary established by the sturdy pot walls.
Start by rolling a dense cone of terracotta-colored clay, flattening both ends to create a tapered plant pot that stands approximately three-quarters of an inch tall. Wrap a thin, flattened strip of matching terracotta clay around the upper circumference, smoothing the bottom join to produce an authentic raised flowerpot rim. For the plant, roll eight to ten tiny teardrop-shaped leaves using pale mint green clay, flattening each leaf slightly while pinching the tips into soft points. Dust the pointed tips of each leaf with dry pink chalk pastel using a soft brush, then arrange them in overlapping concentric circles inside the pot rim. Embed two black clay eyes and an impressed smiling mouth directly into the flat front surface of the terracotta pot using a rounded stylus. Drive an eye pin down through the center of the succulent cluster deep into the pot base, curing the entire assembly in the oven.
Common Beginner Mistakes and How to Avoid Them
Novice clay crafters frequently encounter structural fragility, surface contamination, and baking errors that compromise the quality of their finished accessories. Lint and airborne dust settling on pale clay surfaces remains a widespread issue; prevent this by wiping work areas with alcohol and handling a scrap piece of light clay first to capture residual skin oils. Another frequent error involves inserting straight eye pins directly into clay charms without mechanical reinforcement. Straight metal pins easily pull free under tension; always bend a small zigzag hook or crimp into the lower wire tip, or re-secure the pin with industrial liquid adhesive after baking. Improper oven temperature management also ruins countless projects, resulting in under-cured, brittle charms or scorched, discolored surfaces. Never rely on built-in oven dials; always position an independent analog oven thermometer directly beside your baking tile. Additionally, bake pieces for the full duration recommended by the clay manufacturer, as under-baking prevents the plastic polymers from cross-linking completely, leaving the cured accessory weak and prone to snapping during daily keychain use.
Practical Tips for Clean and Durable Results
Elevating your handmade clay keychains from amateur attempts to professional-grade accessories requires focused attention on finishing details and physical durability. Always thoroughly condition your polymer clay by kneading it until it warms and achieves consistent pliability, which eliminates internal micro-voids that cause structural fractures later. When attaching separate clay components, apply a microscopic smear of liquid polymer clay or bakeable adhesive between parts to ensure chemical fusion during the heating cycle. To achieve smooth, fingerprint-free surfaces prior to baking, gently buff the raw clay contours with a cotton swab dampened in rubbing alcohol. After curing and full cooling, apply two thin coats of water-based polyurethane varnish or UV-curable resin to lock in pastel pigments and painted accents. Resin coatings offer the added benefit of encasing delicate surface elements in an ultra-hard, glass-like shell that resists drops and pocket friction. Finally, select heavy-duty, soldered stainless steel jump rings rather than soft aluminum alternatives when attaching split rings to guarantee your handmade charms remain firmly fastened over time.
Functional Presentation and Accessory Styling Ideas
Curating your finished polymer clay charms transforms individual craft projects into cohesive accessory statements and charming gift collections. When styling keychains for personal use, assemble complementary elements onto a single multi-link keyring, pairing a primary character charm with a matching beaded wristlet or pastel ribbon loop. For instance, pair the strawberry milk carton with translucent pink glass beads, or style the petite succulent alongside natural unfinished wooden beads for an earthy aesthetic. If you are preparing these handmade items as thoughtful gifts, mount each charm onto a sturdy backing card crafted from heavy cardstock or textured kraft paper. Punch two small holes through the card to anchor the clasp neatly, adding hand-stamped lettering or minimalist botanical borders to frame the art. These compact charms also excel as decorative planner ornaments, zipper pulls for cosmetic pouches, decorative luggage tags, or distinctive accents hooked onto lunch tote handles. Grouping three related charms together—such as the donut, macaron, and milk carton—creates a coordinated dessert collection that showcases thematic consistency across your creative portfolio.
Efficient Time and Budget Project Planning
Executing polymer clay projects efficiently relies on smart material management and organized workflow planning, especially when crafting multiple charms in batches. Maximize your budget by purchasing primary colors alongside large blocks of translucent and pure white clay; custom pastels and shades can be mixed easily, reducing the need for dozens of expensive individual specialty packs. Organize your creative sessions into dedicated batch-processing stages: dedicate one block of time entirely to conditioning and tinting clay batches, followed by a shaping session, and conclude with assembly and baking. Grouping similar colors together minimizes hand-washing intervals and prevents tool cross-contamination, saving valuable crafting time. Conserve energy by filling your baking tile with multiple finished charms rather than running heating cycles for single pieces. Store unused, conditioned clay in airtight polypropylene containers or wrapped tightly in clean plastic cling film away from heat and direct sunlight to prevent premature hardening. Investing a modest budget into reusable foundational tools—specifically an oven thermometer, stainless tissue blade, and quality pliers—ensures consistent results across dozens of rewarding DIY projects without recurring expenses.
Creative Expansions and Advanced Design Inspiration
Once you master foundational miniature shaping and hardware assembly, you can expand these kawaii concepts into intricate, mixed-media decorative designs. Experiment with surface complexity by integrating metallic mica powders or iridescent glitters into translucent clay bodies, producing luminous, magical interior effects for celestial or sweet-themed charms. You can also transition from standalone keychains into functional lifestyle decor by adapting the sculpted characters into pushpins, decorative magnetic boards, earphone cord organizers, or miniature desk figurines. Explore advanced clay sculpting techniques such as translucent cane building, which allows you to assemble complex internal patterns that reveal intricate graphics whenever you slice cross-sections. Alternatively, experiment with incorporating miniature textile elements, such as dangling cotton tassels, micro-crochet accents, or hand-tied velvet ribbons attached to the connector jump rings. Combining polymer clay with clear UV resin enclosures or miniature glass wish bottles enables you to craft layered, terrarium-style keychains that protect delicate sculptural components while presenting them within an enchanting, modern display format.