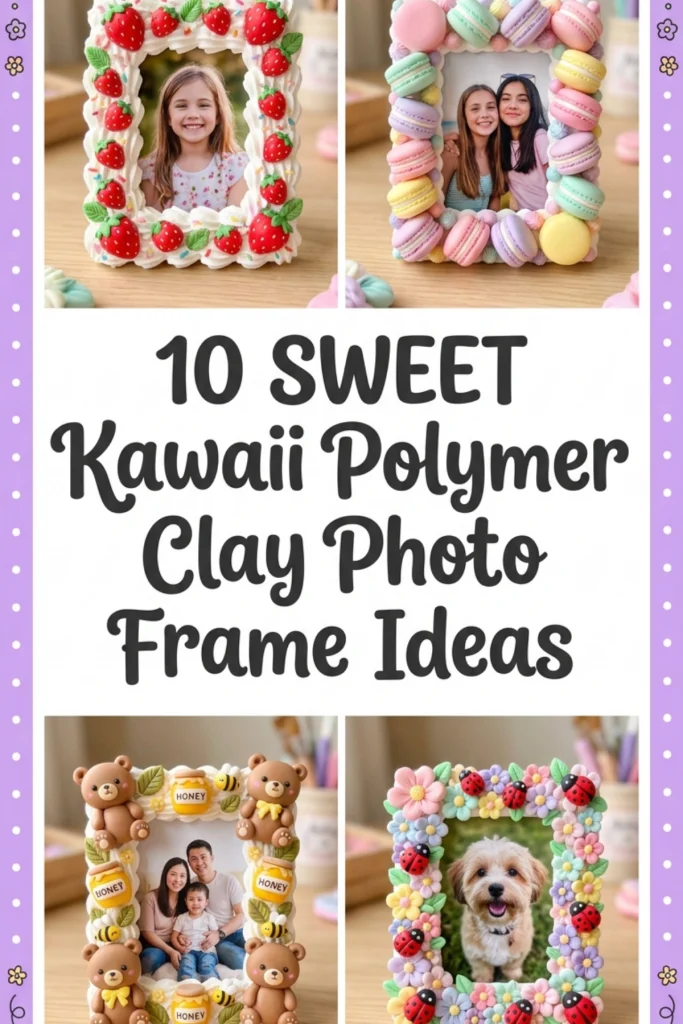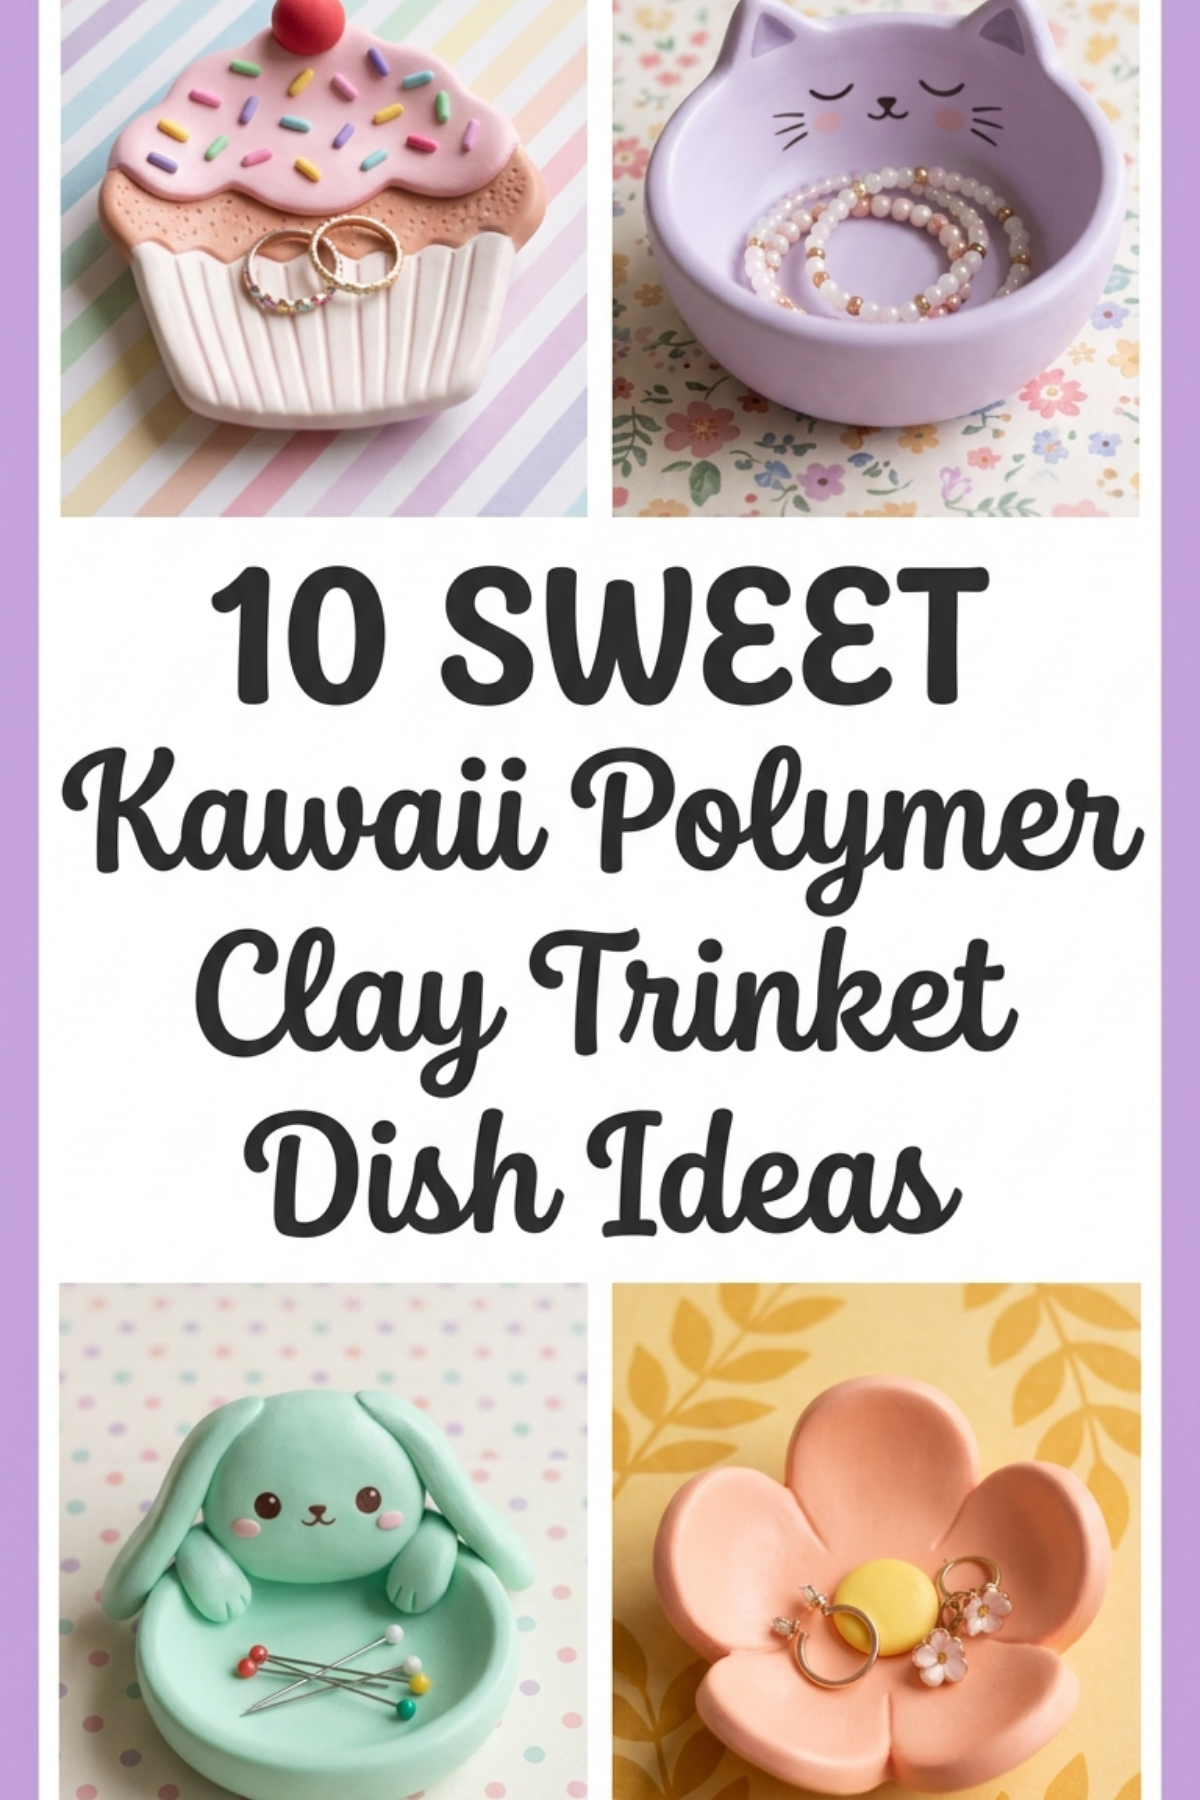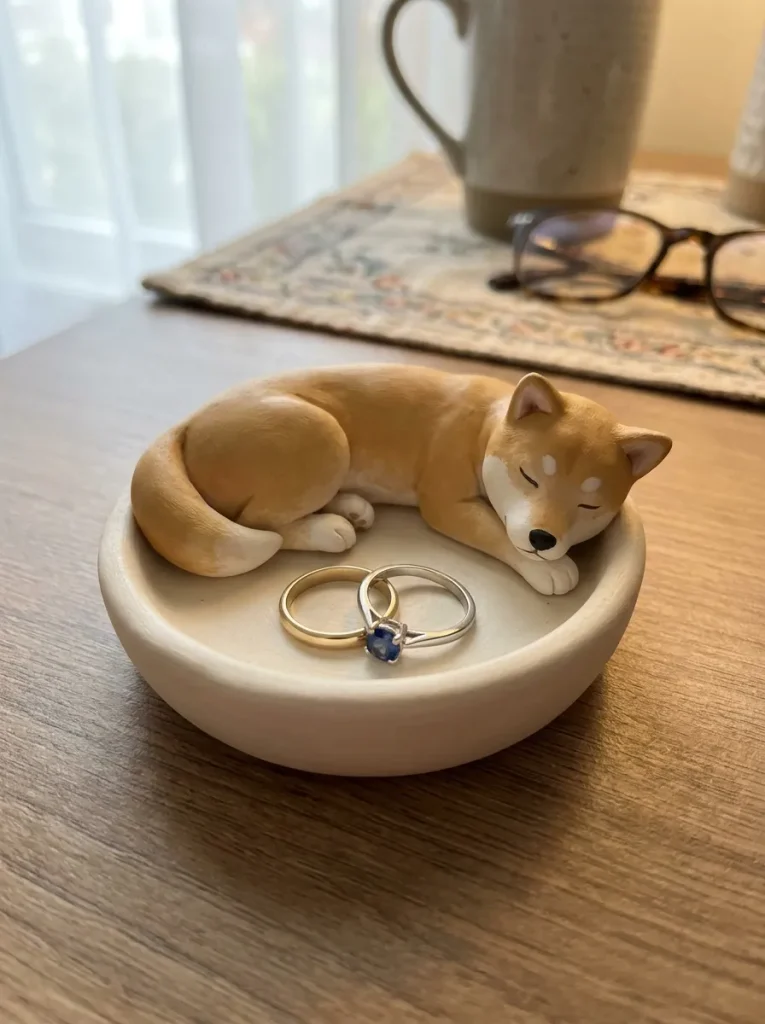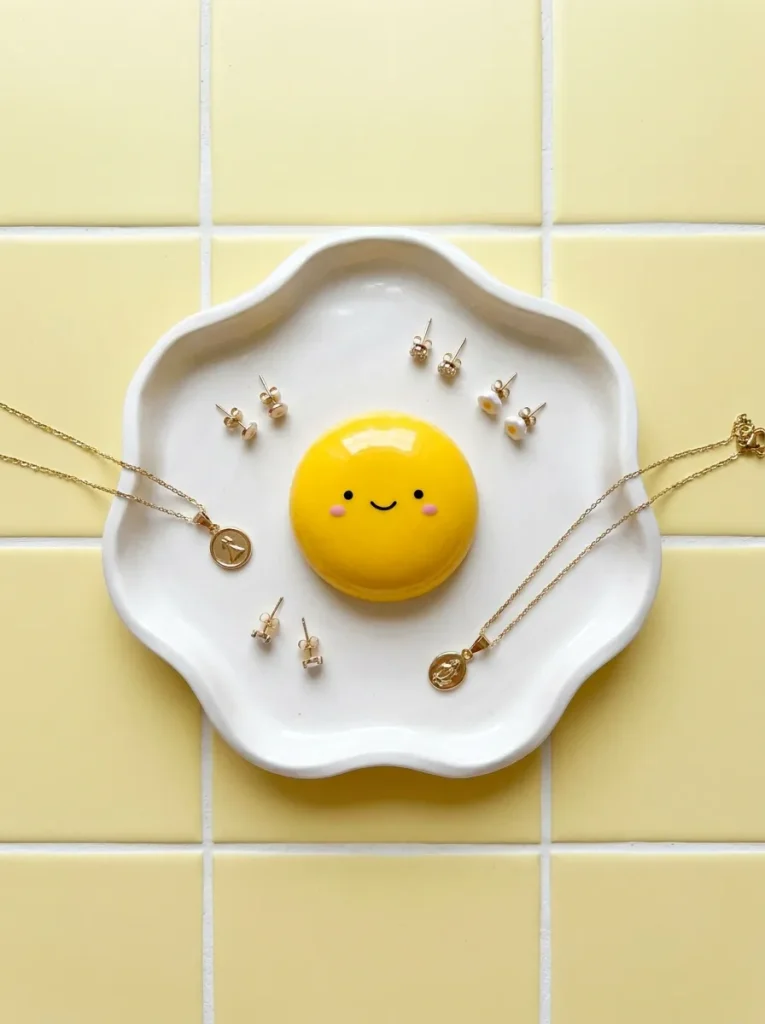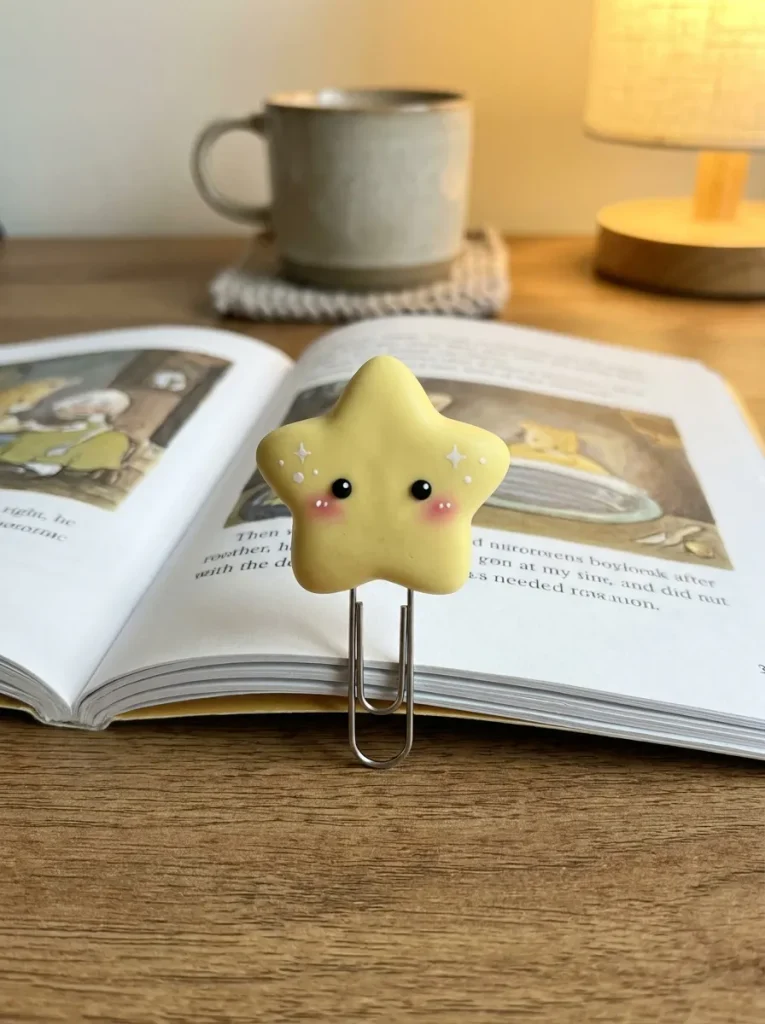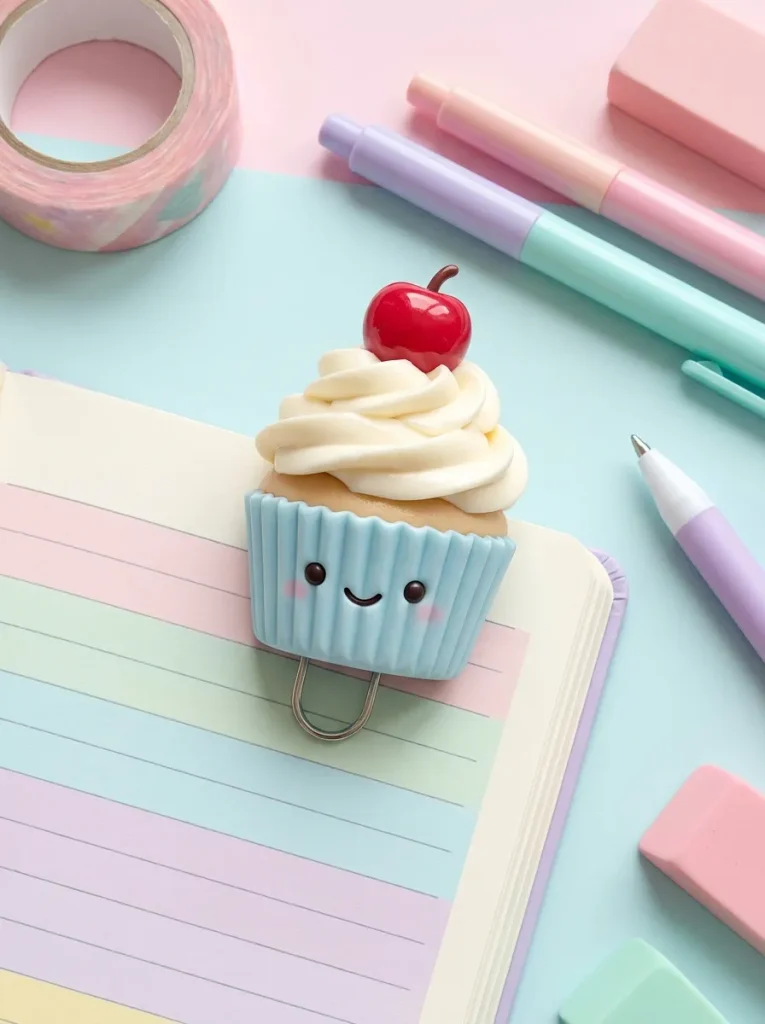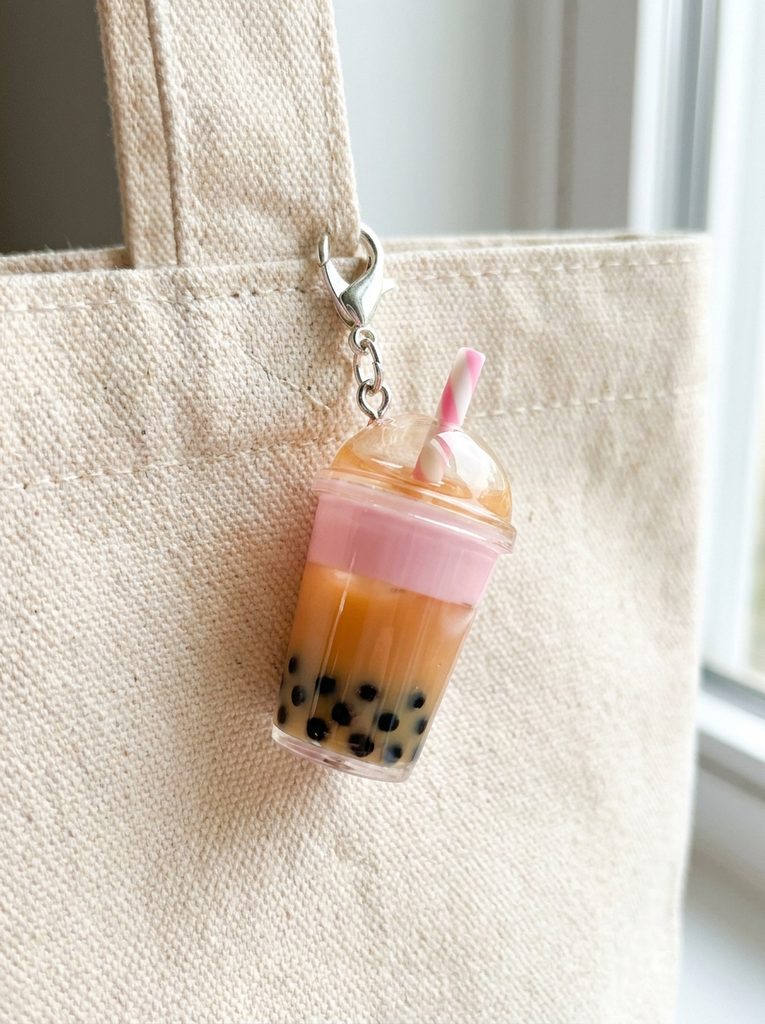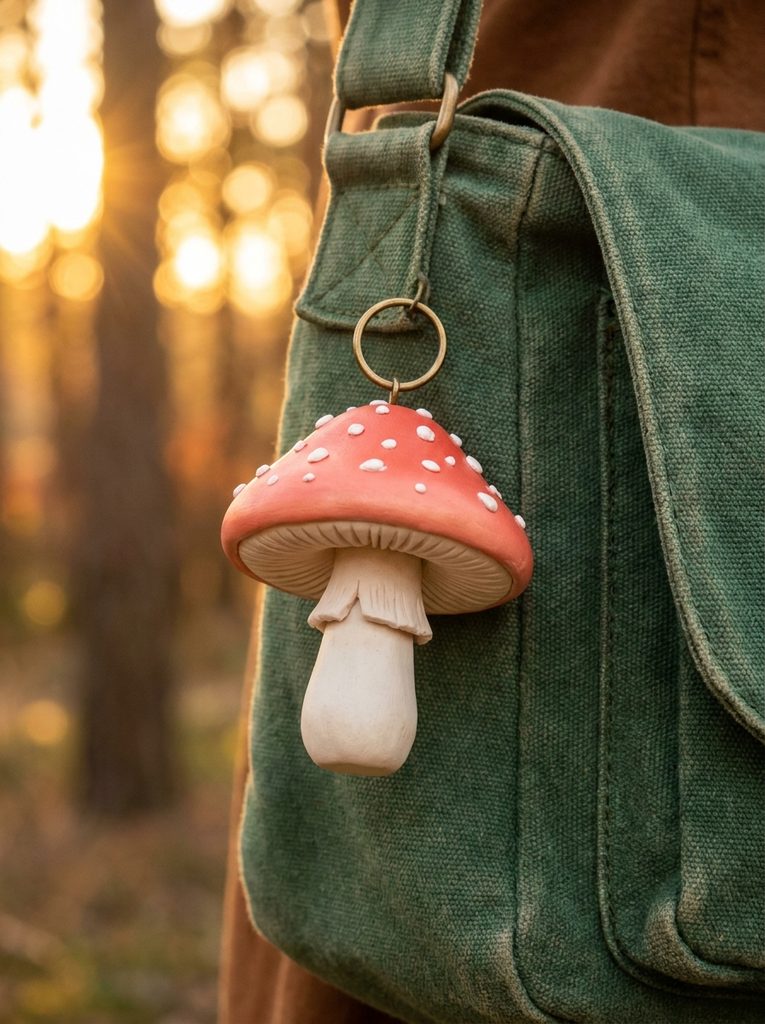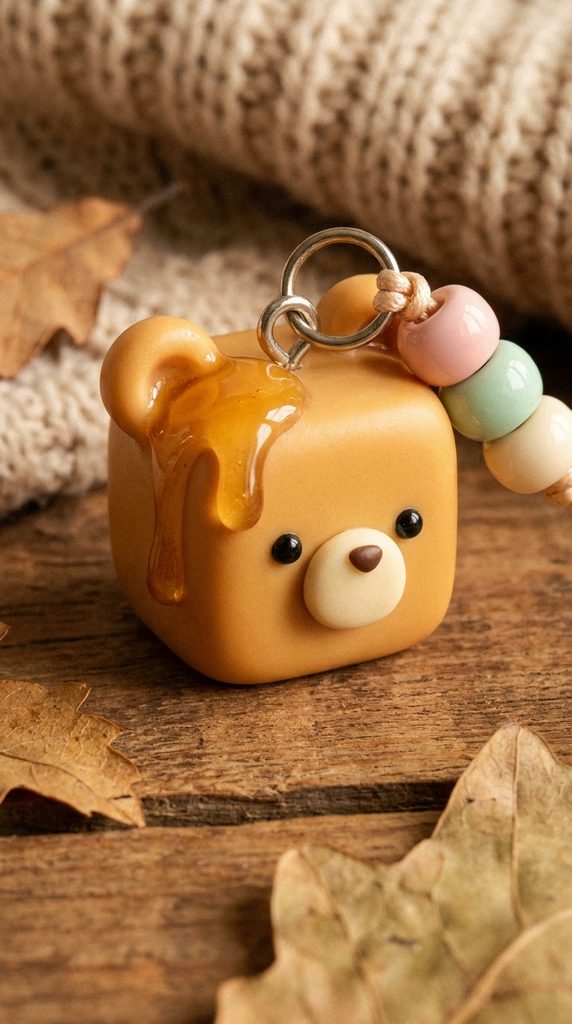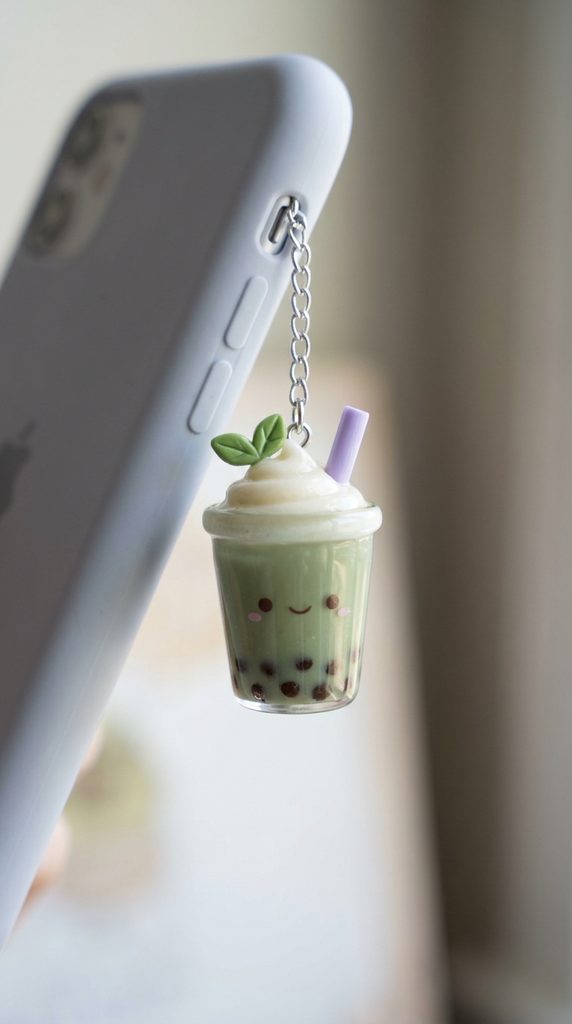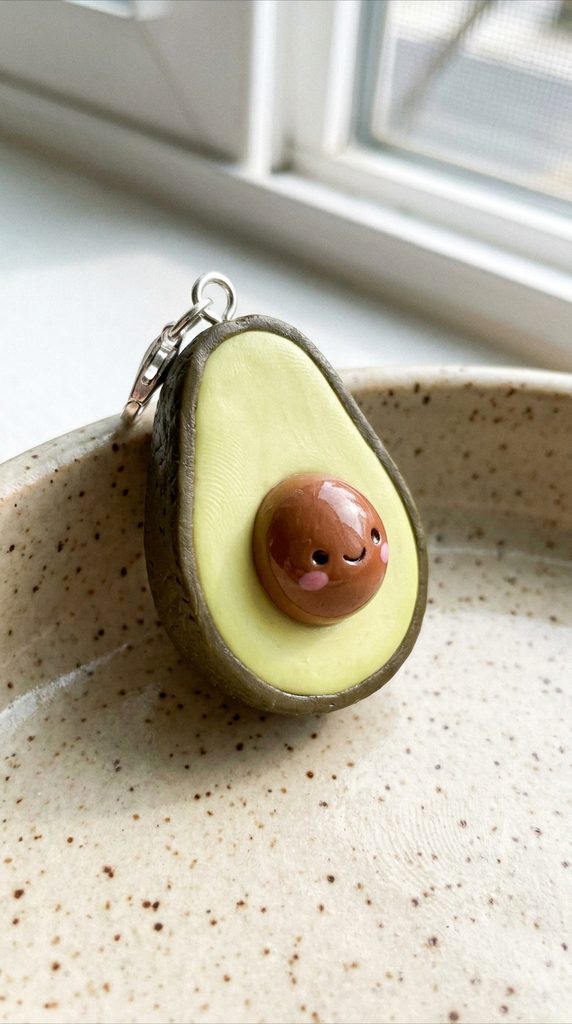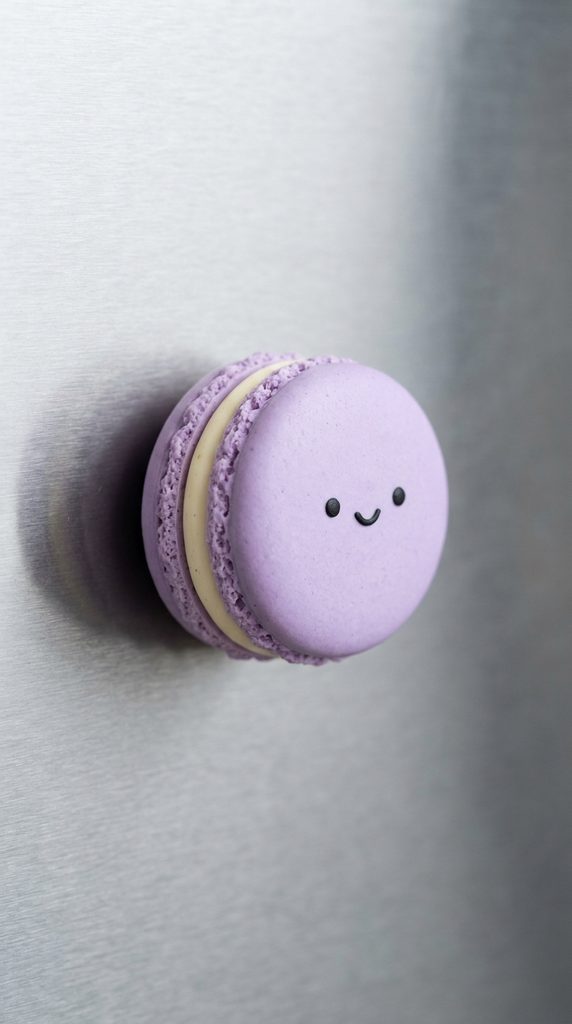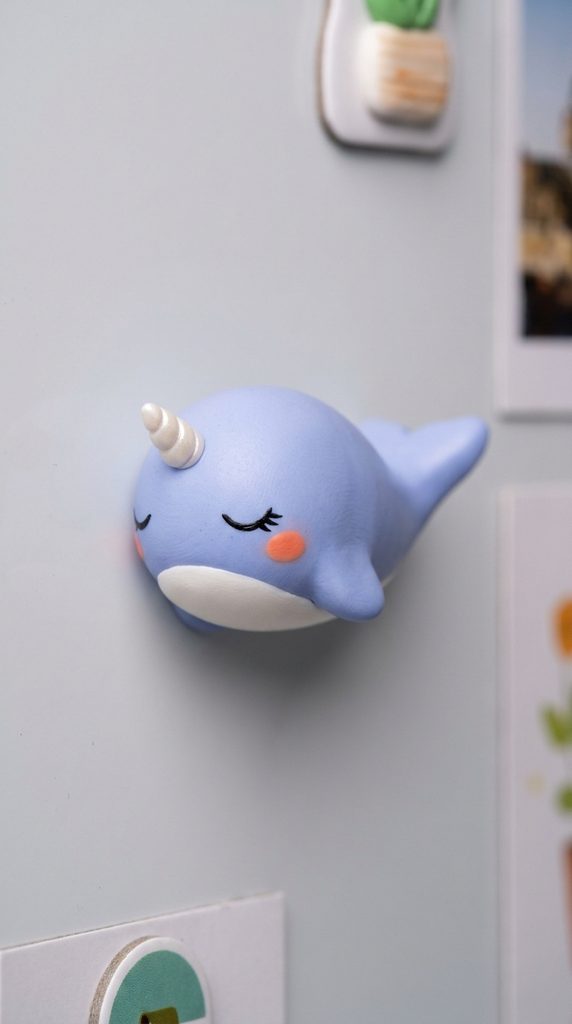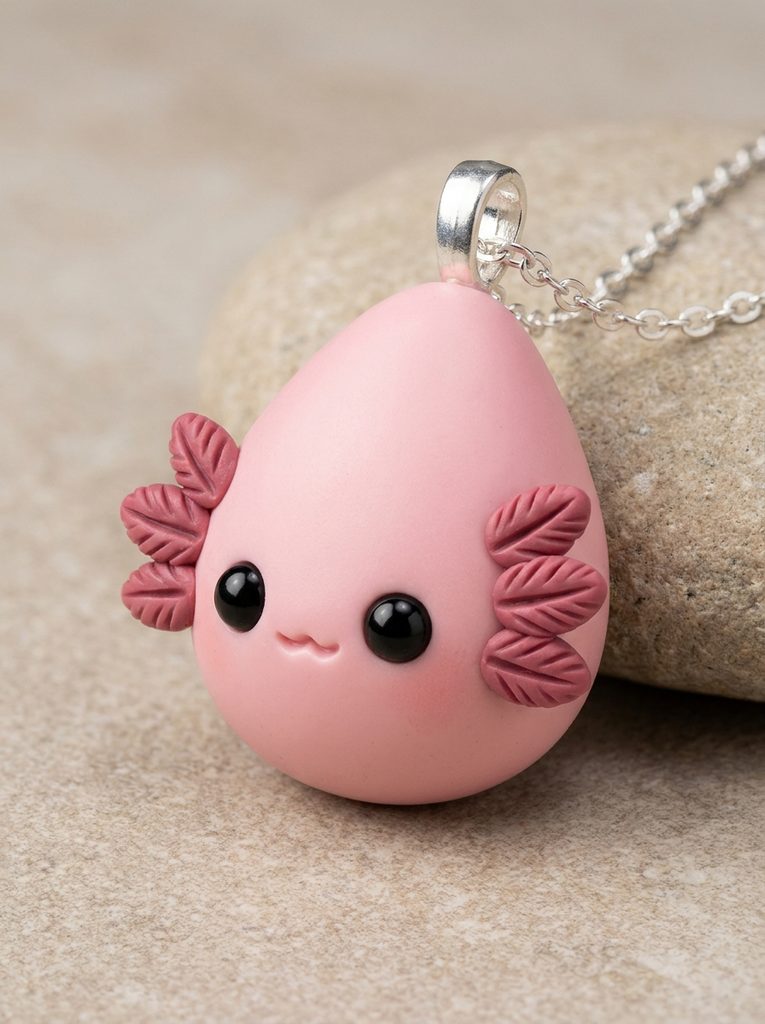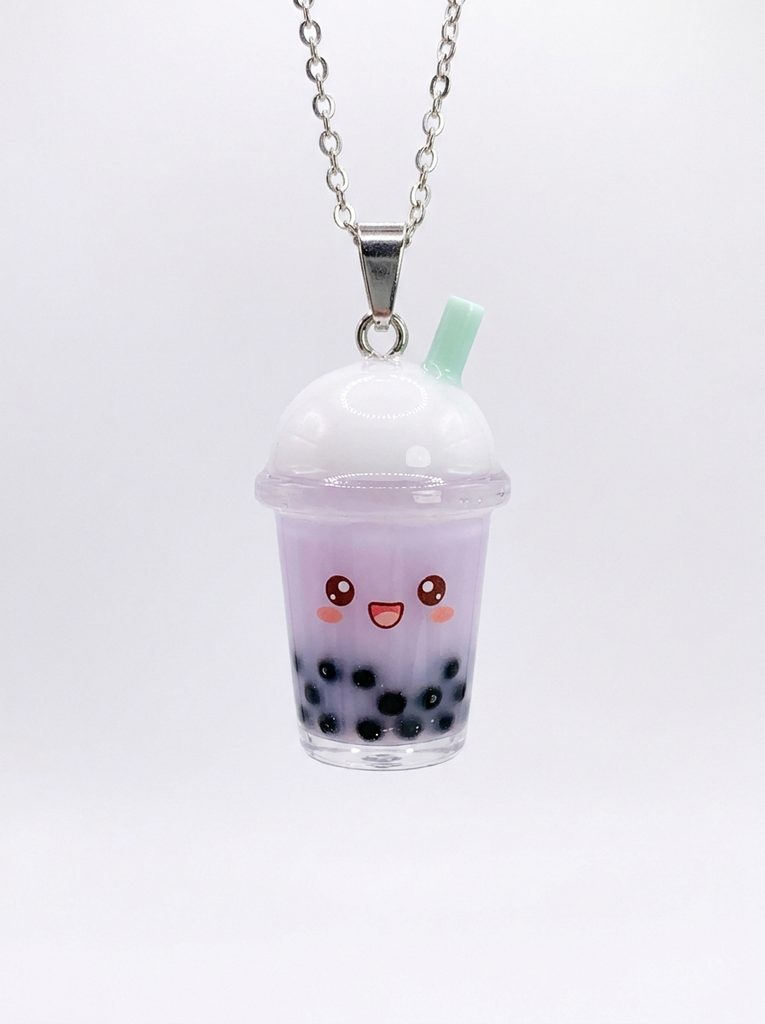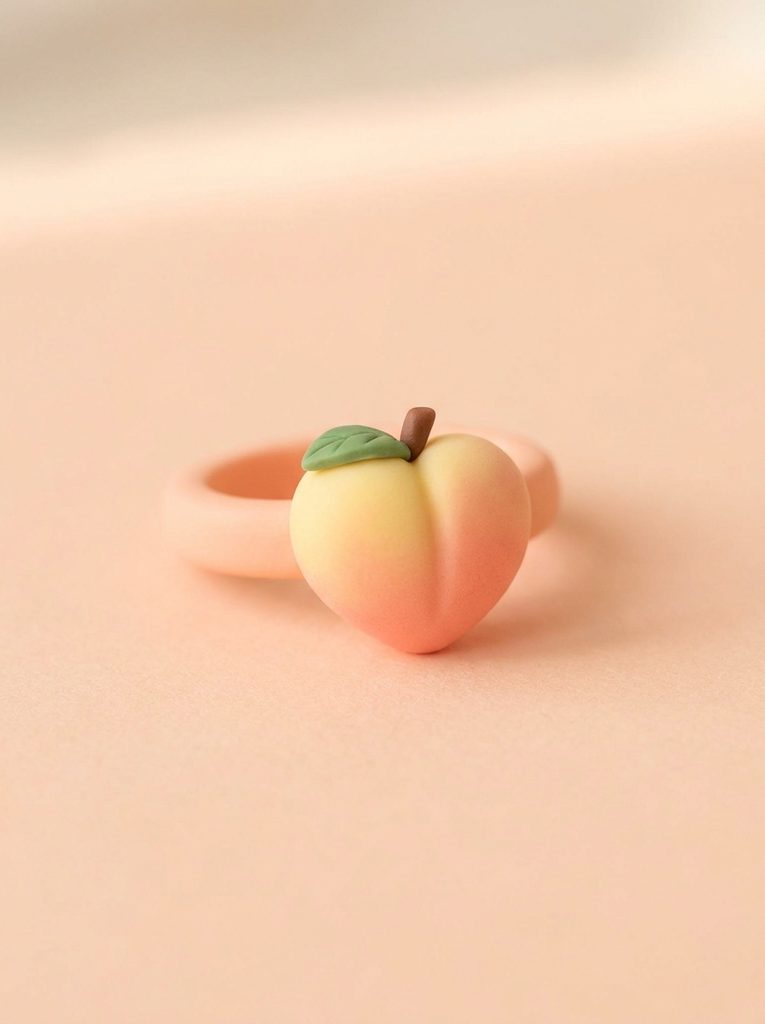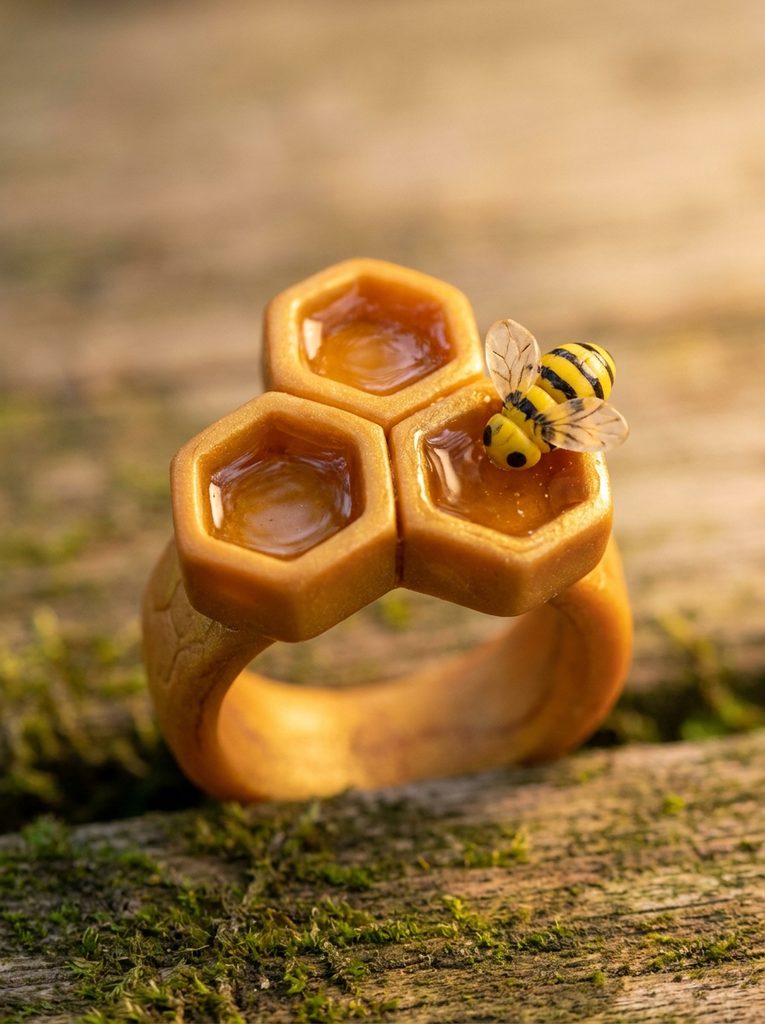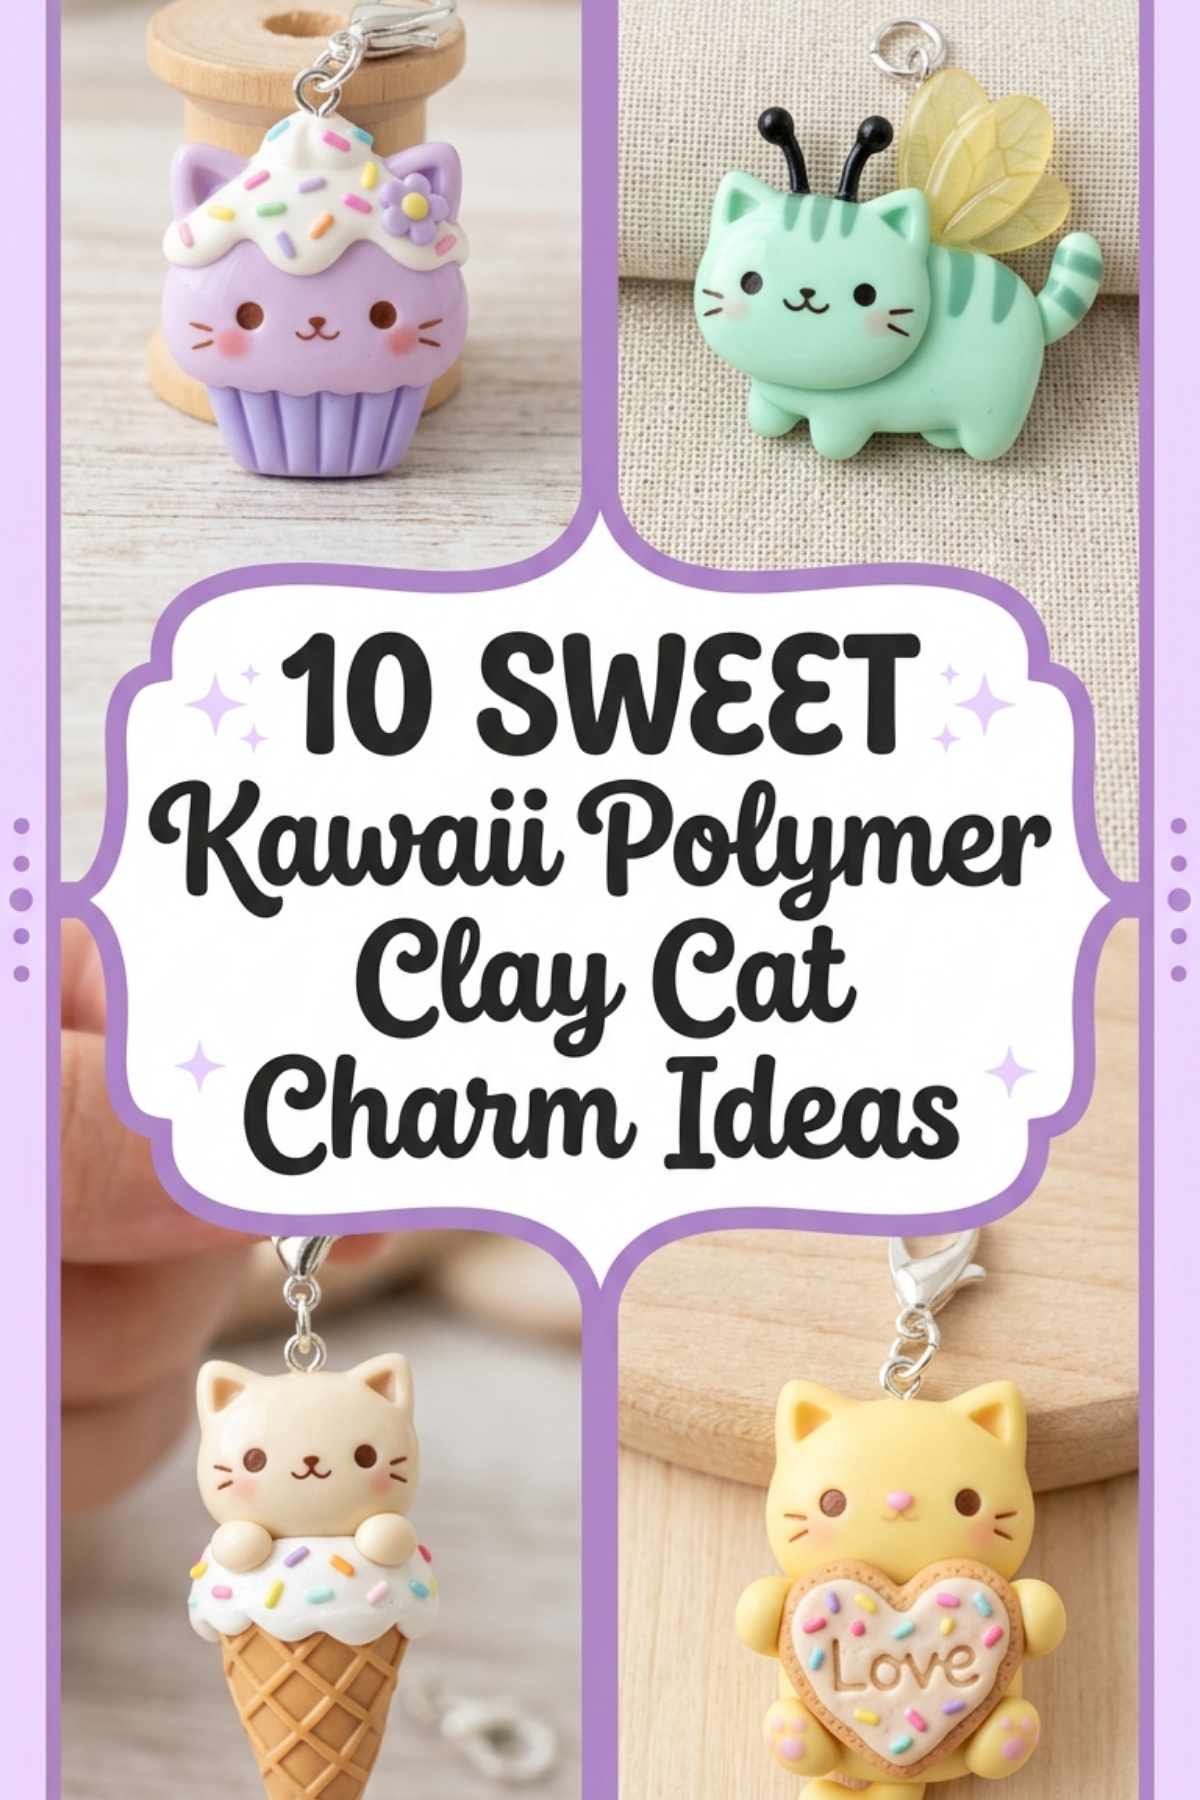

Handcrafted polymer clay accessories remain a cornerstone of creative expression across modern visual platforms. This complete step by step tutorial introduces ten unique kawaii polymer clay cat charm ideas designed to enhance your handmade jewelry, keychains, and decorative crafts. Crafters of all skill levels will learn how to shape, detail, cure, and assemble miniature feline figures characterized by soft pastel palettes, rounded profiles, and expressive features. Exploring these creative ideas provides foundational modeling skills that translate across diverse home decor and gift projects. Working with oven-bake clay delivers immediate creative satisfaction because it requires no specialized studio equipment, allowing anyone to produce professional, durable pieces directly on a standard kitchen baking tray. By mastering the core structural methods in this guide, you will understand how to balance proportions, attach delicate clay components securely, and preserve delicate surface textures throughout the baking process. Handcrafted charms offer functional utility, serving as personalized planner accessories, phone accents, bag clips, or wearable pendants. This guide equips you with reliable methods to transform simple blocks of compound into clean, polished keepsakes while avoiding structural flaws and maintaining a cohesive minimalist style throughout your miniature sculpting journey.
Why This Idea Is Trending or Useful
The enduring popularity of Japanese-inspired miniature figures within modern design feeds directly into the trending ideas seen across creative pinboards today. Sculpting miniature animals taps into the universal appeal of playful aesthetics while serving as an accessible entry point for beginners seeking budget ideas that yield high visual impact. Compact crafts require minimal storage space, a tiny initial financial investment, and basic hand tools, making the medium ideal for individuals living in compact apartments or crafting on shared tables. Beyond their aesthetic charm, miniature clay figures offer a tactile, screen-free creative outlet that encourages steady manual dexterity and thoughtful focus. The finished pieces integrate seamlessly into contemporary lifestyle trends, providing personalized flair to everyday carry items, stationery collections, and handmade jewelry assortments. Modern design sensibilities favor clean lines, balanced proportions, and gentle pastel tones, all of which align naturally with the simplified anatomy of kawaii art. By combining structural durability with imaginative themes, these miniature cat projects empower makers to build confidence in three-dimensional modeling. The scalable nature of these designs means you can produce a single signature pendant or batch-produce complementary sets for thoughtful gifting or craft display arrangements.
Materials and Preparation
Successful clay modeling depends on systematic preparation, clean workspace habits, and appropriate base materials. Gather premium polymer clay blocks in selected base tones, including creamy white, pastel blush, soft mint, lavender, and warm charcoal, along with high-density pigment pastels for blushing effects. Essential tools include a smooth acrylic roller, a silicone-tipped shaping tool set, needle tools for micro-detailing, sharp craft blades for clean cuts, and stainless steel eye pins for securing hanging hardware. Work exclusively on an ultra-smooth, non-porous work surface such as a ceramic tile or tempered glass sheet to prevent lint contamination and ensure easy release. Before shaping any elements, wash your hands thoroughly to remove oils and dust particles, and wipe down your working surface with rubbing alcohol. Condition each portion of clay by kneading it between clean palms until it becomes pliable, elastic, and free of internal micro-fissures. Planning your visual color palette in advance prevents accidental pigment transfer between contrasting clay blocks. Prepare a dedicated baking tile lined with standard parchment paper to support your completed charms during the curing cycle, and confirm your domestic oven temperature using an external standing oven thermometer before heating.
1. Strawberry Shortcake Kitten Pendant
Step-by-Step Guide
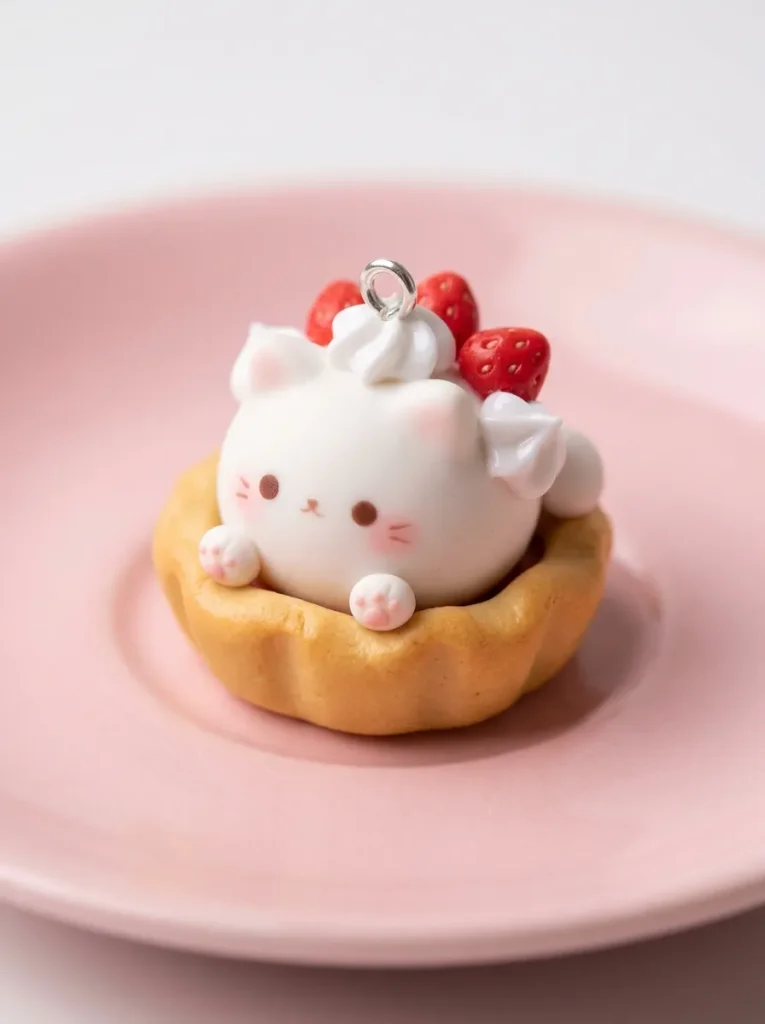
The strawberry shortcake kitten combines miniature patisserie themes with feline anatomy to create an adorable dessert sculpture. The core design features a spherical, snow-white cat head resting inside an unbaked golden-tan pastry crust, crowned with a crimson strawberry wedge and sculpted whipped cream swirls. Miniature blush-pink paw pads extend over the edge of the pastry shell, establishing visual depth and realistic layering. The contrast between the smooth porcelain finish of the cat’s face and the textured, baked look of the pastry crust provides tactile variety. Soft pastel shading applied to the cheeks softens the composition, while dark brown clay pupils create an inviting, gentle expression. This project serves as an ideal introduction to multi-part assembly, requiring crafters to balance culinary styling with rounded animal proportions. The compact silhouette prevents fragile elements from snapping off during daily handling, ensuring the completed charm functions reliably as a zipper pull, necklace pendant, or phone strap accent.
To construct this piece, condition two equal portions of white and biscuit-tan clay until pliable. Roll the tan compound into a small disc, indenting the center with a rounded ball-stylus to form a shallow, flared pastry dish. Shape the white compound into a smooth marble-sized sphere for the feline head, pressing it gently into the tan base. Sculpt two tiny white triangles for ears, smoothing the rear seams directly into the skull using a silicone blender tool. Roll three microscopic red cones, indenting their exteriors with a fine needle tool to mimic real strawberry seeds, and place them on top of the cat’s head alongside two pinched white teardrops representing piped cream. Use a blade to cut microscopic pink rounds for blushing cheeks and a fine black clay rope for sleepy, curved eyes. Insert an eye pin treated with liquid clay vertically through the center of the charm, then bake the assembly on a flat tile at the manufacturer’s recommended temperature.
2. Sleeping Calico Kitty Loaf
Step-by-Step Guide
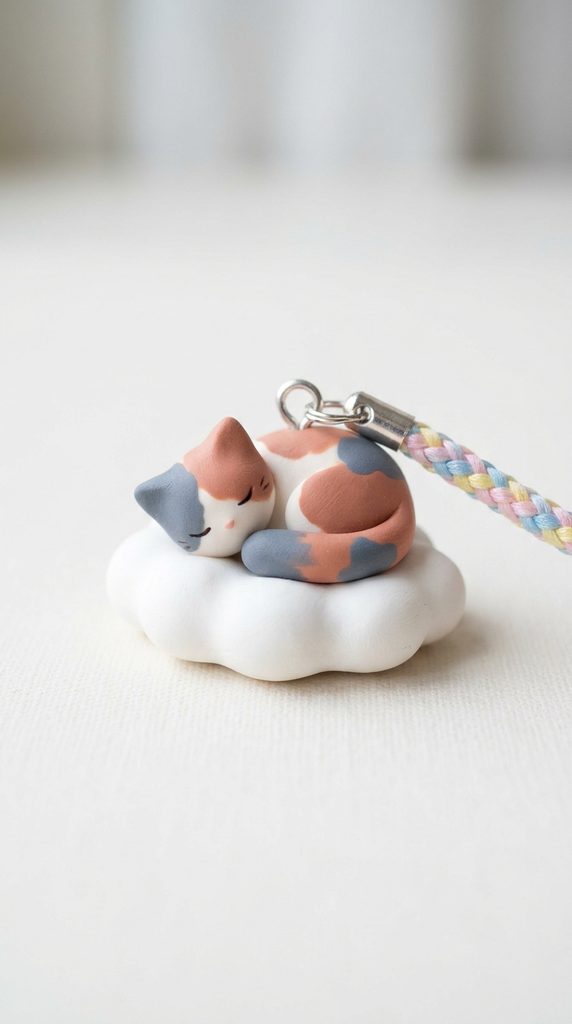
The calico loaf charm captures the iconic resting posture of cats with their paws tucked invisibly beneath their bodies. This minimalist style design emphasizes geometric simplicity, relying on an elongated oval base rather than articulated limbs to convey feline relaxation. The body features organic patches of warm terracotta-orange and slate-black integrated seamlessly onto an off-white base. The face remains serene, detailed only with closed crescent eyes, a tiny triangular nose, and two forward-angled ears that flow naturally into the body contour. Because the entire silhouette remains flush with the work surface without protruding appendages, this design provides exceptional durability against everyday friction. Its clean lines align with contemporary modern design standards, offering crafters an easy project that teaches color blending, seamless patch insertion, and symmetrical balance without the stress of sculpting complex anatomical joints.
Begin by rolling an elongated egg shape from conditioned ivory clay, flattening the lower surface against your ceramic tile to create a stable base. Using a sharp craft blade, slice random, razor-thin slivers of terracotta and black clay, applying them flat against the body of the ivory loaf. Smooth these color patches into the base using an acrylic roller until the entire surface forms an uninterrupted plane. Model two small, flat ivory triangles for ears, placing them at the narrower end of the loaf and smoothing the seams forward. Indent the closed eye crescents into the face using the curve of an open jump ring or the tip of a fine needle tool. Wrap a slender white cylinder around the rear hip to represent a tucked tail, blending the tip softly against the side. Apply ground pink chalk pastel to the inner ears using a dry detail brush. Insert a trimmed eye pin horizontally through the upper back before curing the piece.
3. Boba Milk Tea Feline Shaker
Execution Process
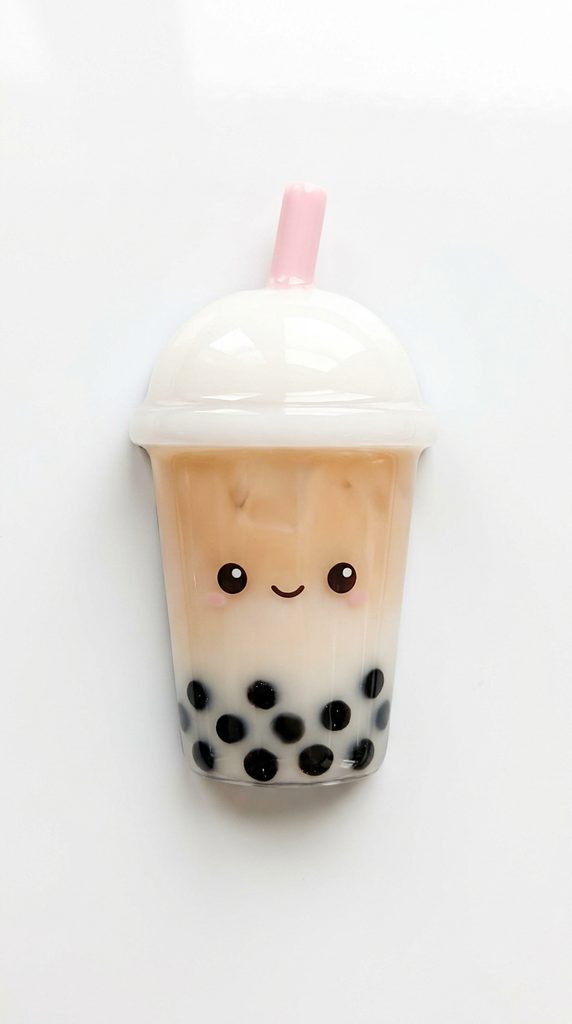
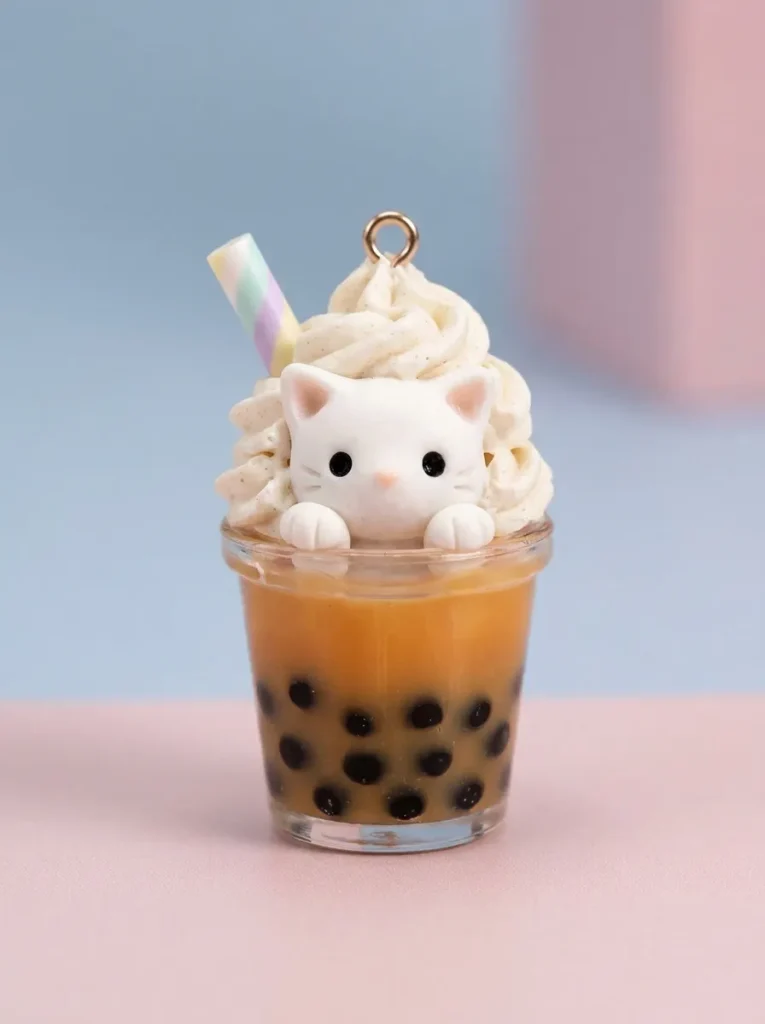
The boba milk tea cat charm blends beverage culture with cute character design by encasing a kitten inside a classic drink cup. The lower portion of the design features a translucent or milky caramel base filled with tiny dark spheres that mimic tapioca pearls, topped with a creamy white cat head emerging like whipped foam. Sculpted boba straws made from pastel clay pierce through the top, flanked by rounded cat ears and decorative star sprinkles. This creative project introduces the effective use of translucent clay varieties, showing makers how density variations alter perceived depth within miniature art. The vertical structure provides an ideal base for keychains or bag dangles, maintaining a sturdy visual profile while presenting intricate miniature details. The play between glossy syrup layers and the soft matte texture of the animal creates a sophisticated finish suited for modern aesthetic accessories.
To build the cup, roll a thick cylinder of translucent amber clay, tapering the lower circumference slightly inward to match standard drink cup proportions. Roll twenty microscopic balls of black clay and press them randomly around the lower third of the translucent cylinder to represent tapioca pearls. Shape a dome of ivory clay to represent the cat head, anchoring it firmly on top of the tea cylinder with a drop of liquid clay. Sculpt two small ivory triangles for ears and blend them into the dome using a needle tool. Create a tiny pastel-striped cylinder to serve as the boba straw, angling it into the top of the head behind the ears. Form miniature pink clay spheres for cheek blush, alongside tiny black clay discs for wide, curious eyes. Pierce the center top of the cup with a sturdy wire finding, ensuring it anchors deeply into the lower amber section, and cure according to package instructions.
4. Cozy Matcha Roll Cake Cat
Setup Method
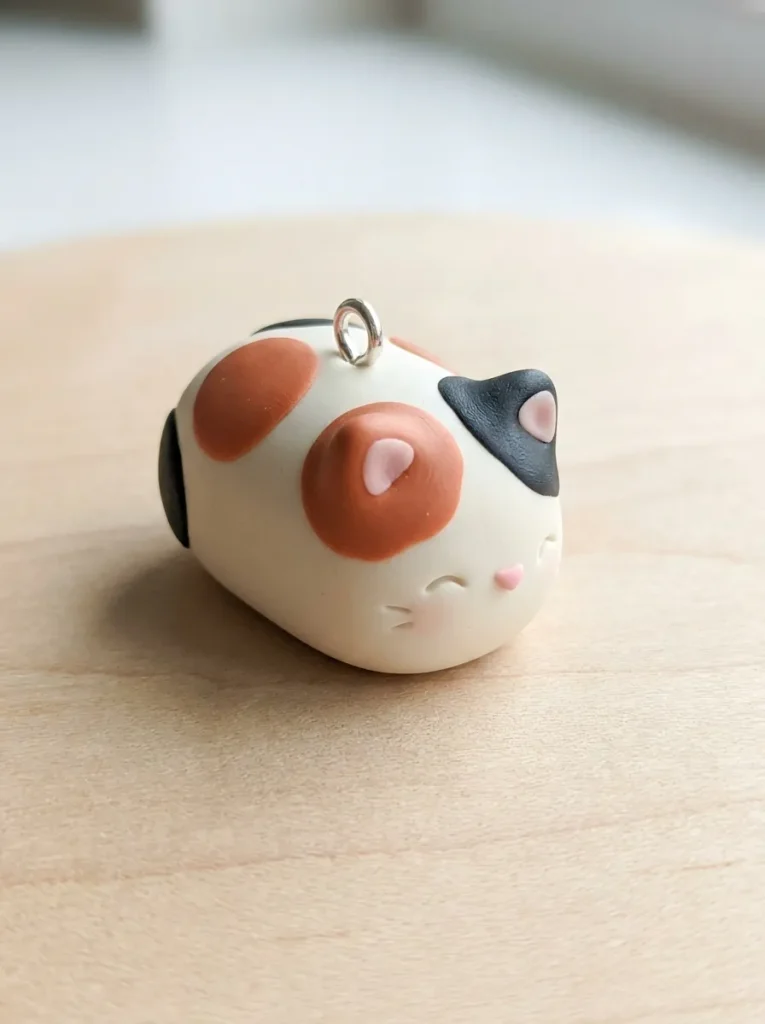
The matcha roll cake kitten transforms classic Japanese bakery themes into a delightful novelty accessory. This design features a coiled Swiss roll structure tinted in soft sage green, wrapped around an ivory cream core that morphs into a sleeping kitten face at one end. The exterior of the cake slice showcases a gently textured crumb effect, contrasting with the glossy, smooth face of the resting feline. Two miniature ears poke out directly from the outer green cake layer, framing closed, peaceful facial features. This charm demonstrates how flat slab construction and rolling techniques can produce clean graphic patterns within polymer clay. It remains a favorite DIY tutorial subject because it teaches crafters how to wrap multiple contrasting clay sheets without trapping air pockets, yielding a clean, bakery-inspired aesthetic that coordinates effortlessly with natural pastel accessories.
Start by rolling out two separate sheets of clay to an even two-millimeter thickness using an acrylic roller, one in soft sage green and one in creamy ivory. Stack the green sheet directly on top of the ivory sheet, trimming the edges square with a tissue blade to create crisp boundary lines. Gently roll the dual-layered sheet into a tight, uniform spiral, maintaining consistent pressure so the interior layers adhere without gaps. Slice a single ten-millimeter section from the spiral using a wet craft blade to prevent squishing the rounded form. Smooth the front face of the slice, sculpting two triangular green ears directly onto the outer circumference. Indent serene, closed eye lines using a needle tool, and attach a microscopic pink nose at the center. Use a stiff-bristled toothbrush to stipple the green outer rim for an authentic cake sponge texture. Insert your eye pin into the top edge, and cure thoroughly.

5. Celestial Moon-Gazing Galaxy Cat
How to Create
The celestial moon-gazing cat pairs mystical fantasy themes with cute, rounded proportions to yield a striking decorative charm. The design features a deep midnight-purple cat seated atop a smooth, pale gold crescent moon, gazing upward toward sculpted stars. Subtle iridescent shimmer dust blended across the cat’s back evokes the appearance of a cosmic nebula, while white clay dots mimic distant planetary constellations. The structural juxtaposition of the sharp, sweeping crescent moon against the plump, rounded feline figure generates high visual appeal. This project allows crafters to explore surface treatments, including the application of metallic mica powders and pearlescent pigments, expanding their artistic range beyond standard flat-toned clays. The completed charm serves as an eye-catching pendant, balancing whimsical character modeling with sophisticated, modern color palettes.
Form the crescent moon by rolling a sphere of pale yellow clay, tapering both ends into fine points, and curving the cylinder against a circular guide to establish an even crescent arc. Flatten the moon slightly on your work tile to create a stable resting platform for the cat. Sculpt the feline body from deep violet clay, forming a plump pear shape for the torso and a rounded sphere for the head. Secure the cat onto the inner curve of the crescent moon using liquid clay for structural cohesion. Shape two pointed violet ears, affixing them to the skull with smooth, continuous seams. Dust the back and ears lightly with blue and violet mica powder using a dry cosmetic brush. Add tiny white clay specks across the body using the tip of a fine pin to represent distant stars. Insert an eye pin where the top of the moon and cat connect, then bake.

6. Pink Blossom Kitty Doughnut
Step-by-Step Guide
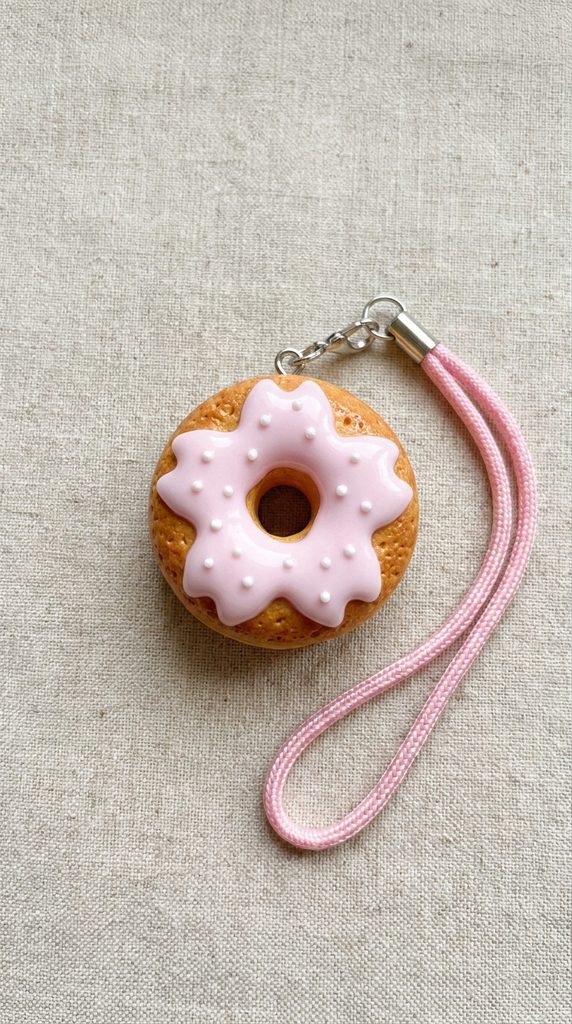
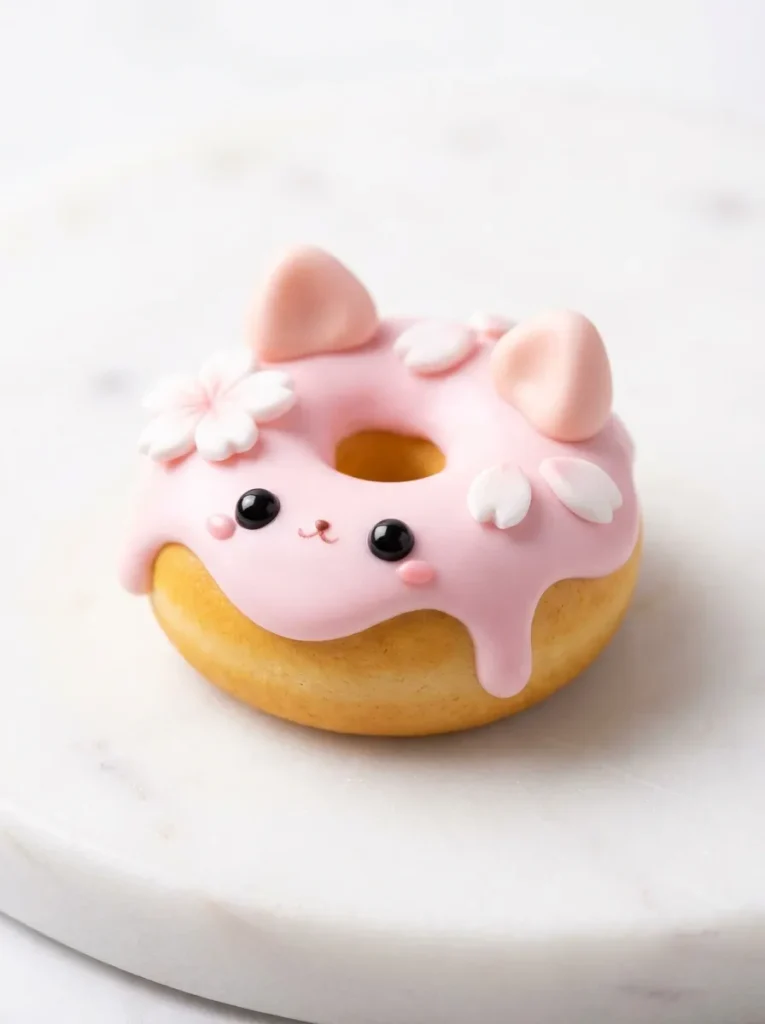
The pink blossom doughnut charm merges confectionary design with spring floral elements, turning a simple toroidal shape into an expressive animal figure. The base consists of a golden-baked doughnut ring glazed with glossy pastel-pink icing that drapes naturally over the upper surface. The feline personality emerges through two sculpted cat ears emerging from the pastry top, accompanied by a soft face stamped directly into the pink glaze. Miniature white cherry blossom petals with pale yellow centers cluster around one ear, adding botanical sophistication to the sweet theme. This project is particularly beginner-friendly because the symmetrical doughnut ring provides structural stability, minimizing the risk of breakage. It teaches makers how to control clay fluidity when simulating liquid icings and introduces basic floral assembly techniques that enhance wider home decor and accessory applications.
Roll an even coil of warm tan clay, joining the ends together seamlessly to create a uniform ring measuring approximately three centimeters across. Soften the outer rim by rolling it gently against your ceramic tile to eliminate seams. Roll out a thin, irregular sheet of pastel pink clay, cutting scalloped, wavy edges around its perimeter to mimic flowing sugar icing. Drape the pink sheet over the tan doughnut, smoothing it gently so it adheres without entrapping air bubbles. Sculpt two small tan triangles for ears, cover their fronts with matching pink glaze clay, and blend them into the top crest of the doughnut. Detail the face below the icing line using tiny black clay spheres for eyes and a sharp needle to mark a delicate mouth line. Assemble a five-petaled white flower on the left ear, insert an eye pin, and bake the piece.
7. Sprout-Headed Plant Pot Kitten
Execution Process
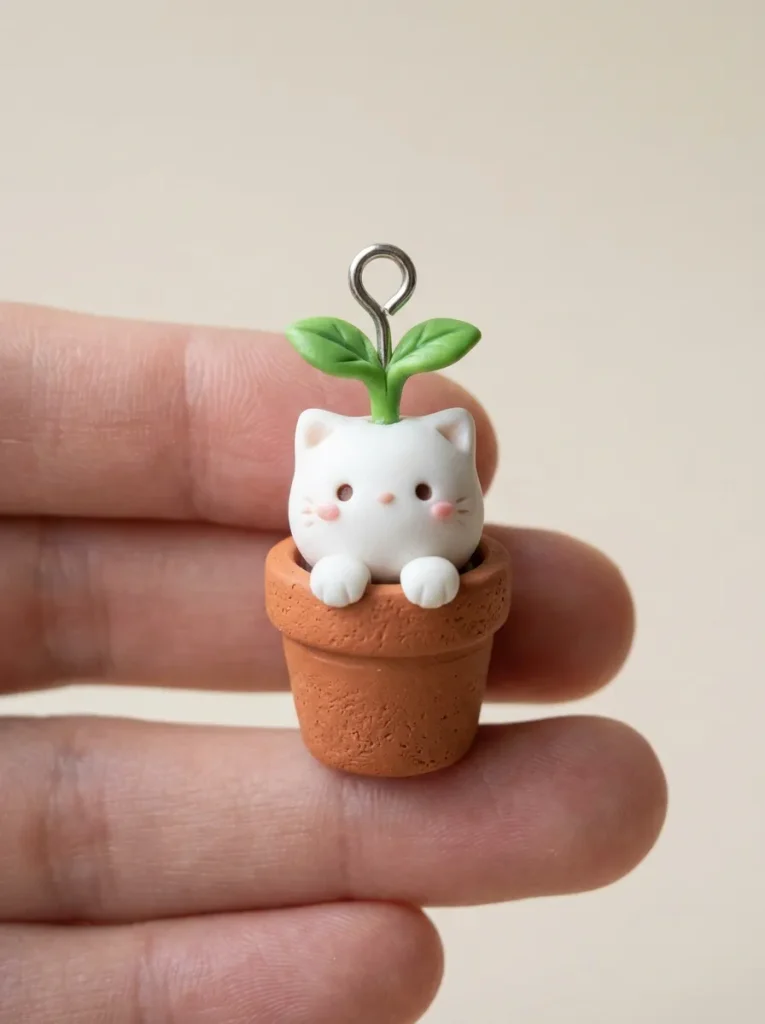
The sprout-headed plant pot kitten introduces gardening motifs to miniature crafting by seating a tiny white cat inside a classic terracotta flowerpot. A single green botanical sprout with two rounded leaves emerges playfully from between the cat’s ears, symbolizing growth and renewal. The kitten’s front paws rest over the rim of the pot, creating an engaging three-dimensional pose that draws the eye downward across the piece. This project offers practical training in combining architectural cylindrical shapes with organic animal figures. The rich earthy terracotta tone contrasts beautifully against the clean white clay of the kitten and the vibrant green of the leaf sprout. The compact, vertical footprint makes this charm exceptionally resistant to damage, providing a dependable build for heavily used items like car keychains, backpack pulls, or desktop display markers.
Begin by rolling an earthy terracotta clay cylinder, tapering the base inward while keeping the top flat to form a stable flower pot shape. Wrap a thin, flattened strip of terracotta clay around the upper rim to establish the lip of the pot, smoothing the seam cleanly at the rear. Shape a sphere of conditioned white clay to fit snugly within the pot opening, leaving the upper hemisphere exposed as the cat head. Sculpt two small white paws, positioning them directly over the front terracotta lip. Attach two pointed triangular ears to the head, blending the back edges smoothly. Form two tiny emerald-green teardrops, flattening them into leaves and attaching them to a short central stem positioned between the ears. Use black pigment or fine clay dots to establish facial features, position an eye pin through the center stem, and cure on your baking sheet.
8. Honeybee Striped Kitty Friend
Setup Method
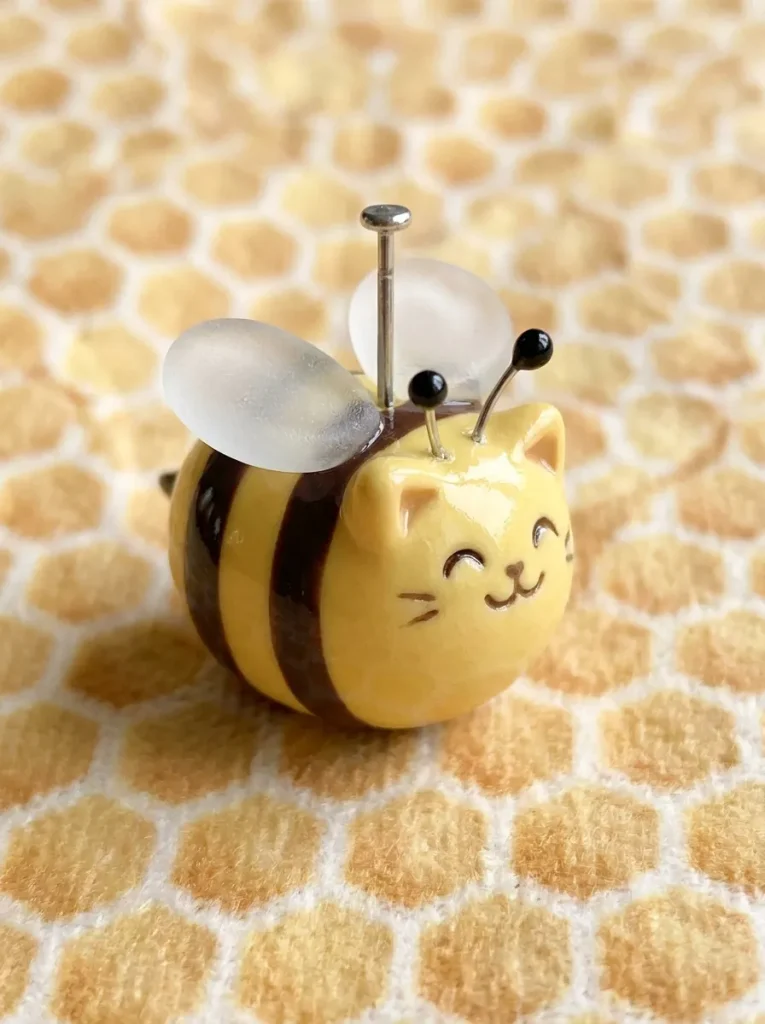
The honeybee striped kitten charm combines playful animal masquerade concepts with bright, cheerful spring color blocking. This design features a round, buttercup-yellow cat figure detailed with horizontal charcoal-brown stripes across its back, mimicking the markings of a bumblebee. Two translucent white oval wings flare outward from the shoulder blades, while miniature antennae with rounded tips emerge behind the cat’s ears. The cheerful color scheme and rounded proportions convey warmth and whimsy, making it an engaging handmade gift item. This project provides excellent practice in applying clean, razor-sharp horizontal stripes onto a curved surface without distorting the underlying base structure. Crafters also gain experience working with translucent clays to craft thin, delicate wings that cure to an ethereal, semi-opaque finish capable of withstanding light daily wear.
Roll a smooth ball of bright yellow clay into an egg shape to form the unified head and body of the kitten. Roll several razor-thin coils of dark brown clay, wrapping two bands evenly around the midsection of the yellow body and trimming the excess underneath with a craft blade. Shape two yellow triangles for ears, smoothing them into the top of the head using a silicone shaping tool. Roll two flat, translucent teardrop shapes for the bee wings, texturing their surfaces with delicate line indents using a fine needle tool before securing them to the upper back with liquid clay. Add two short black wire segments topped with tiny black clay spheres to serve as antennae. Detail the facial features using black clay dots for eyes and pale pink chalk for blushed cheeks. Insert a heavy-duty eye pin between the antennae and cure.
9. Cozy Teacup Bathing Kitten
How to Create
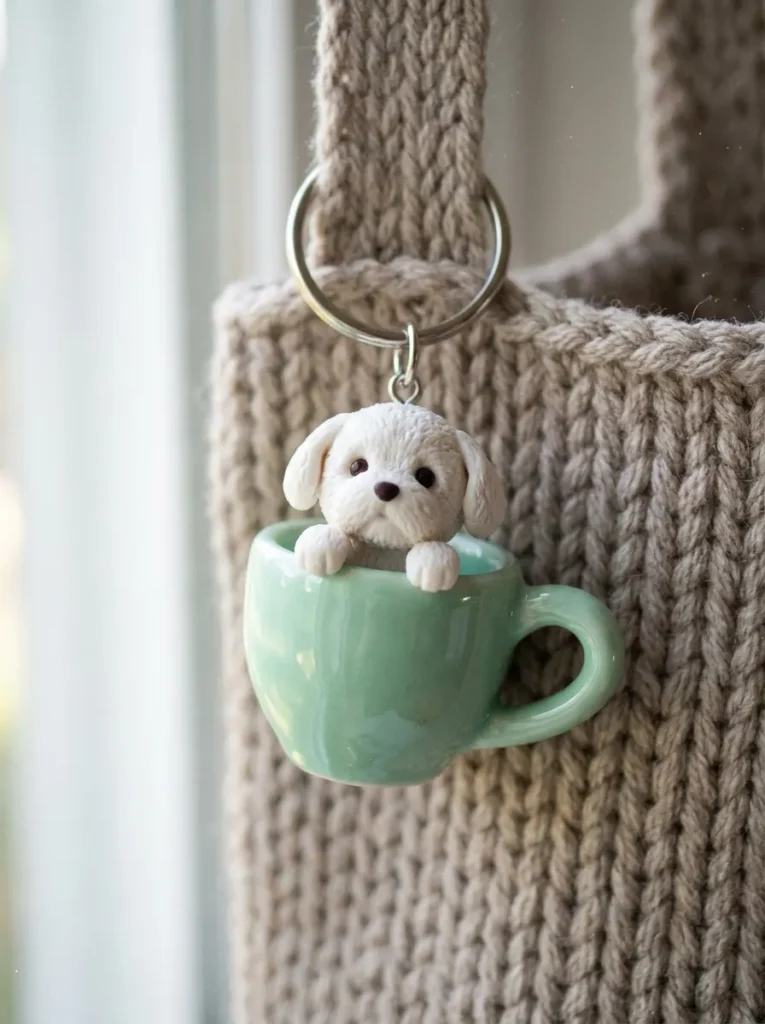
The teacup bathing kitten presents a charming narrative scene contained entirely within a miniature household dish. A tiny white kitten sits submerged within a pastel ceramic teacup, resting its rounded paws and chin comfortably over the rim as if soaking in a warm bath. A sculpted yellow bath duck or miniature citrus slice floats beside the cat in a pool of clear, tinted liquid clay, adding storytelling charm to the miniature scene. This design teaches makers how to combine solid polymer clay modeling with liquid bakeable clay mediums to simulate resting water surfaces. The rigid walls of the sculpted cup protect the internal feline character, resulting in a durable, self-contained charm that serves as an impressive conversation starter when worn as jewelry or styled on an accessory tray.
Begin by shaping a small cup from pastel blue clay, rolling a tiny ball, hollowing out the center with an acrylic ball tool, and flattening the bottom against your tile. Attach a small curved coil to one side to form a classic teacup handle, smoothing both attachment points securely. Shape an ivory cat head and two resting paws, positioning the head inside the cup so the paws drape forward over the front rim. Add pointed ears and delicate black facial features to the kitten. Fill the cavity surrounding the cat with translucent liquid polymer clay tinted with a drop of blue alcohol ink to mimic bath water. Place a microscopic yellow duckling sculpt on top of the liquid pool. Insert an eye pin through the cat’s head into the base of the cup, ensuring full penetration, then bake the piece flat.

10. Sailor Collar Seaside Kitty
Step-by-Step Guide
The sailor collar seaside kitten showcases vintage maritime fashion translated onto a miniature feline figure. This design features an upright ivory kitten wearing a navy blue sailor bib collar accented with white border stripes and a tiny crimson necktie knot. An angled sailor cap perches jauntily between the cat’s ears, completing the crisp nautical aesthetic. The contrast between deep marine navy, bright red, and clean white gives this charm a bold, graphic presence that stands out cleanly in accessory groupings. This project is ideal for advancing makers because it requires precise geometric cutting and careful layering of thin clay sheets. Mastering the clean edges of the uniform collar and cap prepares crafters for more complex character modeling and costume design projects across the wider polymer clay discipline.
Roll an upright, slightly tapered pear shape from white clay for the body, smoothing a round head directly on top to create a unified foundation. Roll out a thin sheet of navy blue clay, using a craft blade and ruler to cut a small square collar featuring two triangular front lapels. Drape the navy collar over the kitten’s shoulders, pressing it flat against the chest. Roll a microscopic white coil, applying it along the outer rim of the navy collar to simulate sewn uniform stripes. Shape a tiny red diamond for the center necktie, pressing it directly between the front lapels. Sculpt a small white disc with a navy band for the sailor hat, securing it between two white triangular ears at an angle. Detail the eyes with glossy black clay rounds, insert an eye pin through the hat center, and cure.

Common Beginner Mistakes and How to Avoid Them
Working with polymer clay involves specific physical properties that can lead to common structural flaws if fundamental rules are neglected. A frequent error among new crafters is under-conditioning the clay, which leaves internal micro-cracks that cause ears, limbs, and tails to snap off after baking. Always knead compound until it bends smoothly without showing surface fissures. Another common challenge is surface contamination from dust, lint, and residual pigments transferred from fingers. To prevent this, wipe your hands and tools frequently with alcohol-free wet wipes, and use dedicated craft blades for light and dark colors. Weak structural joints also cause frequent breaks; simply pressing two pieces of raw clay together does not guarantee a permanent bond. Apply a minute drop of oven-bake liquid clay between connecting parts, such as ears and heads, to weld the components permanently during curing. Inaccurate baking temperatures ruin many projects through either scorching or under-curing. Never rely solely on domestic oven dials, which often fluctuate significantly; place an independent standing oven thermometer directly beside your baking tile to ensure your oven holds the precise temperature specified by the clay manufacturer.
Practical Tips for Better Results
Achieving a clean, professional finish on miniature clay charms requires attention to fine details and controlled finishing methods. When shaping tiny facial features, work under bright, directional task lighting, using fine-tipped needle tools and stainless steel ball styluses rather than your fingers to avoid leaving unwanted fingerprints. If surface imprints do occur, smooth the raw clay gently with a cotton swab dipped in a small drop of isopropyl alcohol before baking. To achieve soft, natural cheek blush, scrape powder from high-pigment chalk pastels with a blade and dust it onto the raw clay using a soft, dry makeup brush. Adding tiny white clay catch-lights to dark pupil elements immediately brings miniature characters to life by conveying an alert, friendly expression. When inserting eye pins for jewelry use, bend the bottom third of the wire into a slight zigzag with round-nose pliers before insertion. This mechanical bend creates an anchor within the clay, preventing the pin from pulling free under tension after curing. Finally, consider finishing the cured eyes and noses with a touch of gloss glaze while leaving the body matte to create an appealing visual contrast.
Styling, Presentation, or Organization Ideas
Presenting and organizing your handmade charms thoughtfully enhances their aesthetic value and makes them ready for display, gifting, or storage. For creative presentation, mount completed charms onto custom cardstock backing cards stamped with botanical or minimalist illustrations, securing them through pre-punched holes with natural twine. If you are curating a collection at home, display finished pieces in glass-topped shadow boxes lined with linen fabric, arranging them by color palette or seasonal theme. Charms can also be styled functionally by transforming them into matching collections of planner bookmarks, stitch markers for knitting projects, or delicate charms for zipper pulls on handmade pouches. For crafters managing an expanding inventory of supplies, organize uncured clay blocks by color family inside clear, airtight polypropylene storage containers to protect them from dust and ambient heat. Keep miniature metal findings, jump rings, headpins, and clasps separated in multi-compartment bead cases labeled by finish. Maintaining a clean, organized studio setup preserves your materials in peak condition while providing an inspiring workspace ready for your next creative crafting session.
Budget or Time Planning
Miniature clay crafting provides an economical creative outlet when planned with practical efficiency and structured time management. A modest starter kit containing a multi-color pastel clay pack, basic shaping tools, and a pack of eye pins requires very little financial investment yet provides enough material to produce dozens of miniature charms. To maximize material efficiency, mix primary colors with translucent or white clay to create unique pastel hues rather than buying extensive collections of specialty tones. When planning your crafting schedule, adopt a batch-production workflow to save time and reduce energy consumption. Dedicate one focused session to conditioning clay, rolling uniform spheres, and preparing base shapes for multiple designs at once. Dedicate a subsequent session to assembling fine details, attaching ears, and applying pastel shading across all pieces. Consolidate your baking schedule by curing an entire collection simultaneously on a single ceramic tile, which minimizes oven usage and ensures identical curing conditions across your set. This structured process keeps material costs minimal while allowing you to complete high-quality, polished collections within short weekend crafting windows.
Creative Expansion and Advanced Inspiration
Once you master the fundamental techniques of miniature feline sculpting, explore advanced variations to expand your creative portfolio. Experiment with mixed-media elements by embedding faceted glass rhinestones, micro glass seed beads, or raw mineral chips into the clay before baking to create whimsical fantasy accessories. You can also move beyond basic shapes into dynamic, kinetic designs, such as articulated two-part dangling charms where a cat’s body swings freely below its resting head, linked by hidden internal jump rings. Advance your surface finishing skills by carving intricate fur patterns into cured clay using micro-chisels, then backfilling the grooves with dark acrylic wash to accentuate depth through an antiqued patina. Consider integrating small, rare-earth neodymium magnets into the backs of unpinned figures during assembly to create high-end decorative kitchen or studio accents. Scaling these designs up slightly also allows you to craft customized desk buddies, mechanical keyboard escape keys, or delicate ring holders, demonstrating the versatility of polymer clay across an endless array of modern home decor and lifestyle applications.