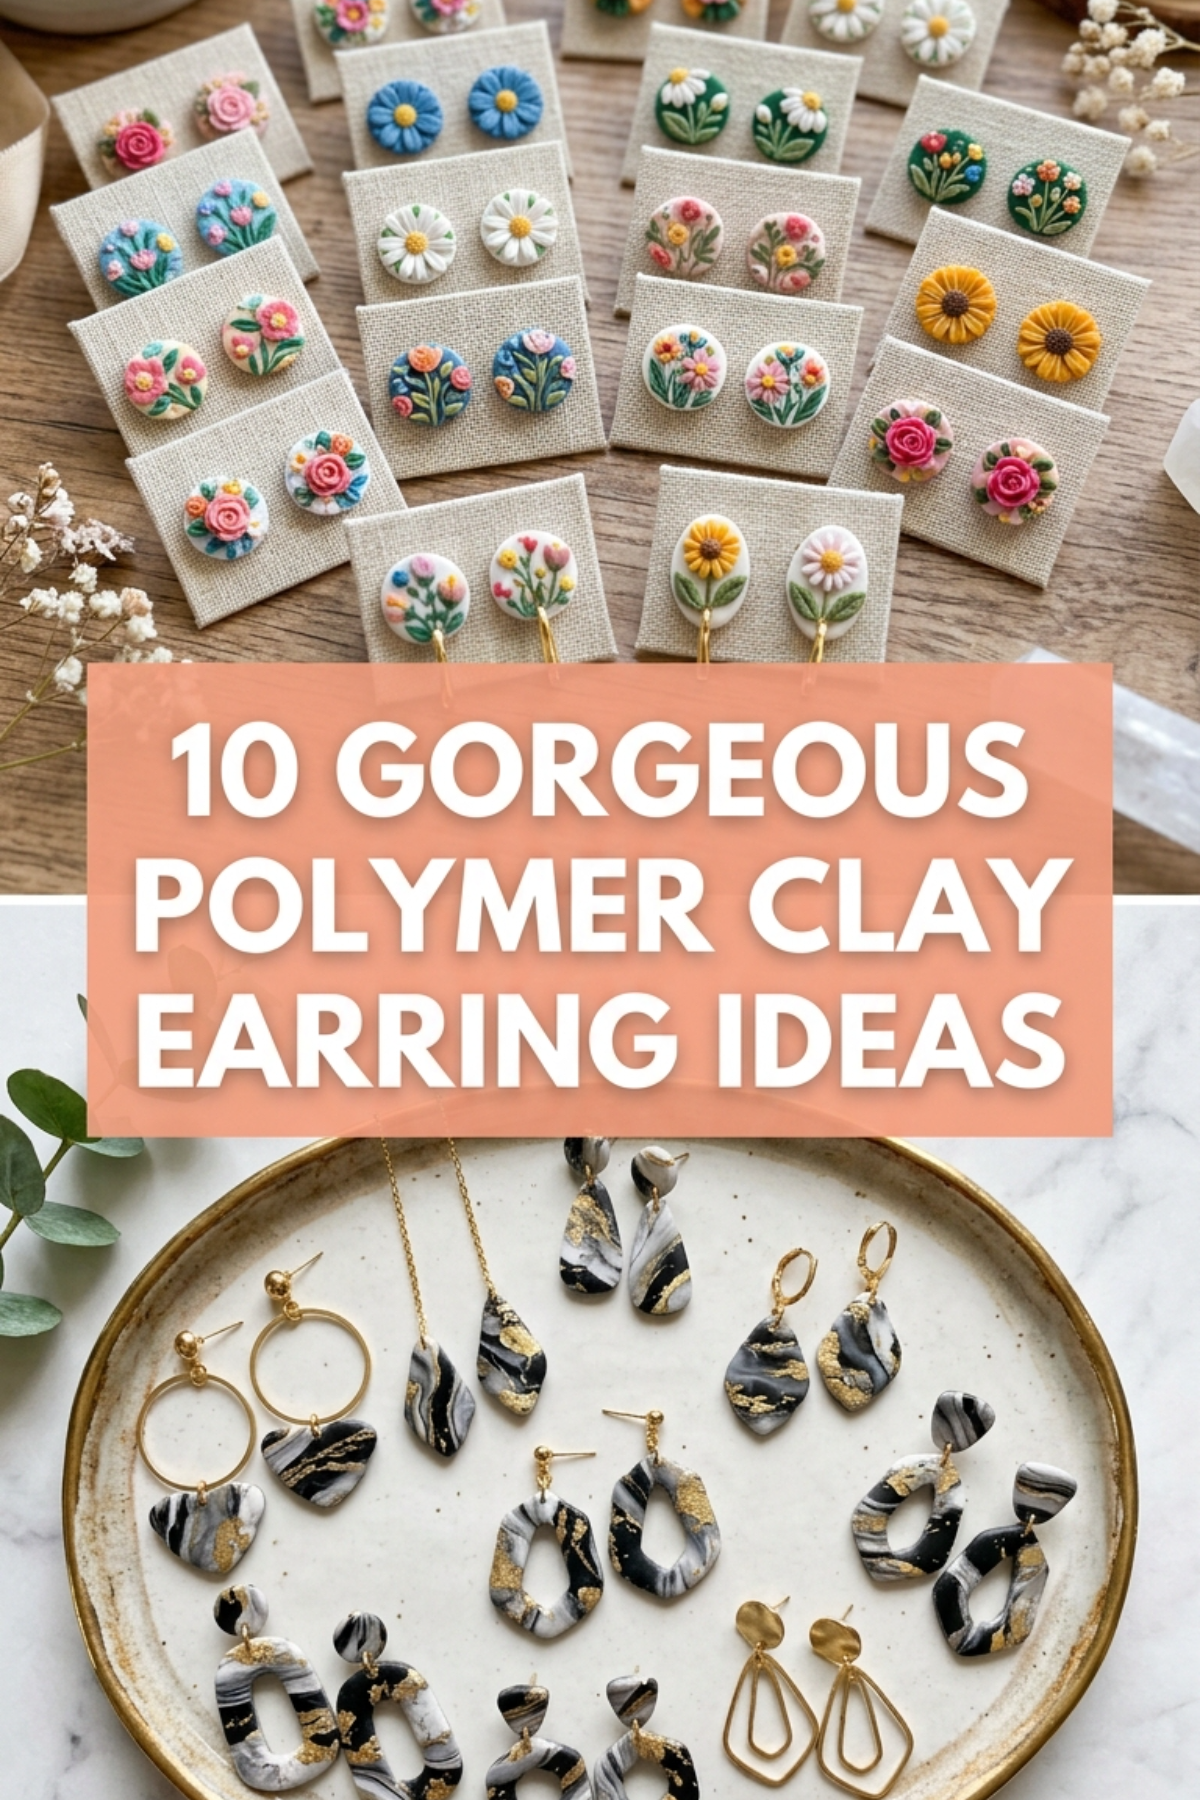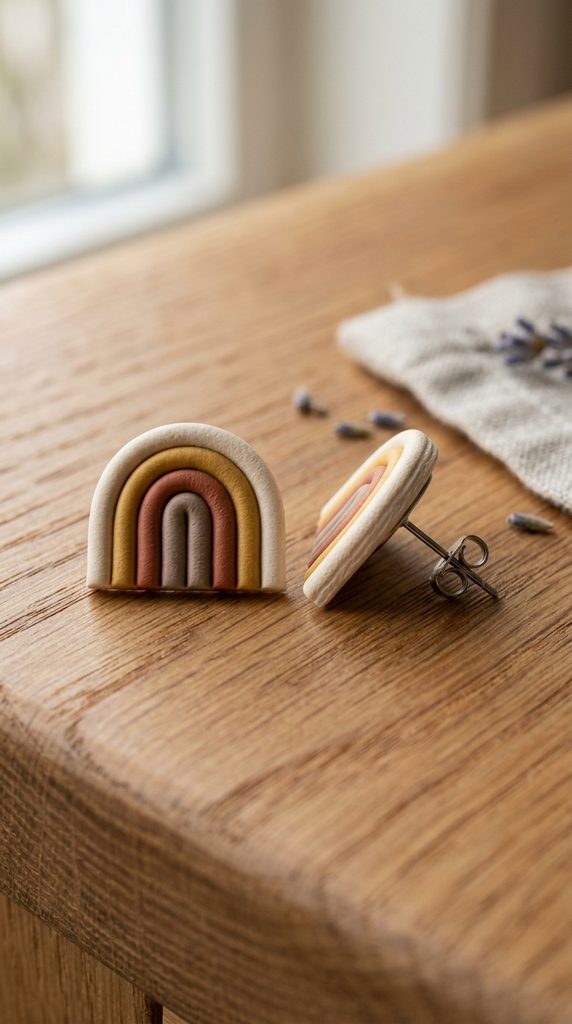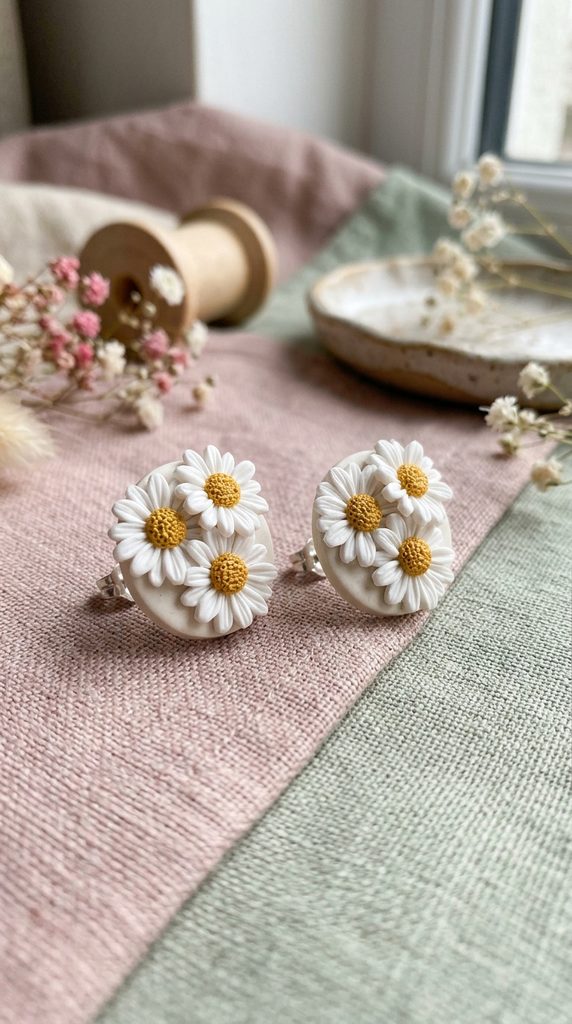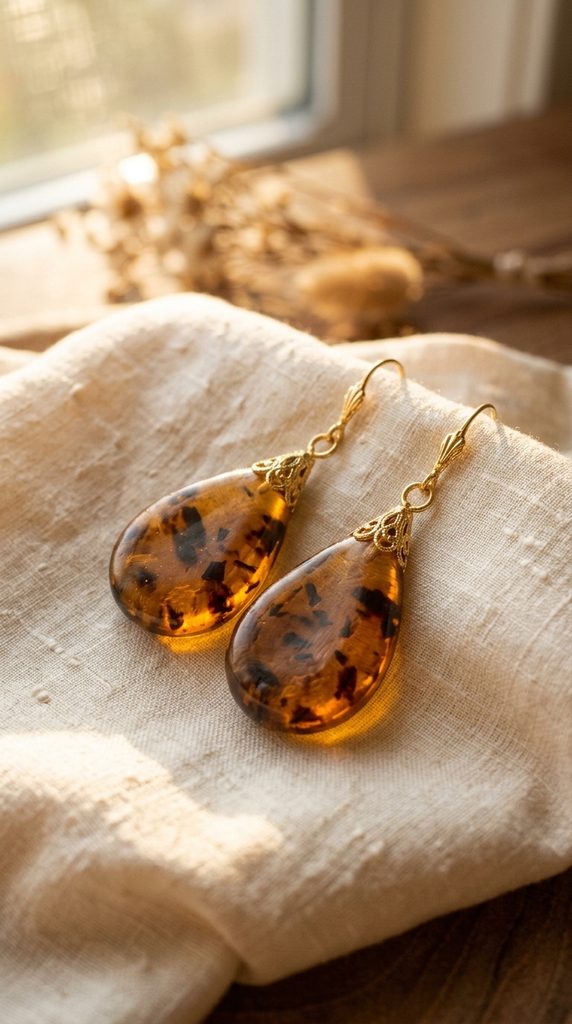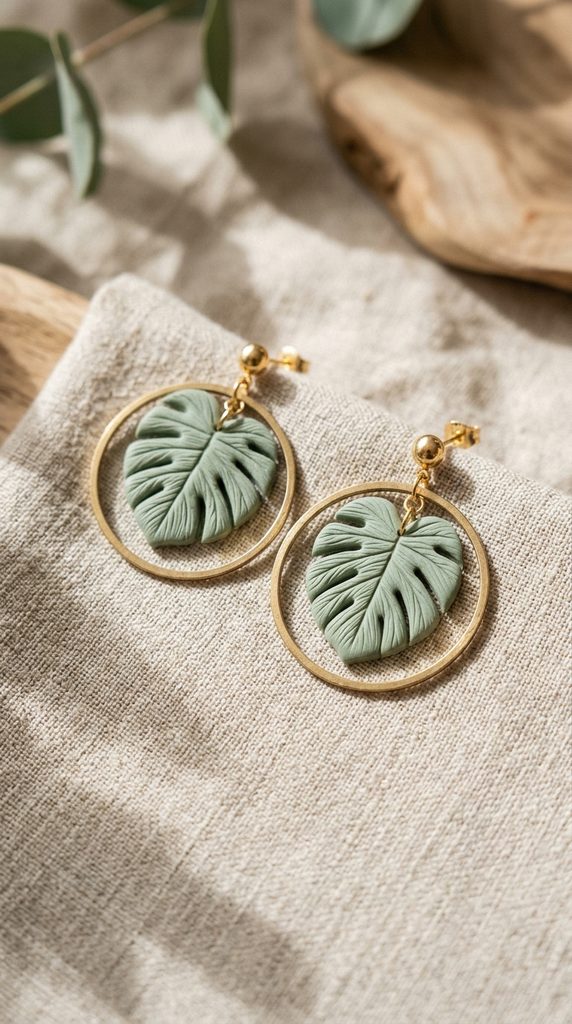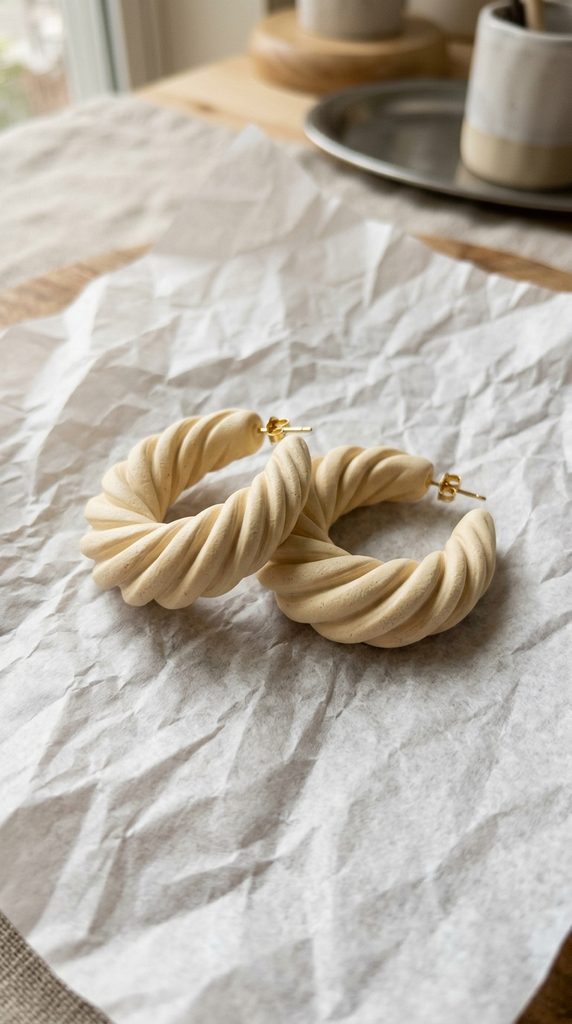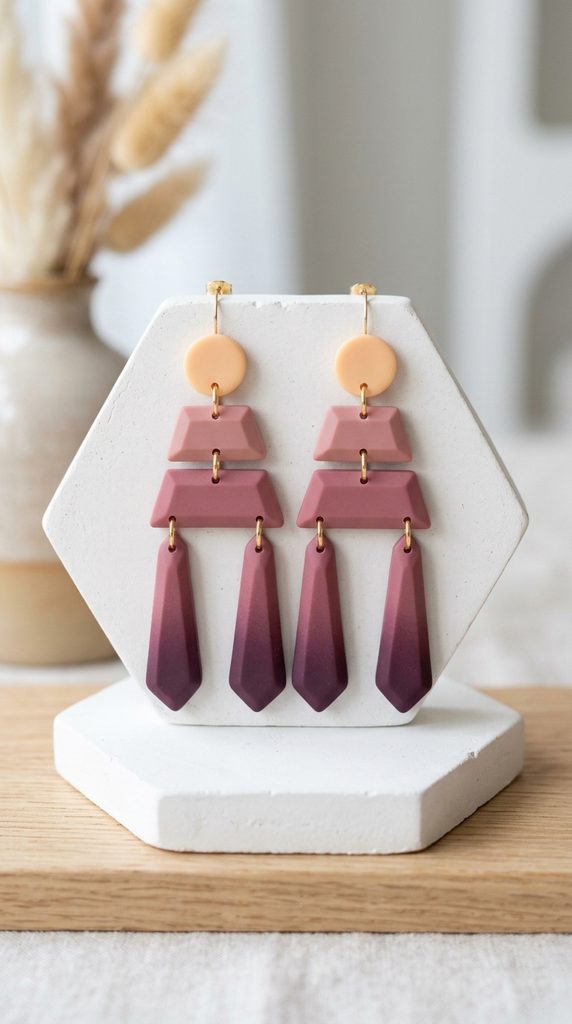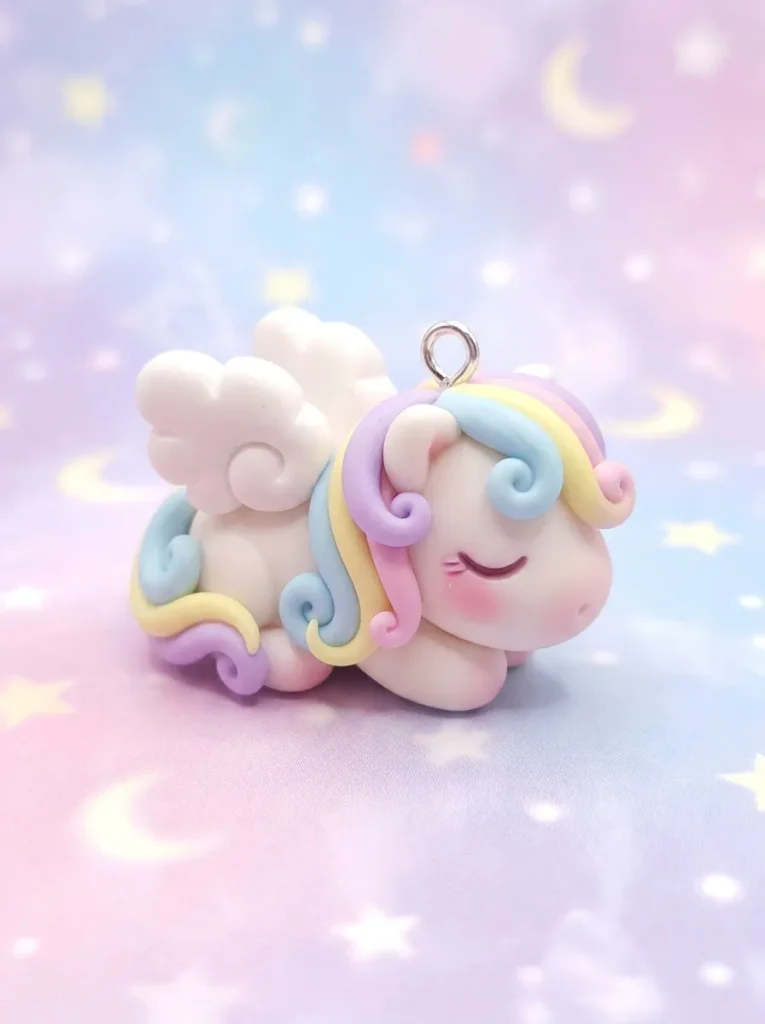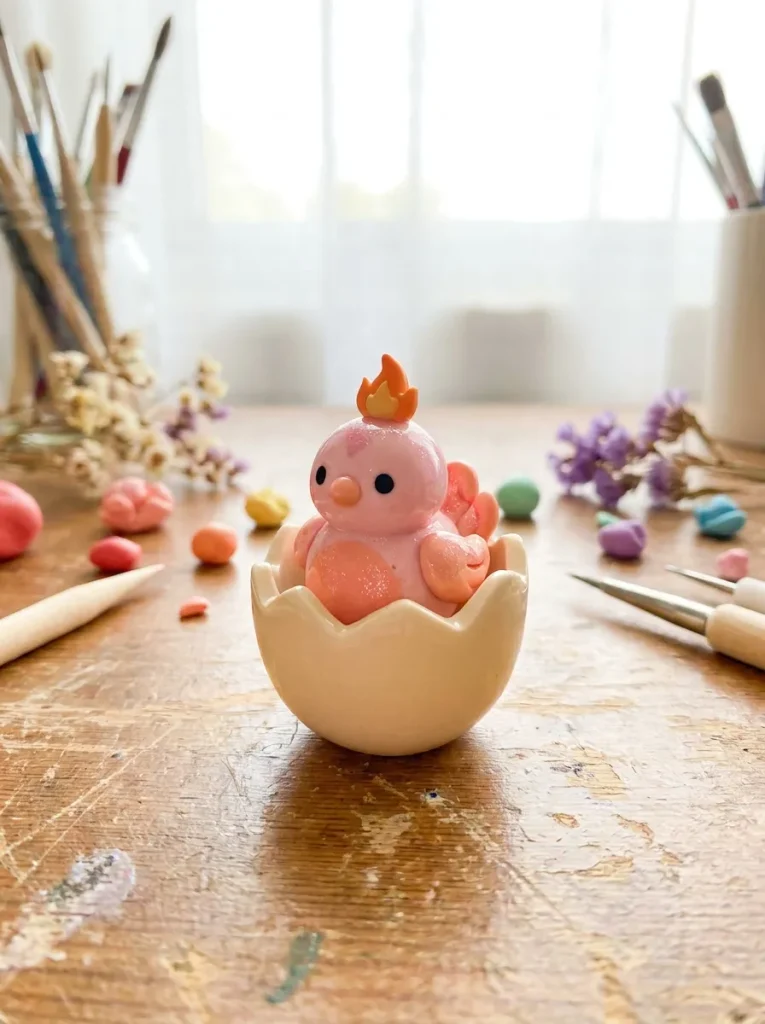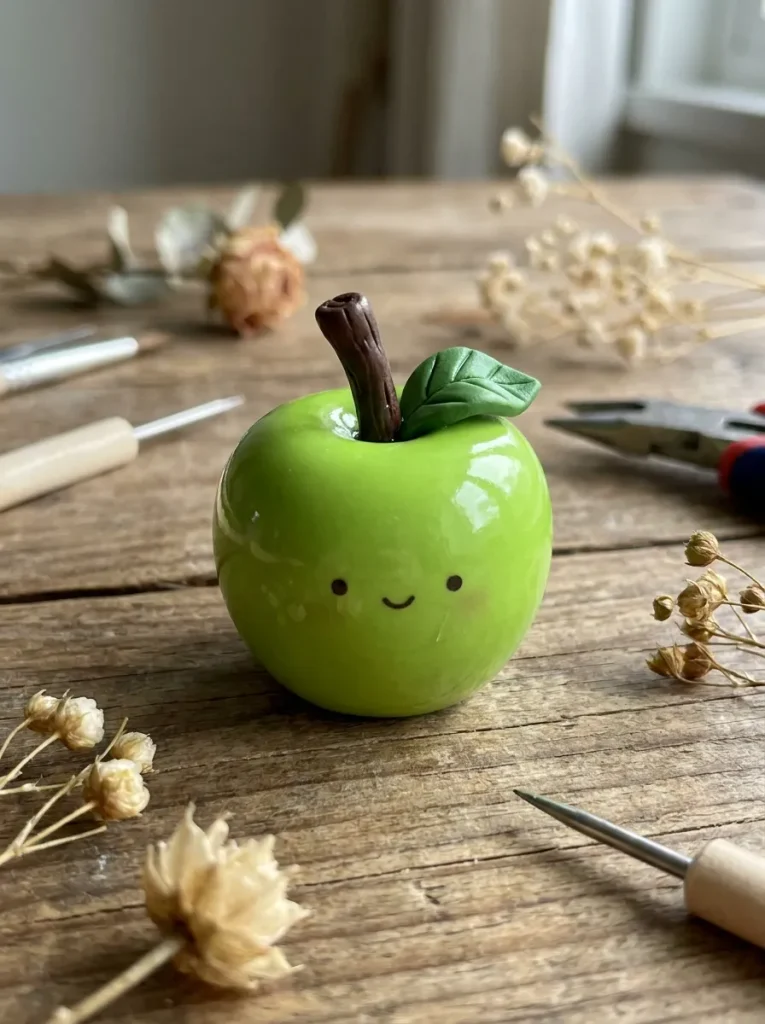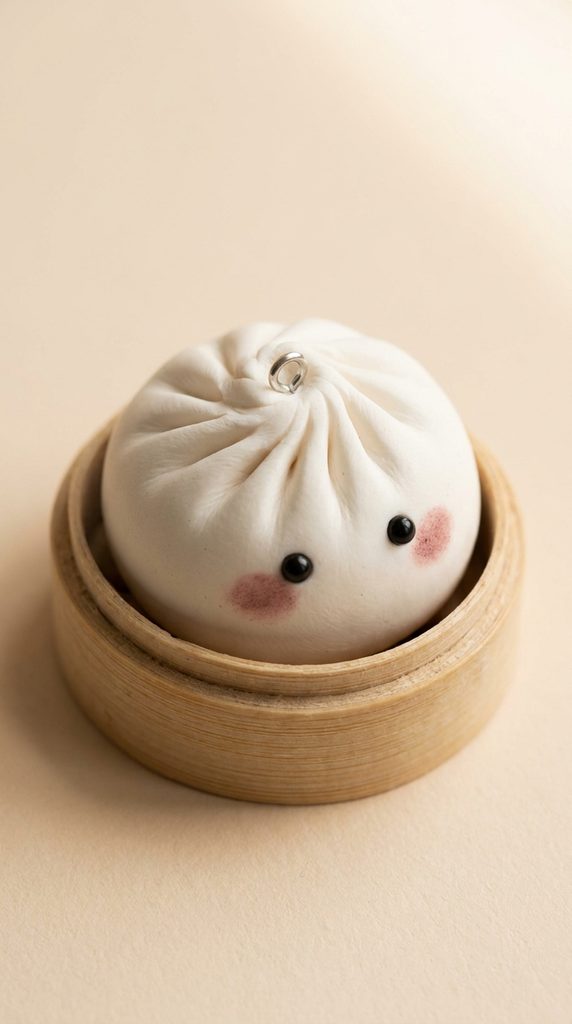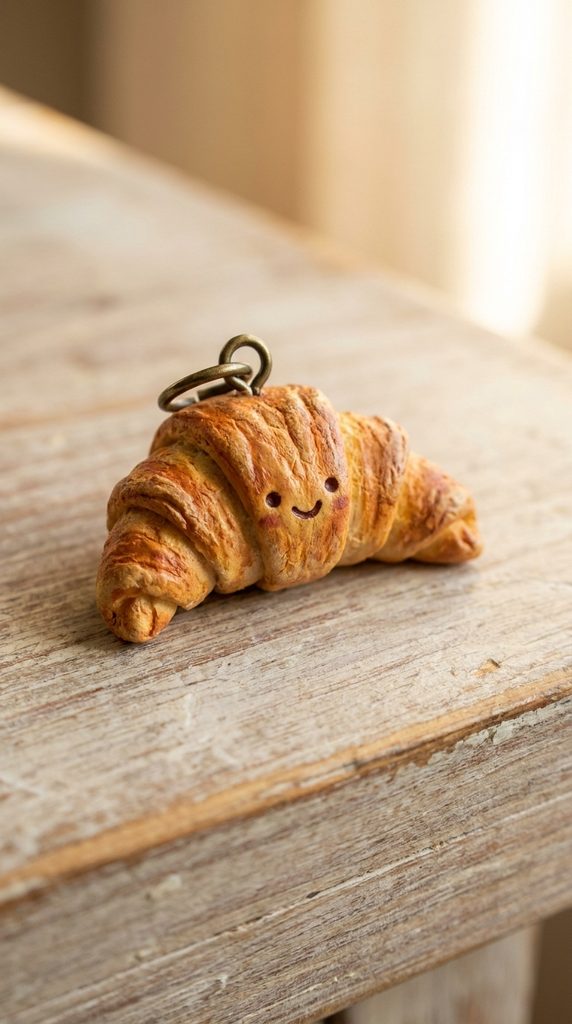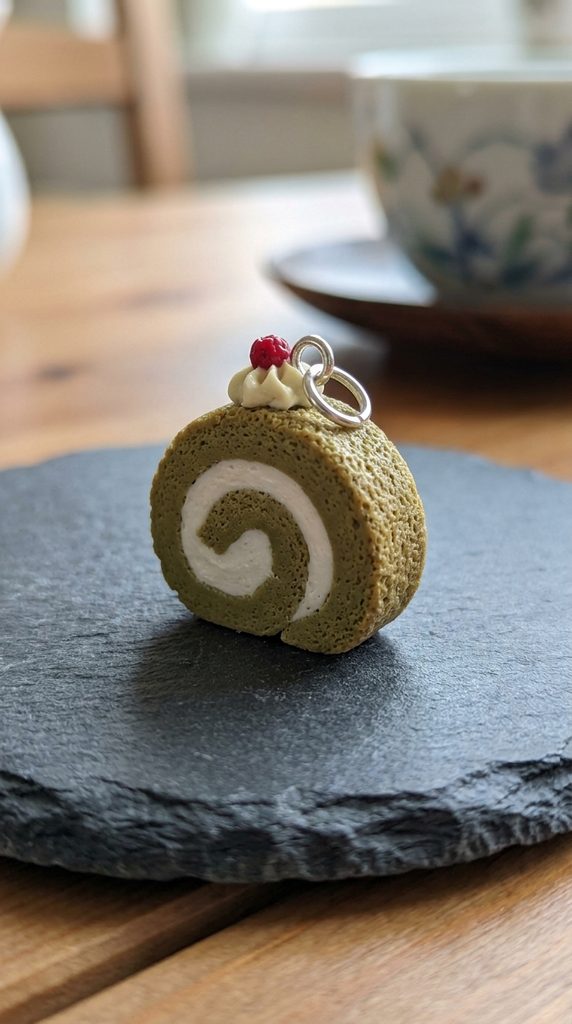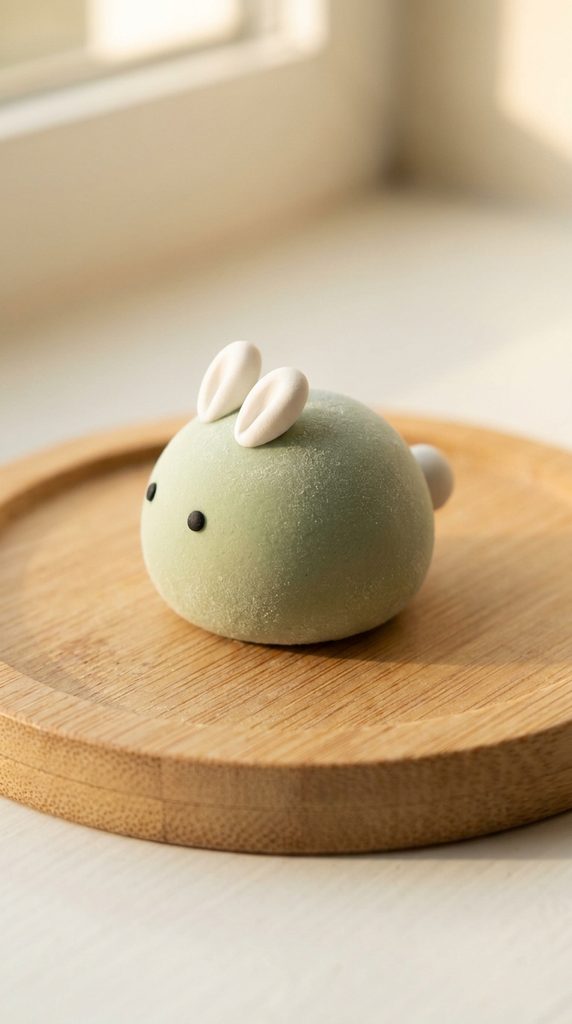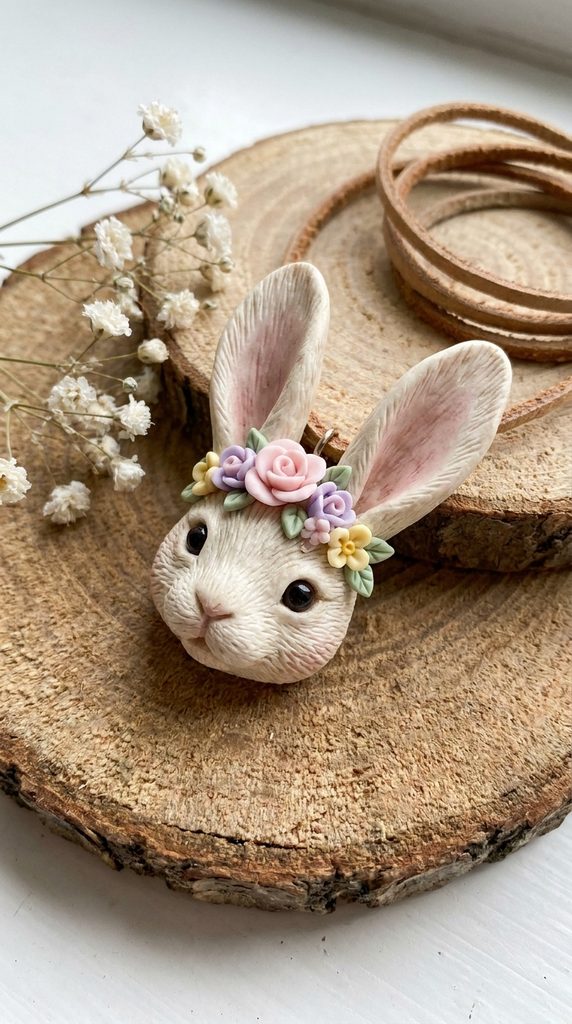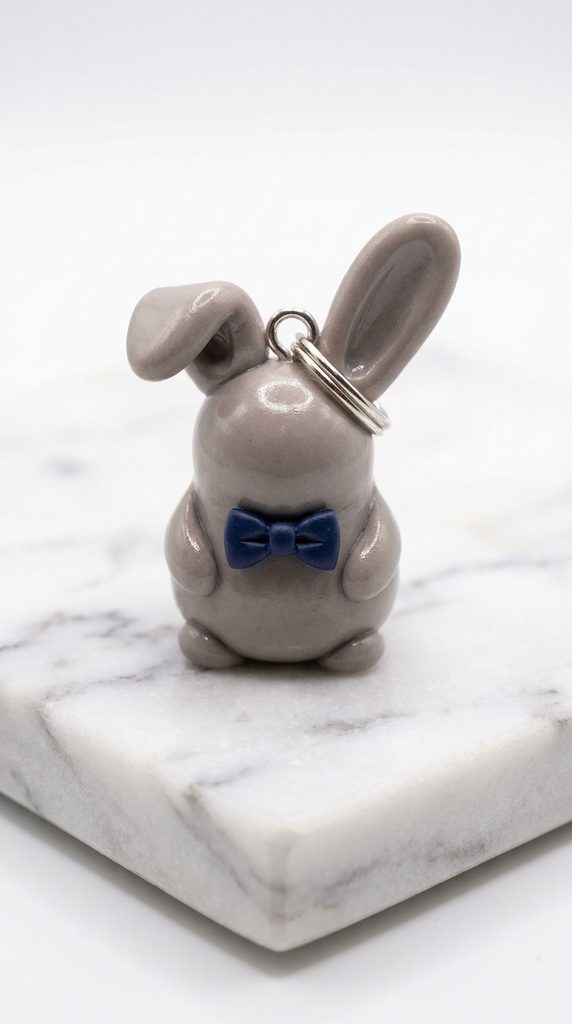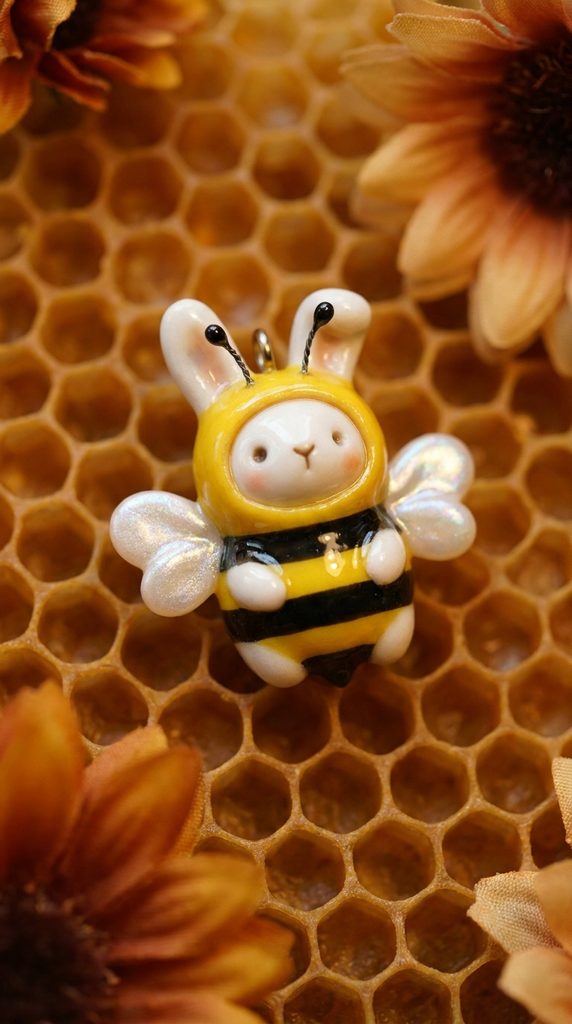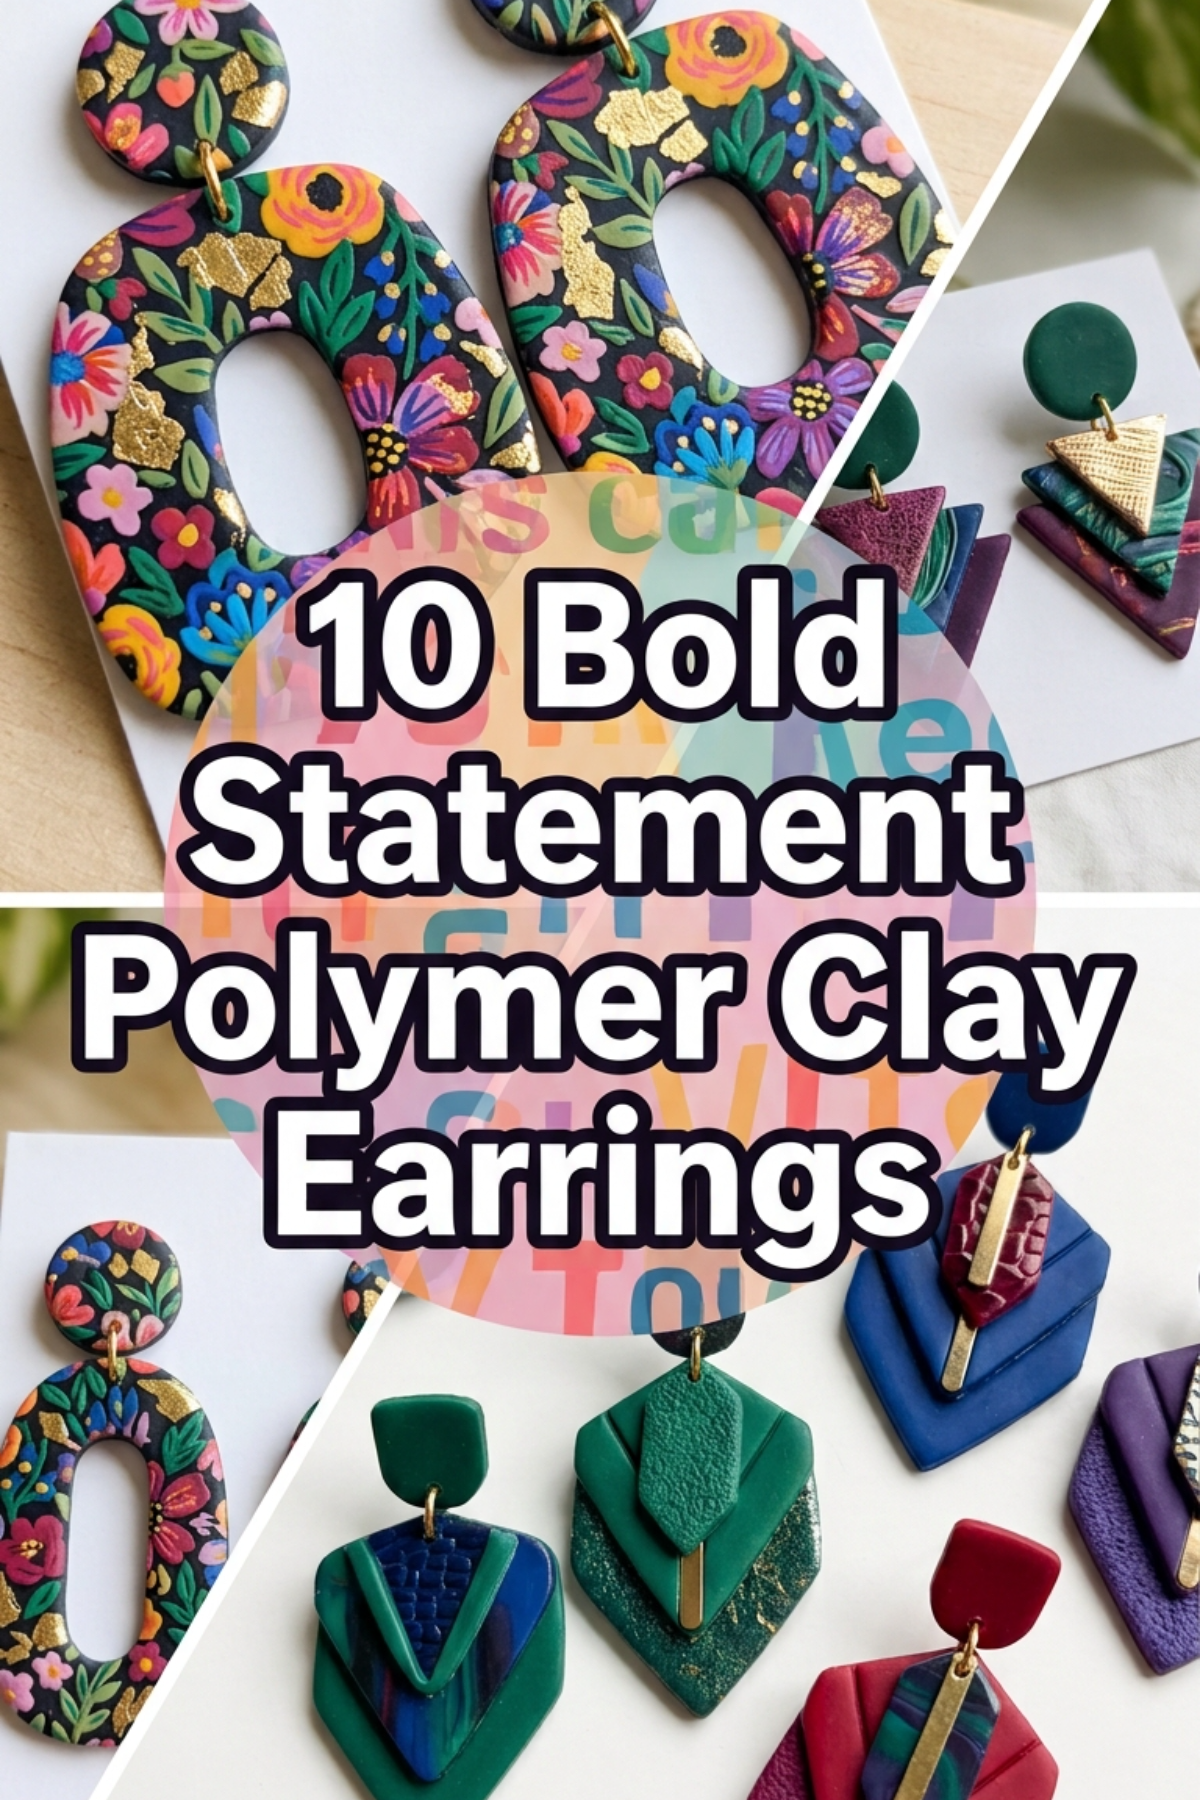
Statement polymer clay earrings represent a versatile category of wearable handmade art that blends minimalist style with bold modern design. Crafting unique jewelry at home enables makers to explore organic textures, architectural profiles, and customized palettes without needing high-temperature kilns or industrial equipment. This tutorial covers practical techniques to produce durable, high-finish statement pieces that rival boutique retail accessories. Readers will learn the essential principles of polymer science, structural balance, baking temperature management, surface treatments, and clean hardware assembly. Understanding these foundational methods allows crafters to design balanced, featherlight earrings that make strong visual statements without stretching the earlobes. Beyond aesthetic appeal, polymer clay serves as an accessible creative project for artists who want to build a handmade accessory collection or launch a small studio shop on a sensible budget. The technical steps detailed below establish repeatable habits that ensure structural strength, crisp edges, and consistent color integrity across every batch. With proper planning, basic rolling tools, and standard jewelry components, anyone can master this rewarding DIY medium to transform raw blocks of colored clay into sleek geometric studs, layered drop pendants, and sculptural wearable art.
The Growing Appeal of Handcrafted Clay Jewelry
Handmade polymer clay jewelry continues to dominate design boards as trending ideas lean heavily toward tactile, bespoke accessories. Modern consumers increasingly prioritize lightweight comfort alongside bold, oversized aesthetics, which conventional metal or resin jewelry cannot always provide. Polymer clay offers immense practical value because it cures into an exceptionally durable, flexible, and weightless polyvinyl chloride plastic. This unique material property allows makers to fabricate massive geometric silhouettes, layered tiered drops, and dramatic arch shapes that remain completely comfortable for all-day wear. Furthermore, the medium has tremendous DIY appeal due to its low barrier to entry. Beginners do not require specialized studio ventilation, water plumbing, or hazardous casting agents to achieve gallery-grade outcomes. A common domestic kitchen oven, basic acrylic rolling pins, and simple cutters are sufficient to establish a functional workstation. Designers can easily integrate contemporary color palettes, mixing custom muted tones, terracotta bases, and terrazzo flecks that align with current interior design and fashion sensibilities. Because the material remains fully workable until baked, artists enjoy endless creative freedom to test shapes and rework patterns without material waste.
Materials, Essential Tools, and Workspace Preparation
Successful polymer clay crafting depends on deliberate workspace preparation and appropriate materials selection. The foundation begins with high-grade polymer clay blocks formulated for flexibility and strength rather than brittle craft varieties. Work surfaces must be perfectly non-porous, smooth, and lint-free; polished ceramic tiles or heavy tempered glass work mats are ideal choices because they can move straight from the table into the oven. Essential hand tools include an acrylic roller or dedicated manual pasta machine to condition sheets to an even gauge, rigid steel tissue blades for clean lifting, and sharp shape cutters. Hardware requirements encompass hypoallergenic surgical steel stud posts, wide jump rings, brass connectors, flat-nose jewelry pliers, fine-grit wet-and-dry sandpaper, and a handheld pin vise hand drill. Preparation begins with deep cleaning the hands and table surface using isopropyl alcohol to eliminate ambient lint, oils, and dust particles that cling to raw clay. Conditioning is the non-negotiable initial step: manually knead and fold the clay repeatedly until it transitions from a crumbly block into a warm, pliable, and crack-free ribbon ready for level compression.
1. Minimalist Terrazzo Arch Drops
Step-by-Step Guide
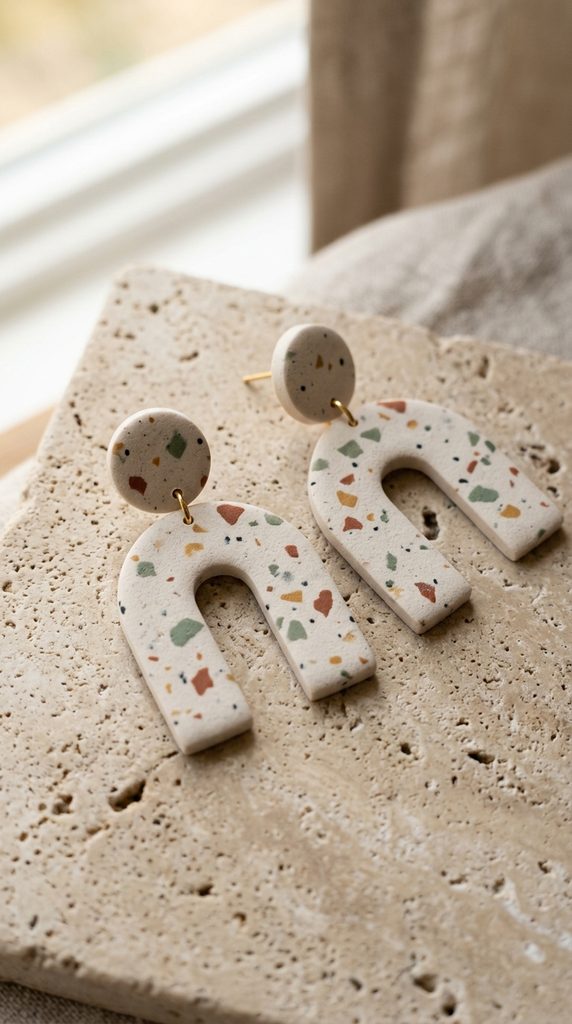
The minimalist terrazzo arch drop combines classic mid-century architecture with vintage Italian flooring patterns to yield a balanced visual statement. This style features a hollow or solid curved arch hanging beneath a rounded stud post, creating subtle negative space that elongates the neck. The aesthetic appeal comes from tiny, contrasting flecks of cured or raw clay embedded into a calm, neutral base tone such as ecru, almond, or soft limestone. Because the primary arch carries an open geometric silhouette, it remains exceptionally lightweight while providing adequate surface area to highlight the intricate mosaic fragments. This piece pairs naturally with simple linen garments, monochrome tops, and tailored modern silhouettes, making it a reliable staple for everyday professional wear or casual outings.
Begin by conditioning two ounces of neutral clay and rolling the slab to a uniform thickness of three millimeters using depth guide rings on an acrylic roller. Prepare the terrazzo fragments by slicing minuscule, irregular shavings from pre-conditioned scrap clay in contrasting tones like rust, sage green, mustard, and slate black. Scatter these chips randomly across the surface of the pale foundation slab, then roll lightly with the acrylic pin to compress the flecks flush with the base layer. Place a sharp arch cutter firmly into the decorated slab, pressing straight down without twisting to preserve crisp perimeter edges. Pierce connection holes through the top of the arch and bottom of the stud toppers using a one-millimeter needle tool before baking. Bake the cut pieces on a smooth ceramic tile at the clay manufacturer’s specified temperature for thirty-five minutes, let them cool entirely, sand the edges underwater, and connect the arch to a round stud base using a single polished jump ring.
2. Sculpted Botanical Leaf Cascades
How to Create
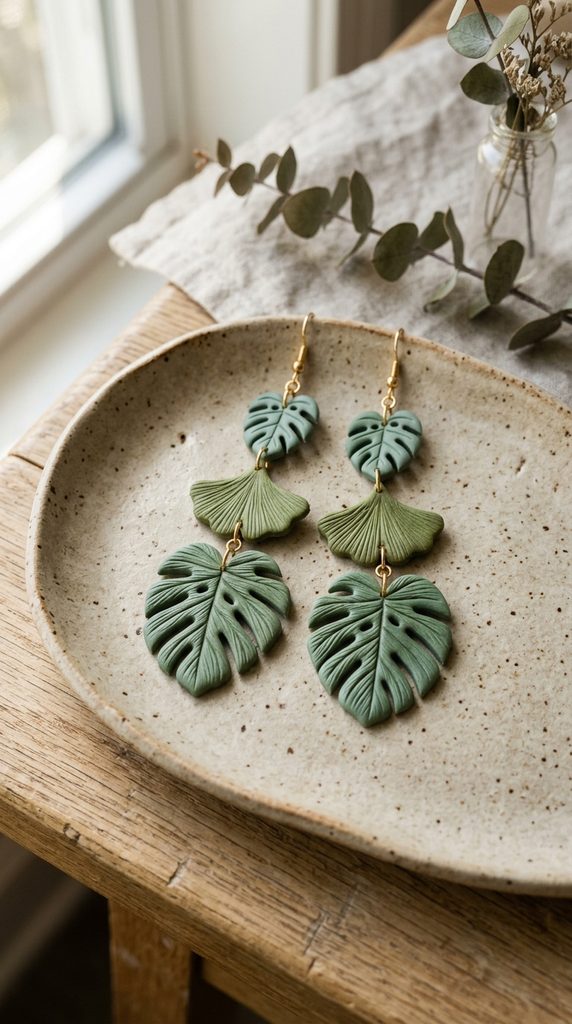
The sculpted botanical leaf cascade draws inspiration from organic plant forms, featuring interconnected foliage shapes that articulate with the wearer’s movements. This construction uses overlapping monstera, ginkgo, or simple spear-shaped leaf segments linked vertically by small metal loops. The organic flow softens angular facial features, while tactile surface veins pressed into the matte clay introduce realistic depth without requiring complicated painting techniques. Utilizing an earthy palette of olive green, forest moss, eucalyptus, or dusty terracotta creates a grounding botanical accent that suits nature-inspired wardrobes. The segmented structure ensures maximum fluidity, permitting each individual leaf segment to catch natural light independently as the wearer turns.
Condition a rich botanical green clay, rolling the bulk sheet to a two-millimeter thickness for the dangling leaves and a slightly sturdier three millimeters for the top anchor piece. Cut three graduating sizes of leaf shapes for each earring using stainless steel cutters or hand-carved cardstock templates guided by a craft knife. Use a dull modeling needle or silicone stylus to press subtle, realistic branching veins along the center axis of every cutout shape, working gently to avoid slicing through the thin clay. Punch precise connection holes at both the stem apex and the bottom base of the upper leaves using a fine hand punch. Transfer the pieces onto an oven-safe tile lined with parchment paper to prevent shiny flat spots on the back during heating. Bake for thirty minutes, allow the elements to reach room temperature, smooth any rough perimeters with four-hundred-grit sandpaper, and link the three descending leaf tiers in vertical sequence using delicate jump rings and two pairs of flat-nose pliers.
3. Abstract Retro Color Block Dangles
Execution Process
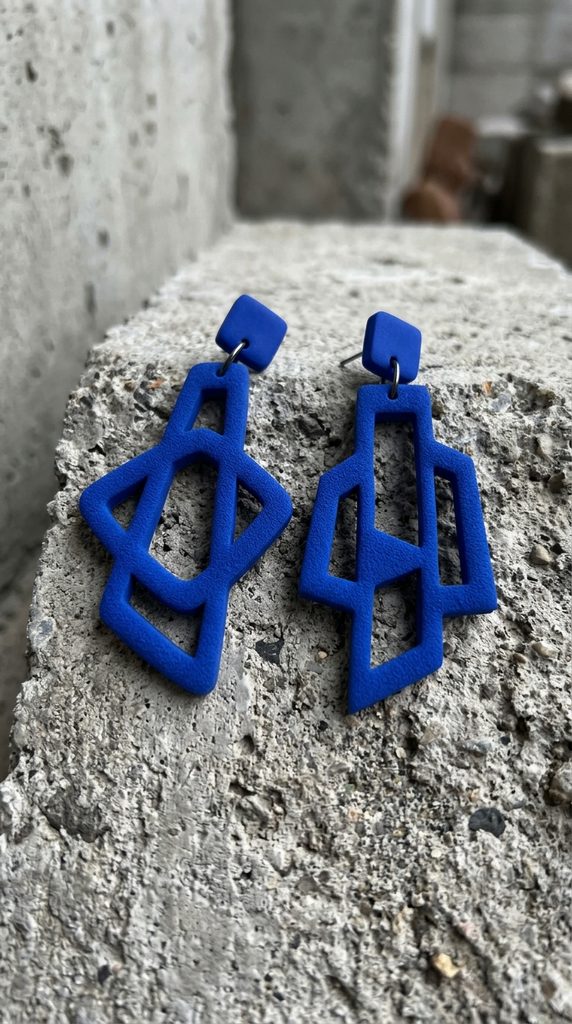
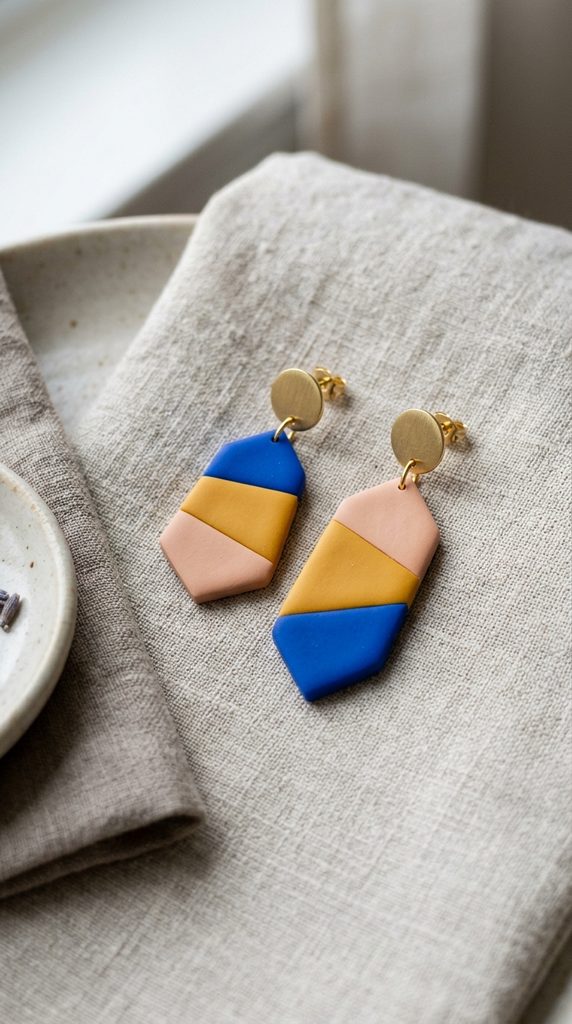
The abstract retro color block dangle utilizes bold asymmetrical forms, contrasting geometric lines, and nostalgic color harmonies reminiscent of late-century modern art. This statement concept typically layers contrasting color segments, such as cobalt blue, muted peach, and rich ochre, into a single cohesive pendant. The design features mismatched yet balanced components: one ear might display a circle resting within an open rectangle, while the opposite ear mirrors the colors within a semi-circle and polygon arrangement. This dynamic approach delivers high visual impact, serving as a wearable centerpiece that complements minimalist monochrome clothing or vibrant artistic outfits. The clean boundaries between colors demand disciplined slab construction, resulting in a sleek graphic presentation.
Construct this piece using the flat-butt joinery technique on raw clay. Condition three distinct colors of polymer clay, then roll each block out to an identical three-millimeter thickness using an acrylic roller. Cut the colored sheets into sharp straight strips, triangles, and curves with a rigid tissue blade, aligning the contrasting edges flush against one another on a smooth glass work surface. Lay a sheet of parchment paper over the assembled mosaic and roll lightly across the seams in multiple directions to fuse the clay sections into a single level, seamless slab. Press geometric cutters across the joined color fields to produce shapes where color divisions cut cleanly through the centers. Drill neat suspension holes through the top borders, bake for thirty-five minutes, lightly sand the seams using wet wet-and-dry sandpaper to remove any minute surface ridges, and attach hypoallergenic stainless steel ear wires.

4. Textured Woven Rattan Discs
Step-by-Step Guide
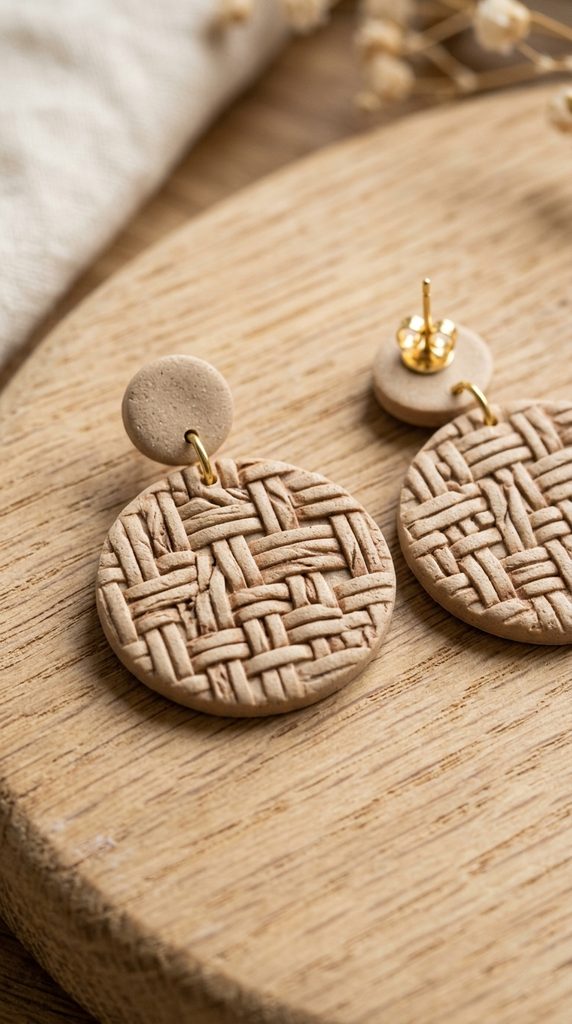
Textured woven rattan discs capture the warm, tactile essence of natural basketry through precise surface embossing on neutral clay. This design relies on a prominent circular or oval silhouette stamped with crisscross woven lines to replicate the look of natural cane furniture. Utilizing warm beige, bleached sand, or raw clay tones gives the final piece an organic, artisan appearance that integrates effortlessly into bohemian and warm minimalist styles. The broad circular surface provides substantial visual presence, yet the thin, uniform slab profile keeps the earring comfortable and light. Applying a wash of dark pigment or pastel powder into the recessed lines further enhances the realistic depth of the faux-woven texture before final curing.
To achieve this woven finish, condition warm straw-colored clay and flatten it to a consistent two-and-a-half-millimeter thickness. Lightly dust an etched texture mat featuring a rattan or basket-weave motif with cornstarch to prevent sticking, lay it across the raw slab, and apply even, downward pressure with an acrylic rolling pin. Carefully peel the flexible texture mat away to reveal the crisp, raised pattern across the clay. Cut out large circular discs using a two-inch round cutter, taking care not to drag the cutter sideways across the textured surface. Use a soft, dry makeup brush to dust a minute amount of burnt umber chalk pastel powder into the textured recesses to simulate natural fiber shading. Cut out matching small circular toppers, punch hole junctions, bake flat under a tent of foil to prevent scorching, rinse clean with water to remove residual cornstarch, and assemble the discs with brass jump rings.
5. Floating Negative Space Hoops
How to Make
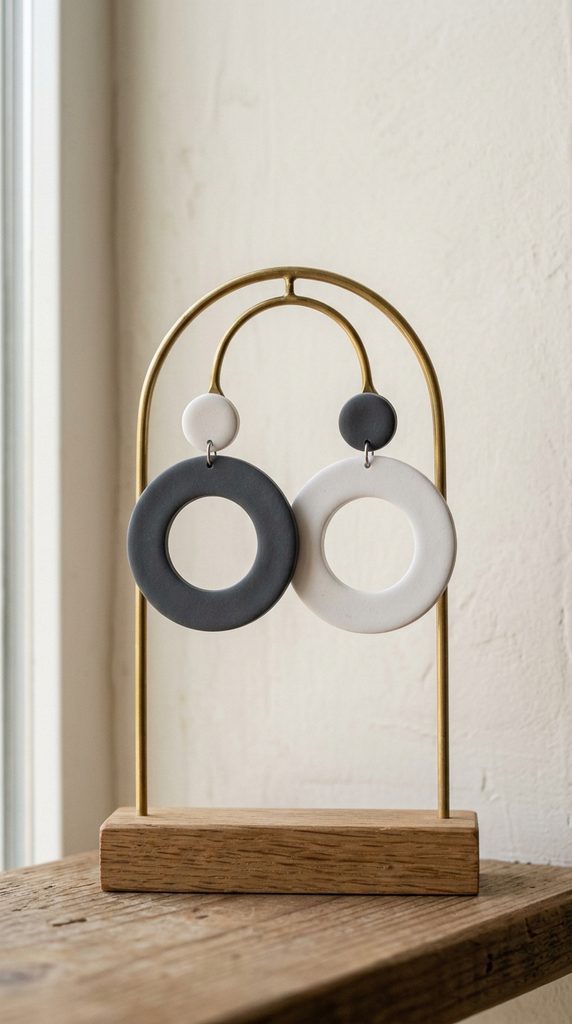
Floating negative space hoops reinterpret the classic round earring by combining an open central cavity with an offset solid polymer stud base. This design relies on contrasting interior and exterior boundaries: a bold outer circle frames a hollow center, suspended beneath a smaller offset disc that anchors the post. The visual intrigue comes from the airy, unobstructed negative space that frames the jawline without adding structural weight. Working with monochromatic shades like deep charcoal, chalk white, or dusty lavender highlights the crisp architectural boundaries of the silhouette. This modern design serves as a versatile wardrobe staple that easily transitions from casual morning outfits to formal evening wear.
Condition the chosen clay thoroughly to ensure high structural flexibility after curing, as open hoop shapes experience higher stress along their narrow walls. Roll the conditioned clay to a uniform three-millimeter gauge on a clean ceramic tile. Press a two-inch circular metal cutter down into the clay, leaving the cutter embedded in the slab, then center an interior one-inch round cutter directly inside it to punch out the open ring core. Remove the internal clay scrap and exterior excess with a craft blade, leaving the hollow hoop resting undisturbed on the tile to maintain its perfect circular geometry. Cut a pair of matching half-inch solid circles from the remaining clay to serve as stud covers. Bake both sets for thirty-five minutes, allow the hoops to cool fully, buff the edges to a satin finish using micro-mesh sanding pads, drill a horizontal hole through the top of each hoop, and connect them to the post toppers using small jump rings.
6. Antiqued Faux Marble Pendants
How to Create
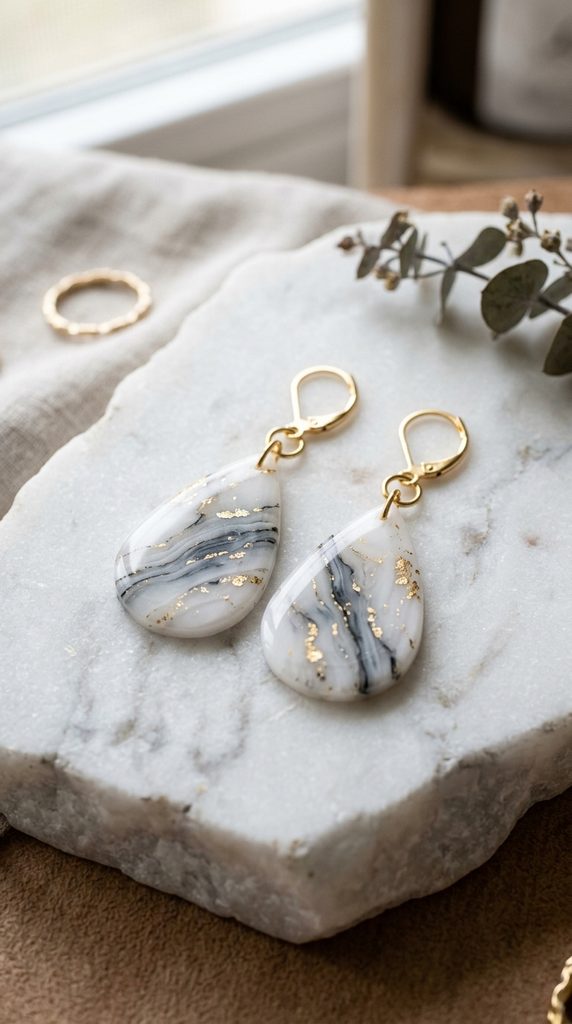
Antiqued faux marble pendants replicate the luxurious look of carved stone using custom-blended translucent and opaque polymer clays. This design incorporates soft, organic veining that mirrors genuine Carrara marble, jade, or black granite within a smooth teardrop or geometric frame. The appeal lies in the delicate depth achieved by stacking and twisting multiple clay colors together before slicing, producing authentic mineral stratification. When polished to a soft satin or high-gloss finish, these pendants possess an upscale, refined character that complements structured blazers, silk blouses, and formal evening wear. Because the stone appearance is created from clay rather than real rock, the resulting statement pendants remain exceptionally light and easy to wear throughout the day.
Prepare this mineral finish by conditioning pure white clay alongside a small portion of translucent clay, rolling both into thick, stubby logs. Tear thin ribbons of black, slate gray, and metallic gold clay, pressing these dark slivers randomly along the surface of the pale clay cylinders. Twist the combined log tightly like a candy cane, fold it in half, twist again, and compress it into a solid rectangular block to form stratified veins within the core. Use a sharp, flexible tissue blade to shave paper-thin horizontal cross-sections from the block, revealing delicate marble swirls across each sheet. Lay these patterned slices over an unconditioned base slab of white clay, smoothing them flat with an acrylic roller to fuse the strata into a uniform sheet. Stamp out teardrop pendants, drill clean attachment points, bake thoroughly, and wet-sand through four progressively finer sandpaper grits to expose the stone-like veining.
7. Dual-Tone Sculptural Fan Drops
Step-by-Step Guide
Dual-tone sculptural fan drops take inspiration from Art Deco fans and contemporary folded paper crafts, featuring accordion pleats and two-tone color blocking. This design uses a wide, fluted semicircle suspended beneath a structured rectangular or square stud topper. The fluted fan surface creates high visual contrast through clean peaks and valleys that catch ambient light, adding dynamic texture to the earring face. Combining contrasting colors, such as dusty rose with burgundy or navy with warm ivory, accentuates the geometric folds and highlights the layered construction. The broad fan silhouette frames the face beautifully, creating a dramatic, dressy statement piece for special occasions and evening events.
Begin by conditioning two coordinating colors of polymer clay, running them through a clay machine to produce two smooth sheets measuring two millimeters thick. Stack the two colored sheets directly on top of each other, roll lightly to remove any trapped air pockets, and trim the laminated stack into a precise four-inch by one-inch strip using a steel ruler and blade. Gently fold the laminated strip back and forth in an alternating accordion pleat pattern, spacing each fold roughly three millimeters apart. Pinch the bottom edge of the pleated strip together tightly while allowing the upper edge to flare outward, forming a semi-circular fan silhouette that reveals both color layers. Trim the pinched base flat, wrap it in a thin anchor band of raw clay, pierce a hole through the base, and bake the fans upright on a folded cardstock tent to prevent the delicate pleats from flattening. After baking, connect the fan base to a geometric stud top using a sturdy brass jump ring.
8. Hammered Metallic and Clay Collages
Setup Method
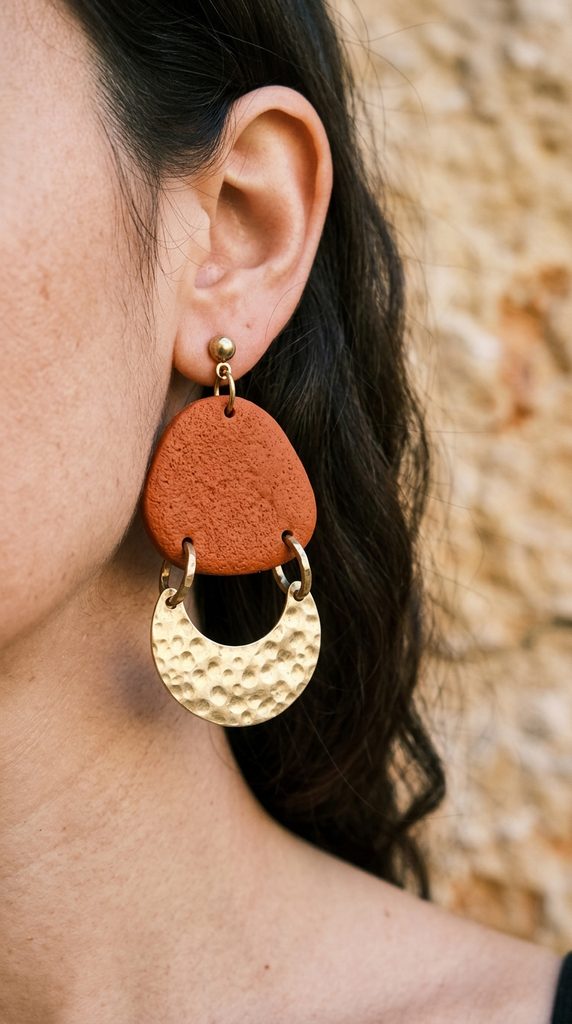
Hammered metallic and clay collages bridge the gap between traditional metalsmithing and contemporary fiber arts by joining raw clay segments with polished metal components. This mixed-media design features a textured clay element, such as an organic pebble or crescent shape, linked directly to a hand-hammered brass or copper pendant. The pairing of matte, earthy clay surfaces with reflective, beaten metal introduces sophisticated visual tension that elevates the jewelry piece into a modern gallery-grade accessory. Suitable for both professional styling and artistic occasions, this mixed-material approach brings warmth and dynamic movement to any outfit, catching the light beautifully throughout the day.
Condition an earthy clay tone, such as deep terracotta, charcoal, or burnt amber, rolling it out to a solid three-millimeter gauge on a clean glass plate. Use an organic pebble cutter or freehand craft knife to shape smooth, asymmetric stone-like shapes from the clay. Press a rough ball of aluminum foil or coarse sandpaper across the raw clay surface to imprint a fine, stone-like texture that complements the hammered metal components. Punch attachment holes on opposing sides of the clay shapes, bake on a flat tile for thirty-five minutes, and set aside to cool completely. Prepare corresponding brass shapes by dimpling their surfaces with an embossing hammer on a steel block, then clean the metal with a jeweler’s polishing cloth. Connect the textured clay element to the hammered brass component using heavy-gauge, matching metal jump rings, and attach a hypoallergenic stud post to the upper clay piece using industrial two-part epoxy glue.
9. Bold Tiered Checkerboard Drops
Execution Process
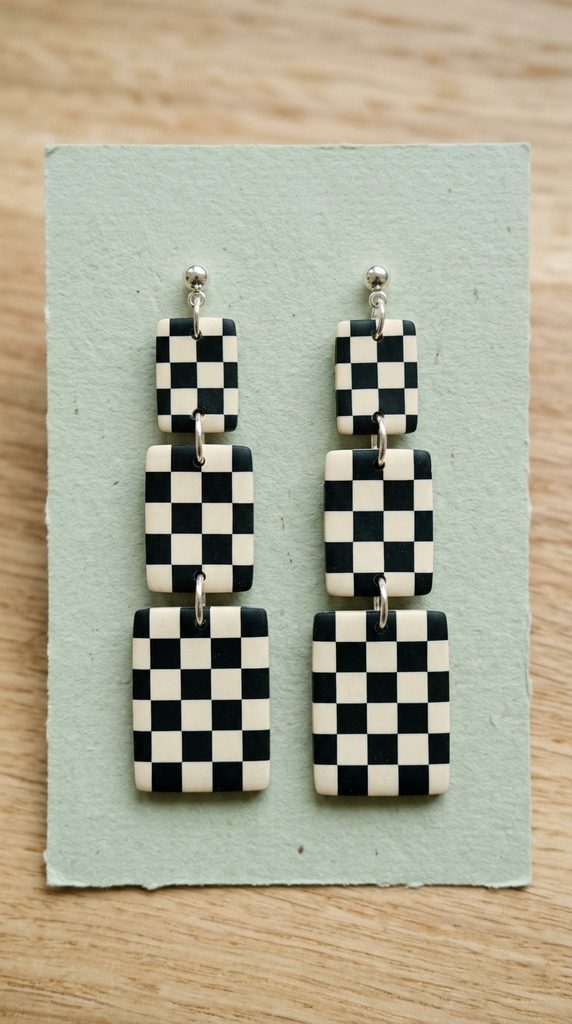
Bold tiered checkerboard drops draw from retro skate aesthetics and contemporary graphic design, using sharp monochrome squares arranged in dynamic vertical tiers. This construction connects three rectangular or oval segments linked by jump rings, with each tier displaying a miniature checkerboard pattern in contrasting colors such as cream and black, olive and blush, or cobalt and white. The continuous, graphic pattern creates a striking, energetic presence that commands attention even from a distance. Because the bold geometric grid is split across separate swinging tiers, the earring moves naturally with the body, breaking up the rigid pattern and preventing the design from looking overly stiff.
Create the checkerboard pattern using a precise polymer clay cane technique. Condition equal amounts of two contrasting clays, rolling each color into four uniform square rods of identical length and thickness using an acrylic roller and a clean cutting guide. Lay the clay rods together in an alternating two-by-two grid, matching colors edge-to-edge to form a long four-strand checkered square bar. Press the sides of the bar evenly to seal the internal seams, then gently compress and lengthen the cane until the interior checkerboard squares reduce to the desired scale. Slice smooth, one-millimeter-thin cross-sections from the cane end using a sharp tissue blade, laying the checkered tiles edge-to-edge over a conditioned two-millimeter backing slab. Roll lightly to fuse the surface, cut out tiered rectangular links, punch connecting holes between each section, bake flat for thirty-five minutes, and link the swinging tiers together with jump rings.
10. Sculptural Hollow Dome Studs
How to Make
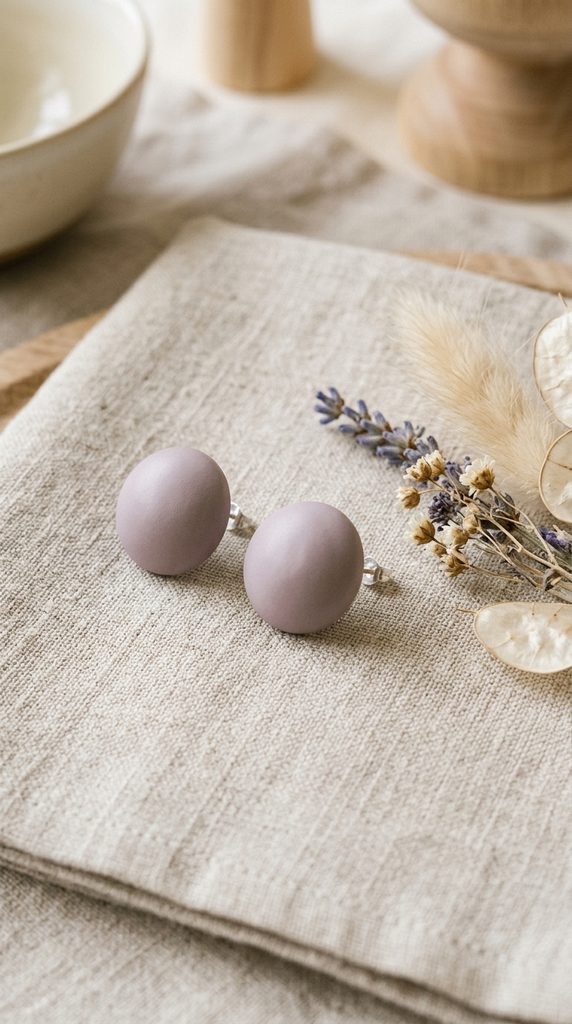
Sculptural hollow dome studs present a refined, button-style design that offers rich, three-dimensional volume without the heavy weight of solid clay balls. Unlike standard flat studs, this style features a cleanly curved convex dome that rests gracefully against the earlobe. The hollow structure produces a striking, spherical silhouette from both the front and side profiles, giving the piece a substantial presence on the ear. Finished in calm, solid matte tones such as sage, terracotta, deep umber, or chalk white, these minimalist domes provide an elegant, understated accent that complements casual weekend wear and structured professional outfits alike.
To achieve a uniform three-dimensional curve, bake the clay over an oven-safe metal shaping form, such as a stainless steel jewelry cabochon tray or a miniature metal hemisphere mold. Condition the clay thoroughly and roll it to an even two-and-a-half-millimeter thickness using guide rings. Cut out circular discs using a one-inch round metal cutter, gently lifting each raw shape with a thin steel blade to preserve its circular proportions. Press each flat disc gently into the concave cavity of the metal mold or smooth it over an exterior dome with the pads of your thumbs, taking care not to stretch or thin the clay along the curved apex. Bake the clay directly on the metal mold for thirty-five minutes to set the curved shape permanently. Once cooled, pop the domes off the mold, lightly wet-sand the bottom edges on a flat surface to ensure they sit flush against the ear, and secure hypoallergenic flat ear posts inside the hollow cavity using two-part epoxy resin.
Common Beginner Mistakes and How to Avoid Them
Beginner clay crafters often encounter structural issues that cause pieces to snap, bubble, or finish with uneven surfaces. The most common error is underbaking the clay out of fear of scorching the piece. Polymer clay requires adequate heat over time for its plasticizers to cross-link fully; underbaked pieces remain weak and will snap easily when bent. Always verify your oven temperature using a standalone oven thermometer rather than relying solely on the built-in stove dial, and bake pieces for at least thirty to forty minutes at the manufacturer’s specified temperature. Another frequent problem is trapping air bubbles beneath the clay during conditioning, which expand into visible bumps during the baking cycle. To prevent this, roll your clay sheets out gradually, and gently slice open any visible bubbles with a sharp craft needle before smoothing the surface flat. Finally, handling raw clay with unwashed hands can transfer skin oils, lint, and stray dust particles directly into the designs. Keep your workstation pristine by wiping down tools with rubbing alcohol, and use a lint roller or scrap clay ball across your work surface before rolling your primary slabs.
Practical Tips for Clean Finishes and Consistent Results
Achieving professional, boutique-quality results requires consistent finishing routines and disciplined studio practices. Always sand your cured polymer clay pieces underwater using wet-and-dry sandpaper to prevent fine airborne dust while keeping the sandpaper grit from clogging. Progress through four-hundred, six-hundred, and one-thousand grit papers to remove surface imperfections, smooth out raw seam lines, and soften sharp edges into a comfortable, rounded profile. When joining raw clay seams or adhering small decorative appliques, apply a microscopic drop of liquid polymer clay between the surfaces; this acts as a heat-activated bonding agent that fuses pieces securely during the bake. To keep the backs of your earrings flat, smooth, and free of shiny spots, bake them on ceramic tiles lined with sheets of plain printer paper or parchment. When attaching metallic stud posts, avoid basic craft glues, which lose adhesion over time; instead, use high-strength two-part epoxy or anchor the post foot directly beneath a thin layer of raw clay cured with liquid clay for a permanent mechanical bond.
Styling, Display, and Storage Ideas for Clay Jewelry
Styling and presenting handmade polymer clay earrings requires thoughtful visual staging to celebrate their unique, tactile qualities. When wearing bold, graphic statement pieces, pair them with understated wardrobe staples like high-neck ribbed knit sweaters, collarless linen button-downs, or simple monochrome tunics. This neutral backdrop lets the color combinations and architectural shapes of the earrings stand out as the primary visual focus. For makers selling their work or sharing designs online, display pieces on textured presentation cards cut from heavy, unbleached kraft paper or watercolor cardstock, which ground the modern clay designs against an organic backdrop. Natural props like travertine stone slabs, raw oak jewelry trays, and unglazed ceramic dishes provide great textural harmony for product staging and photography. For personal storage, keep polymer clay jewelry organized on hanging earring screens, tiered wall racks, or individual velvet-lined compartments. Storing pieces separately prevents the clay from rubbing against sharp metal components, keeping the smooth, sanded surfaces pristine and scratch-free for years to come.
Time Management and Studio Budgeting Considerations
Disciplined time management and smart budgeting practices make polymer clay jewelry production both enjoyable and cost-effective. To run an efficient home studio, batch your tasks across dedicated work sessions rather than completing a single pair from start to finish. Dedicate your first session to color mixing, conditioning slabs, and cutting out shapes; run your baking cycles together in the second session; and reserve your final session for wet-sanding, drilling, and assembling hardware. Batching your workflow preserves clean tools, eliminates repetitive cleanups, and ensures uniform color consistency throughout an entire jewelry collection. From a budget perspective, polymer clay remains one of the most accessible craft mediums available. A standard two-ounce block of clay can yield four to six pairs of statement earrings, keeping material costs exceptionally low. Save money by purchasing essential primary colors in bulk, blending your own custom secondary shades, and saving all excess clay scraps to form interior marble veins, terrazzo chips, or unseen structural base cores for future projects.
Creative Expansions and Advanced Studio Techniques
Once you master fundamental clay construction methods, you can expand your design collection using advanced studio techniques that add depth and sophistication to your work. Experiment with surface silkscreening by applying water-based acrylic paints across fine-mesh stencils directly onto raw clay sheets, creating delicate botanical, geometric, or fine-line motifs. You can also explore polymer clay caning methods, building complex kaleidoscope grids or pictorial cane designs that can be reduced and sliced into dozens of identical patterned tiles. Explore mixed-media elements by incorporating genuine metal leafing, metallic mica powders, alcohol ink washes, or clear UV resin topcoats to create glossy, glass-like contrast against the clay’s natural matte finish. As your technical confidence grows, push your forms into sculptural territory by hand-carving cured clay slabs with linoleum gouges, or building layered, three-dimensional relief tiles that blur the line between jewelry design and wearable fine art. These creative variations ensure your handmade jewelry journey remains engaging, rewarding, and endlessly inspiring.